Method #1: From the Timeline
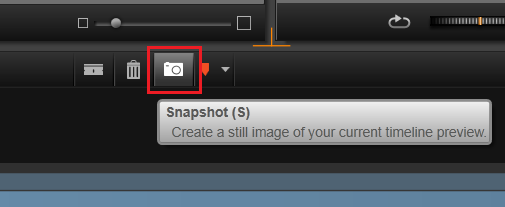
Pinnacle Studio allows you to do this easily directly from the Timeline. Simply position the Timeline Scrubber on the Timeline at the desired location so that the image you want is being previewed. Then click the Snapshot button or click the “S” hotkey.
Method #2: From the Effects Editor
You can also take a screenshot from the Effects Editor. From the Effects Editor select Corrections and then select Snapshot. Position the scrubber at the desired frame and click Apply. Note that you can also crop the image using this method by dragging the handles in the preview to perfectly match the desired snapshot.
In both cases the image will be automatically saved and added to the Library. By default, all Snapshots are saved in: C:\Users\username\Documents\Pinnacle\Snapshots. This can be altered by going to Setup > Control Panel > Import. In this location you will find a setting called “Snapshots Directory”. You can click the file folder next to this location to set the storage location for Snapshots to any location on your local hard drive.
Was this article helpful?
Tell us how we can improve it.