What you will Learn:
- How to create a masthead.
- How to import an image.
- How to use PowerClip to fit an image into artistic text.
- How to edit a Powerclip image using Photo-Paint.
- How to distort an image.
- How to apply drop shadow.
What is PowerClip?
PowerClip gives you the ability to place an object or multiple objects inside a container. This container can be made up of a single object, several objects, or text.
Creating a Masthead
To begin, start by typing your text:
1. In the Toolbox, select Artistic Text tool;

2. Click on your desktop screen;
3. Type the following text: HAWAII
4. Select the text (you may press Ctrl-Shift-back arrow);
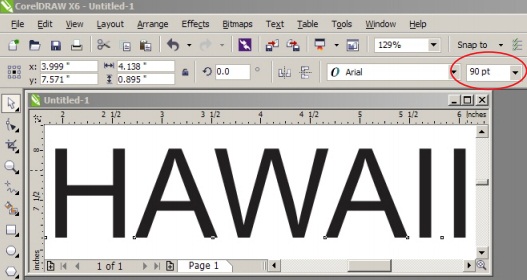
5. Resize the text by either dragging the corner of the text box or by typing a value in the Interactive Property Bar. In our example we set the value to 90 px.
6. Change the font typeface to Cooper Black;
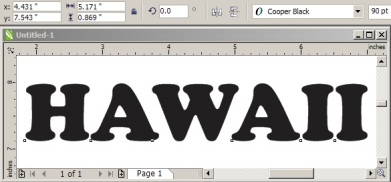
7. Deselect the text by selecting the Pick tool and then left-click a blank spot on the desktop screen;

Importing an image
Bring in the image that you want to PowerClip inside this text or container:
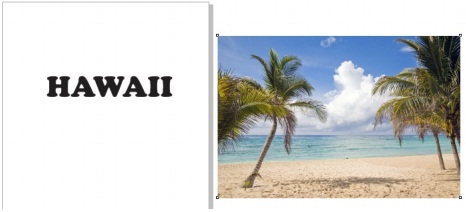
1. You can either go to File menu > Import or simply click on Import icon in the Interactive toolbar;

2. Click and drag the size that you want this image to be.
3. Press Shift + F4 on your keyboard to see entire page.
4. Move the image off to the side so you can see the text.
Applying the PowerClip to the image into the text
1. While the image is selected, go to the Effect menu > PowerClip > Place inside Frame (early versions of CorelDRAW will have “place inside container”);
2. Use the Bold arrow to click on the text; this will place the image inside the text.

Resizing the image to fit inside the text or container
1. To edit the image, you can either:
- Go to Effects menu > PowerClip> Edit PowerClip;
- Or, hold the Ctrl key on your keyboard and click on top of container to go into Edit mode (you may have to click twice if the image was not selected to begin with);

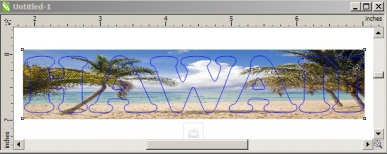
2. In the edit window, click the image then resize it to fit in the text.
3. Hold the Ctrl key down and click outside the frame to finish editing.
Bringing in another image
1. Click on Import and choose image;
2. Select Import, click and drag to place on the desktop screen.
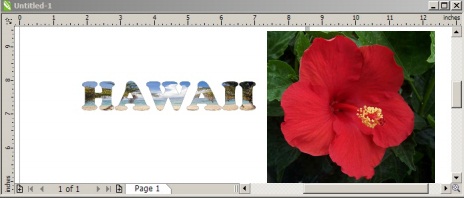
Editing Image in Photo-Paint
The next step is to remove the background from the image.
1. Ensure the image is selected then from Interactive property bar, select Edit Bitmap; this will launch PHOTO-PAINT.
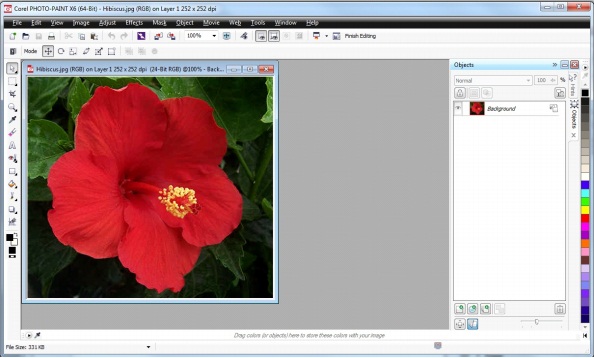
2. In Photo-Paint, select Cutout Lab from the Image menu.
The Cutout Lab lets you cut out image areas from the surrounding background and preserve the details of the edges.

3. Select the Highlighter Tool and completely trace the perimeter of the flower. Make sure the outline covers both the image you want to select and the background.
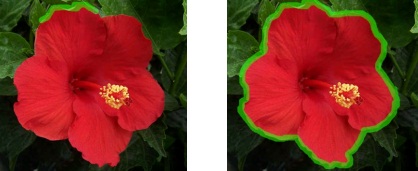
4. Mask off the area to be retained. Select the Inside Fill Tool and click within the boundary you drew.
5. When finished, click OK. This will generate the masked off image
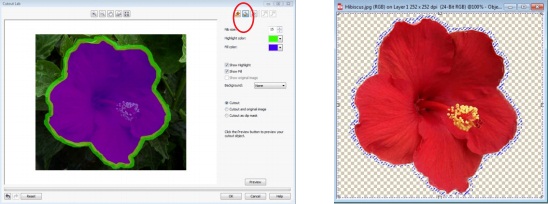
6. Close PHOTO - PAINT and click Yes when prompted to save the image. This willupdate the image in CorelDRAW with the masked off area removed.

Applying PowerClip to the second image into the same container 1. Right-click on the masked off image and move the target indicator to the appropriate location, release the mouse button, and select PowerClip Inside...;

2. Hold the Ctrl key on your keyboard, click and drag the image into the appropriate position.

3. Hold down the Ctrl key and click on any area away from the image to finish editing.

Distorting the text or container
The next step is to stretch the middle of the text using the Envelope tool. It allows you to distort the text into any shape. You can use this tool to create objects such as flags, clothes with logos, or complex organic shapes that require lettering or patterns.

1. With the image selected, from the Interactive tool of the Toolbox, select Envelope and click and drag the center edges to distort the image.
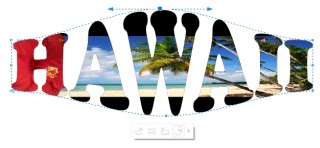
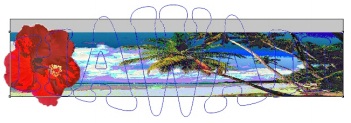
2. After distorting the letters, the fill image may no longer fit inside the container. To fix this, click on the Pick Tool to exit the Envelope tool. Ensure the image is selected then press the Ctrl key and click on the image to enter the PowerClip editing mode. Then widen the bitmap by dragging the center of the edges outward (tip: hold shift key to widen top and bottom edges at the same time.)
Adding drop shadow to your masthead
1. From the Interactive tools menu, select Drop Shadow. Click and drag to create a drop shadow for this image. Use the slider to adjust the amount of shadow.

2. Additionally, you can left click on the image to bring up another slider which allows you to adjust the intensity of the shadow.
You are done. Your masthead is ready to adorn your travel brochure.

If you have enjoyed this tutorial, be sure to check out the other tutorials that are available in the Discovery Center. If you have any ideas for tutorials or projects that you would like to see in the future, please leave us some Feedback.


Was this article helpful?
Tell us how we can improve it.