This tutorial will tour you through the layout of the Edit Workspace and introduce you to the tools and features that will allow you to edit and enhance your photos! The Edit Workspace is the third Workspace and gives you access to the full set of photo editing tools in PaintShop Pro.
You will learn:
- The layout and features of the Edit Workspace.
- How to use some of the most useful features.
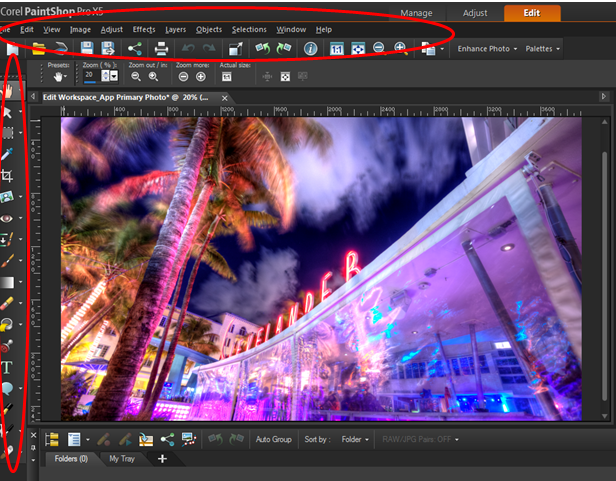
You can access the Edit Workspace by clicking on the Editab at the top of your PaintShop Pro window. The layout of the Workspace is as follows:
- Menus and tool bars are on the top and left. These tool bars contain a wide variety of options, and you are certain to find everything you need to accomplish all kinds of tasks - from simple touch-ups, to creating elaborate works of art! Be sure to explore all the possibilities, including the Image, Adjust, and Effects menus, and use the Learning Center for detailed explanations on the possibilities of each tool.
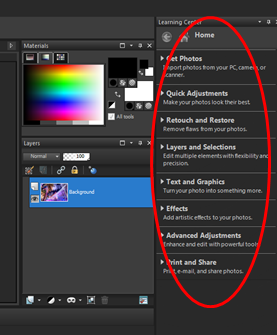
- The Learning Center is on the far right. The Learning Center can be a useful resource for both beginner and advanced users of PaintShop Pro to learn more about the editing tools.
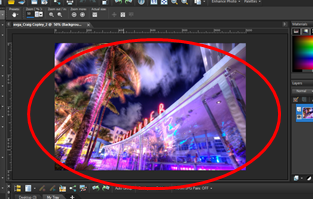
- The Preview Window is in the middle.
- The Organizer tray is on the bottom.
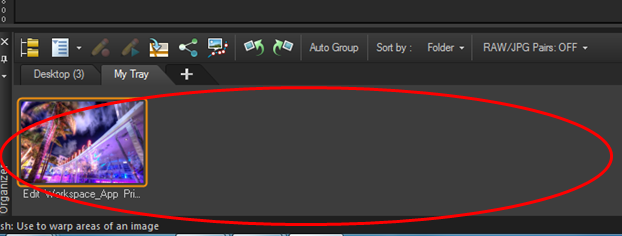
- The Navigation Palette is not visible, but can be accessed by clicking twice on the icon located on the Organizer tray (on the bottom left) for quick and easy access to new photos.
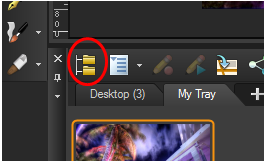
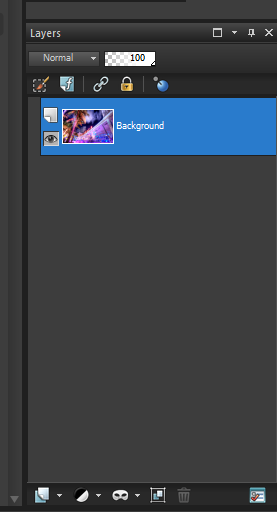
- The Layers function allows you to separate out edits. Layers are a fundamental tool to allow you to work on specific edits without compromising the rest of the image.
If you enjoyed this tutorial, be sure to check out the other tutorials that are available in the Discovery Center. If you have any ideas for tutorials or projects that you would like to see in the future, please leave us some Feedback.


Was this article helpful?
Tell us how we can improve it.