This article applies to Studio versions 12 and older
1: Start by going to the title tab of the Album.
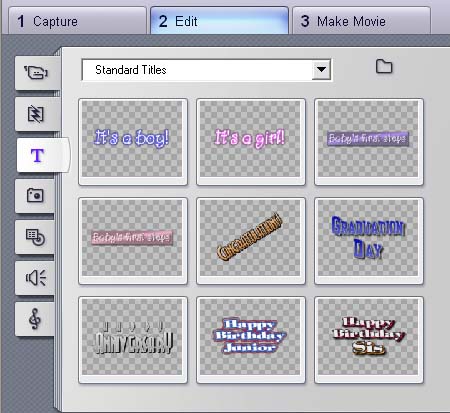
This section of the Album contains a collection of text titles in a variety of styles. They can be used in your movie as either full-screen or overlay titles. The difference is that in an overlay title the transparent background is replaced by other material (usually a video clip), whereas in a full-screen title, the background is replaced with black.
In the Album, a gray checkerboard is used to indicate the portion of a title that will be treated as transparent in overlays. (If you prefer a black background, use the Album Black background menu command.) As with video scenes, titles that have been added to your current project are indicated in the Album by a green checkmark symbol.
With Studio's powerful built-in Title Editor, you can readily create your own titles when needed. However, you may find it easier still to start with one of the supplied titles and customize it in the Title Editor.
2: Please review the pages of titles and select the one you think will fit the project best.
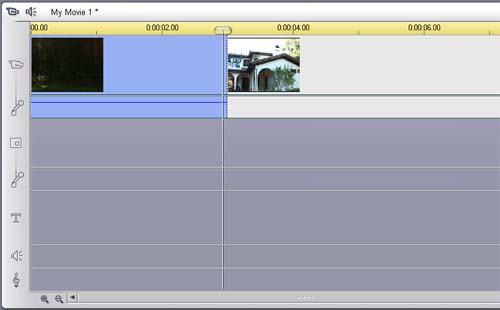
3: Now move the scrubber on the time line to the point you want the title.
4: Now drag the title down to the Title track of the timeline. It has a large T indicating what track it is.
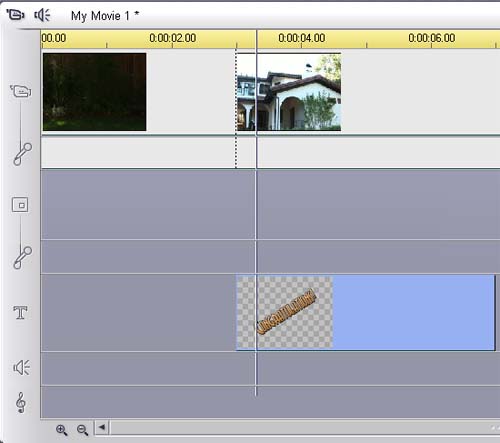
5: Double click on the title to bring up the title editor.
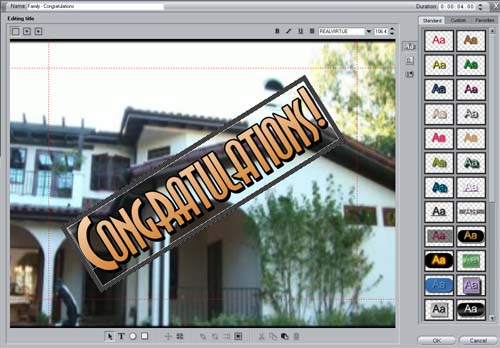
This will bring up a large window that will allow you to edit the stock title you have chosen. If you like the text style in the title just click on the text and you will be able to backspace to remove it and type what you want into the text box. If you look at the right side of the screen you will have various styles of text, you can click on one of those and use it instead of the stock titles style as well.
For more information on the wealth of options available in the title editor please see chapter 10 of the Studio/Studio plus owners manual.
Was this article helpful?
Tell us how we can improve it.