DV and HDV Import includes importing from any DV or HDV camcorder.
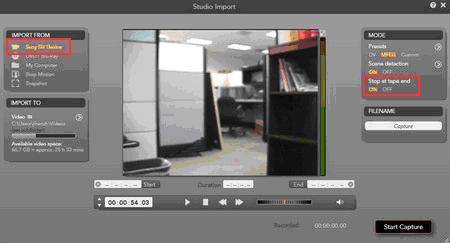
In this example, we will use a Sony DV Camcorder as the source. You can see that the Sony DV Device is connected and recognized by Studio since it is displayed in the "Import From" section. With the video playing, you can begin capture by pressing the Start Capture button in the lower-right.
Note that capture from this DV device has an additional option in the Mode section that the analog device did not have. This additional option is "Stop at tape end" and is shown in the red box below.
Once the Start Capture button is selected, thumbnail images will appear on the bottom of the Importer window. These images represent the scenes that have been captured. At this point the Start Capture button changes to a Stop Capture button.

Studio has the option to set Mark-In and Mark-Out points during DV and HDV capture. This gives users a convenient way to capture only the section of video that they want. With the Mark-In and Mark-Out set properly, the capture will automatically start and end at the user designated points. The screenshot below shows these settings. There are 3 main sections to this feature:
Start - You can enter a desired time on the tape for the recording to start. This defaults to the current location on the tape.
Duration - You can either enter a desired duration or you can skip this and just enter the desired End point. If you enter a desired duration, the End point is set automatically based on the duration that you entered.
End - You can enter a desired time on the tape for the recording to end.

Settings
There are additional setting changes that can be made for many of the sections in the importer with a DV or HDV camcorder selected. To display the additional settings, click the > button next to the option. The setting for DV / HDV capture are mostly the same except that there are no additional settings for the device in the Import From section.
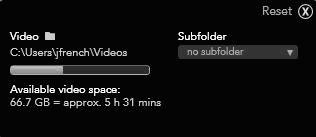
Here are the settings for the Import To section. You can change the capture location here.
Here are the settings for the Presets option in the Mode section. You can choose the video format to be captured here as well as other advanced options like changing compression codecs.

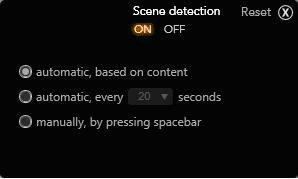
Here are the settings for the Scene Detection option in the Mode section. This is very similar to past versions. The default is "automatic, based on content".
Was this article helpful?
Tell us how we can improve it.