This tool allows a user to import snapshots directly from an external video source such as a DV Camcorder. In previous Studio versions this option was available using the Frame Grabber tool in the Edit mode. This is similar to the Stop Motion tool except that the images are not necessarily meant to be sequential frames. The images are always imported as stills, never as video. The screenshot below shows the Snapshot tool selected. In this case the video is coming in from a Sony DV Camcorder. In order to grab a frame, click the "Capture Frame" button.
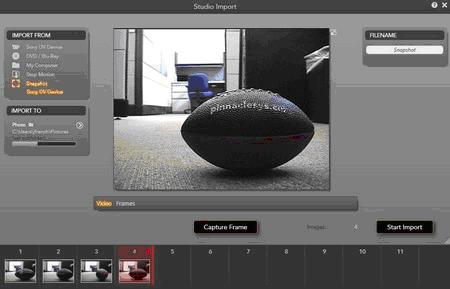
Once you click the Capture Frame button, the frame is shown in the area below. You can capture as many frames as you want.
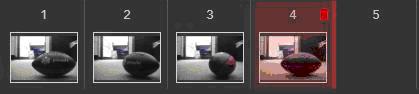
The screenshot below gives a better view of the frames that have been captured. When you select an individual frame it will receive a red highlight. You also have the option to delete the frame by clicking on the red trash can button in the upper right of the captured frame.
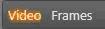
There is an option to toggle the preview between the video source and the frames have been captured. This option can be found in the bar below the preview window. To preview what is being seen by the video source click Video. To preview frames that you have captures click Frames, then click on the frame(s) that you would like to preview.
Once you have captured all of the desired frames, click the Start Import button. This will import all of the captured frames to the Edit mode.
Settings
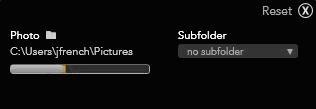
There are not many settings for the Snapshot tool. The only extra settings are accessed by clicking the > "More Settings" button in the "Import To" section. This allows you to change the default save location of the captured frames.
Was this article helpful?
Tell us how we can improve it.