Want to liven up your videos with professional-looking special effects? It’s easy with Roxio Creator NXT! With Creator's video effects, you can make your movies burst with fireworks, give brand new videos an aged film look, or add falling snow and fog to a winter scene. Many of these amazing effects are included in Creator NXT, and all of them are in Creator NXT Pro.
Creator NXT includes a set of naturalistic effects like fog, fire, smoke and sparkles, while Creator NXT Pro adds styles like skew, aged film, newsprint and destabilization. All these effects are available directly within VideoWave, Creator's full-featured video editing app, integrating seamlessly with the program's other built-in effects, such as distortion, colorization and 3D. (The Video Effects: Nature and Enhance & Style packs are also available separately as plug-ins for earlier versions of Creator.)
To get started, install your Effects pack (if not already included with your version of Creator), and then open VideoWave by clicking on the Video-Movies tab on the Creator home screen and choosing Edit Video - Advanced. (You can also open VideoWave directly from the Roxio folder in the Windows Start menu.)
Next, choose your project type. Select Normal for 4:3 video, or Widescreen for 16:9 video, depending upon your source footage. Now add the clips you will use in your movie by clicking the Add Photo/Video button and choosing them from your hard disk. You can play clips in the file browser to preview them. Then click Open to add them to your project. Finally, arrange the clips on the timeline in the order you'd like them to appear in your movie.
Now that you've got your production started, it's time to play with some effects! Below we'll show you how to apply a few typical effects from the packs, but there are many more where these came from. For extensive video samples of the effects, be sure to check out our video tutorial, as well as the respective product pages for Video Effects: Nature and Video Effects: Enhance & Style.
Applying an Effect
The first step is to choose the type of effect you want to apply to a particular clip or portion of a clip. Click Add Video Effect at top left, or the Effect Selector in the right-hand pane to see a gallery of effects. You'll see a complete list of all available effects, including those built into VideoWave and those added by Effects packs.
You'll see several versions of most effects. For example, there are four fog effects: Fluffy, Red Mist, Rising Green and Steady Mist. Click the Play button on any effect in the gallery to preview it. Explore the various effects types and variations to get a feel for what's available and how you might be able to use them in your production.
Once you've familiarized yourself with the effects, choose one to apply to a clip, then either drag it to the clip preview pane to apply it to the current clip, or drag it directly to the Fx1 timeline at the bottom of the VideoWave window. You'll see a result like the below, from the Enhance & Style pack:
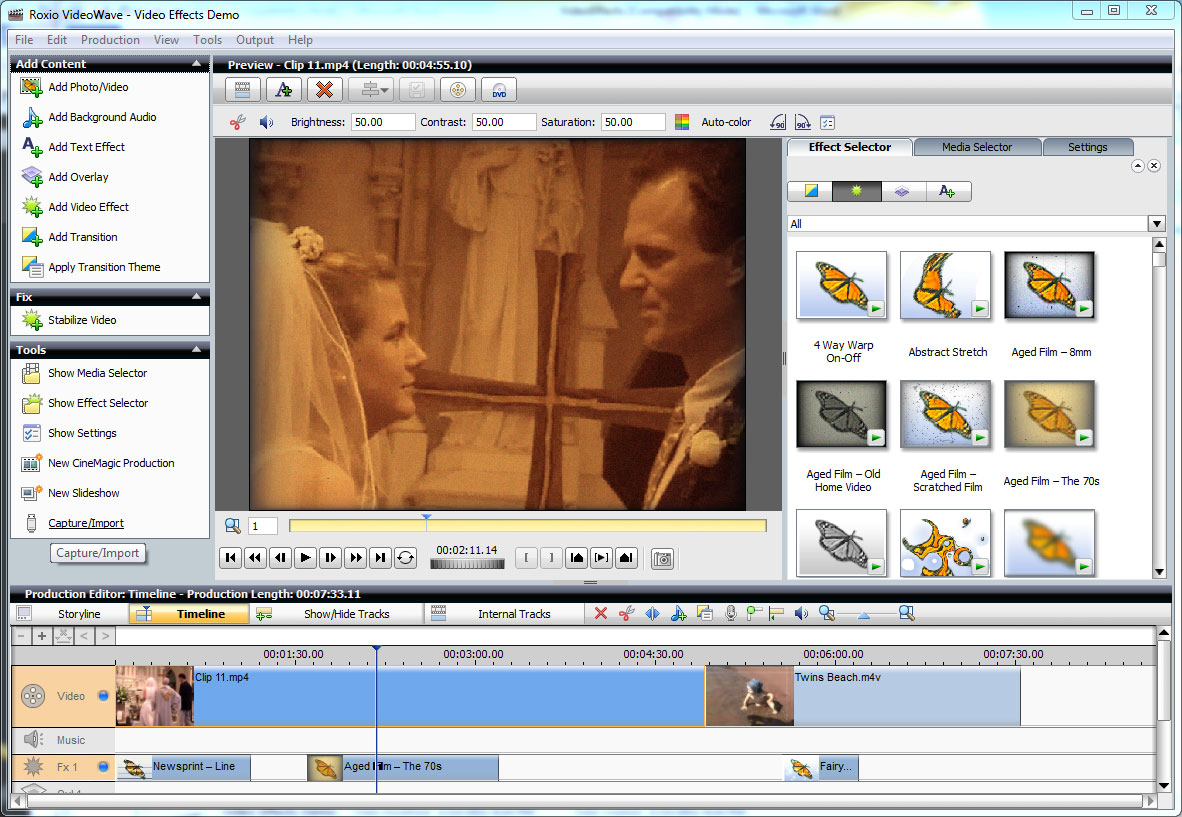
Applying the Aged Film effect (click to enlarge).
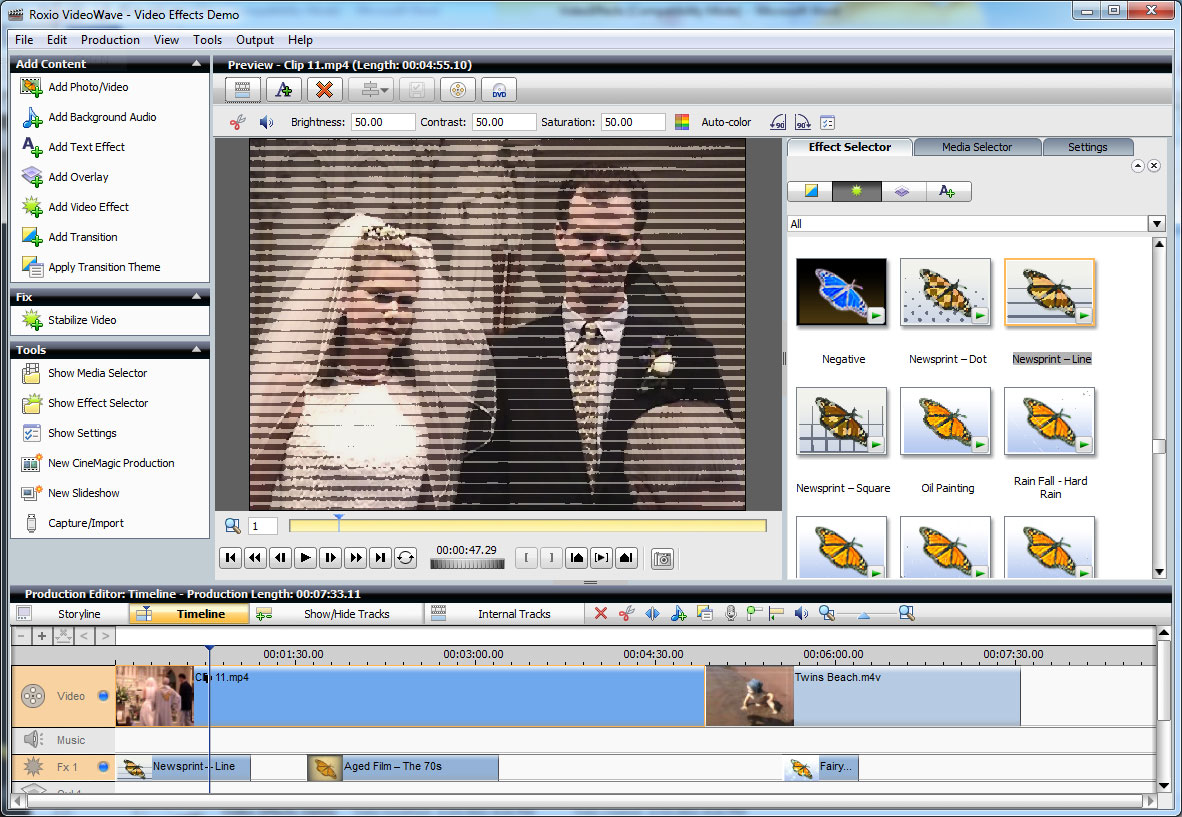
Using the Newsprint style (click to enlarge).
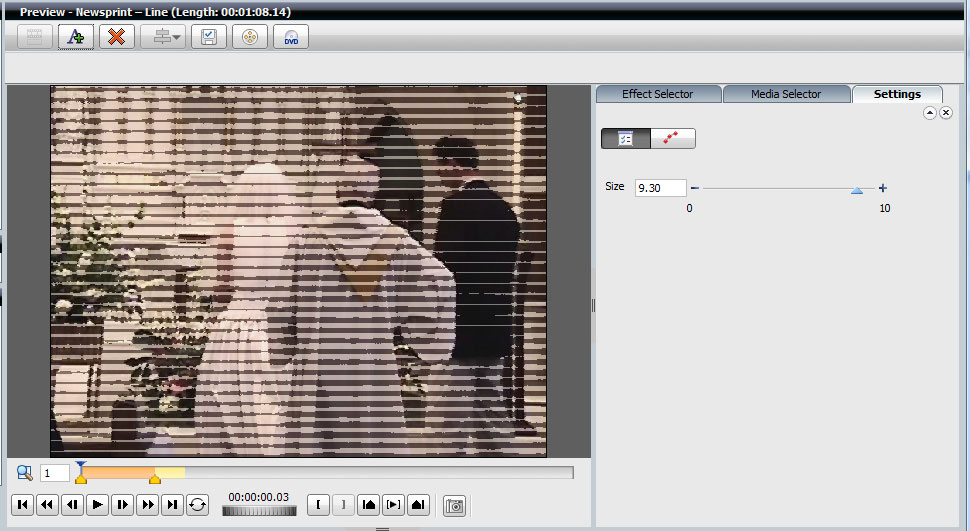
Changing settings for the Newsprint style (click to enlarge).
To change the duration, drag the orange start and end markers just below the clip in the preview pane. Press Play to preview how the effect will look and to help fine-tune your start and end points. Now check out the settings page at right. Here you can change whatever parameters are applicable to your effect. In the case of Newsprint, we can change the size of the lines or dots in the effect. In the case of the Visual Harmonizer, we can change the vertical position of the harmonics. Other effects may have different sets of parameters.
Nature Effects: Fog, Smoke, Fire & More
The Nature pack has some really cool effects, such as fog, rainfall, fireworks and "fairy dust" that should work well with many home movie scenes.
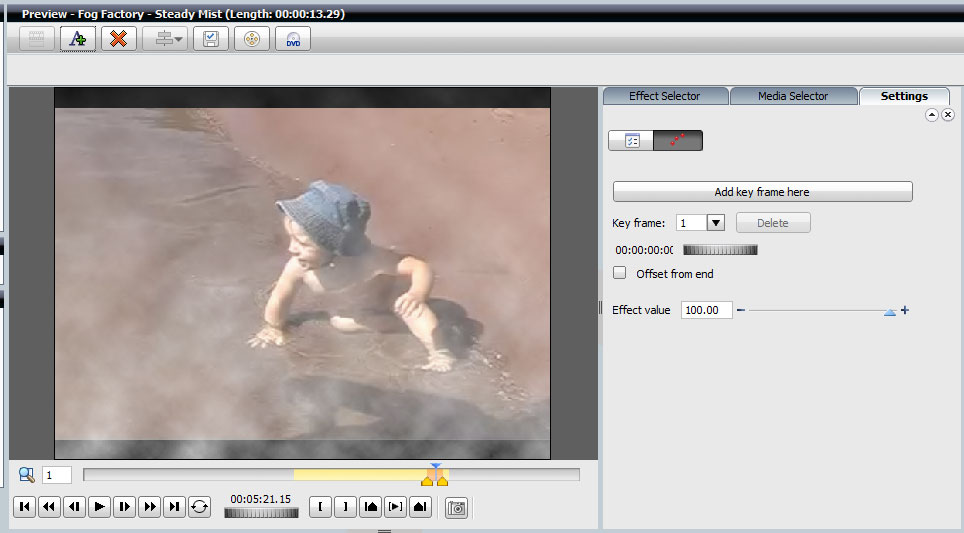
Here's the Mist effect being applied to a beach video:
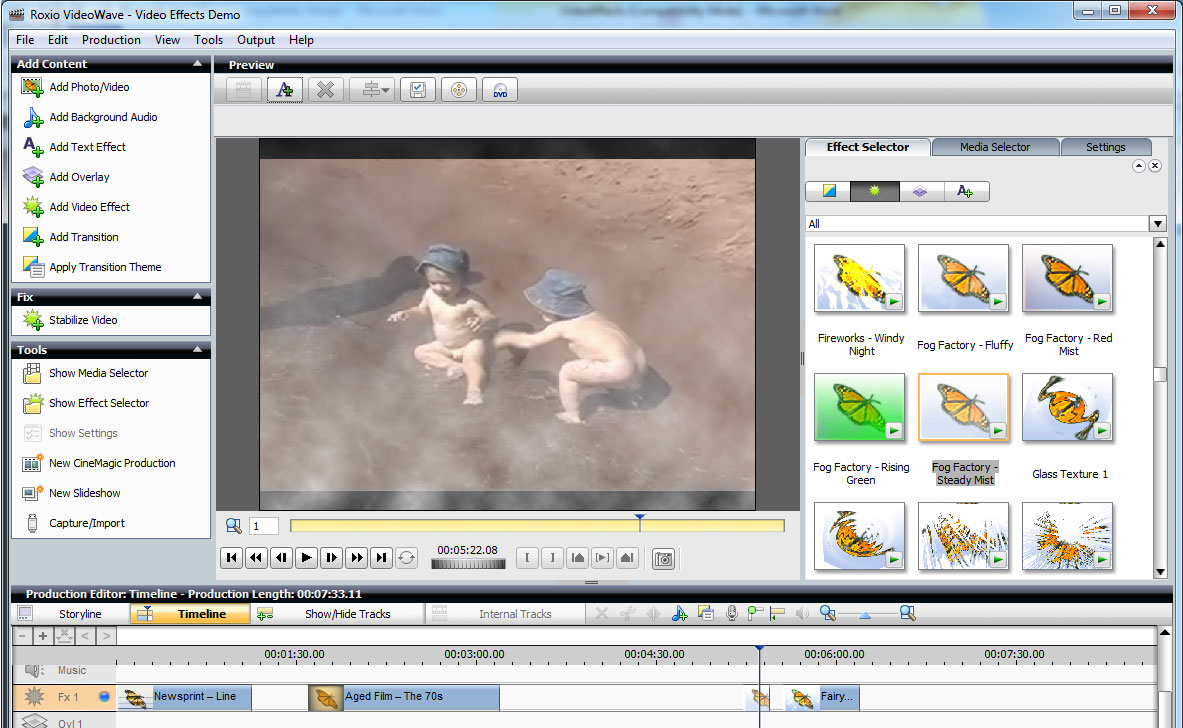
Applying the Mist effect from the Nature pack (click image to enlarge).
Using Key frames
The final piece of the effects puzzle is using key frames, found in the Settings tab for your effect. Key frames let you change the settings for an effect at different points in time. During the time between the key frames, the effect gradually changes from the settings defined in the first key frame to the settings defined in the second key frame. For example, if you apply the Visual Harmonizer effect to your production, you can set different vertical positions for the effect at the beginning and end, or any location in between.
By default, when you add an effect, the application adds start and end key frames. To add a keyframe, use the jog wheel or slider in the Preview pane to move the playback head to the position at which you want to insert the keyframe. Then click Add key frame here in the Settings pane. Make sure the key frame is selected in the drop-down box, and adjust its effect settings. You can have different settings for each key frame you define.
Defining new key frames.
Was this article helpful?
Tell us how we can improve it.