We see it everywhere, curvy, curly, circular text, but did you know you can do create that look in Paint Shop Pro? You can! With this tutorial we'll show you how to create reverse text on a path.
What you'll need
- Corel® Paint Shop Pro® Photo XI
When you complete this tutorial, you'll be able to
- Create a new image
- Use the Preset Shapes Tool
- Use the Text Tool
- Work with the Layers Palette
Create a New Image
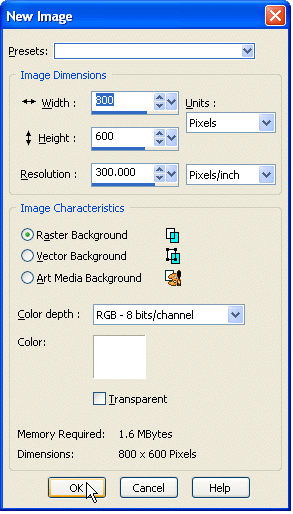
- Choose File > New. You can choose any size image you like, or any background color. For this example we used these settings:
- Width: 800
- Height: 600
- Background Color: White
Once you've filled in the settings you want, click OK.

Create a Circle
- From the Tools Toolbar on the left, click the arrow next to the Preset Shapes Tool and choose Ellipse Tool.

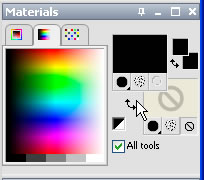
- On the Tool Options Palette at the top of the screen, click the Circle under Mode. On the Materials Palette, choose Black for your Foreground color, and turn off the Background color.

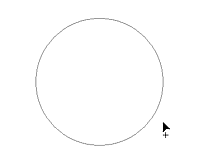
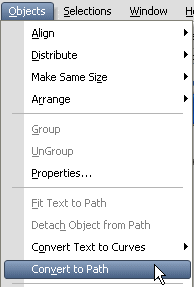
- Now click on your image, and drag until you get a good-sized circle. It doesn't matter how big or small. Once you're done drawing your circle. Choose Objects > Convert to Path from the menu at the top of the screen.
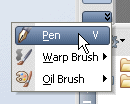
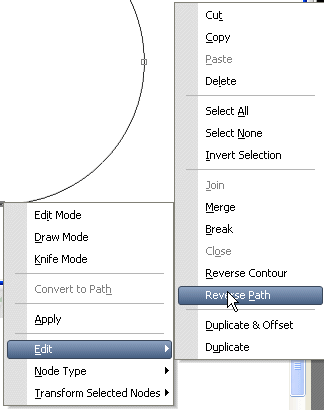
- Now select the Pen Tool from the Tools Toolbar and right-click on the vector circle. From the context menu that opens choose Edit > Reverse Path.
Add Text
- From the Tools Toolbar select the Text Tool. On the Tool Options Palette you can select your Font and Font size.


- Also on the Tool Options Palette, we're going to set the Offset. You might need to click the arrow to the right of the Line Style to display the Offset settings. The Offset controls how close your text is to the line. If you want your text inside the circle you'll use a positive number. If you want it outside the circle choose a negative number. When you're complete a project or scrapbook layout, you can set this number to suit your design. For this example we set the Offset to 10.


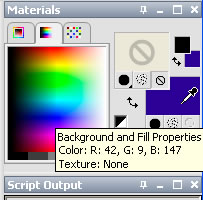
- Now on the Materials Palette, you can set the color of your text. Click the Background swatch and choose the color you like. For this example we turned off the Foreground color and chose purple for the background color.
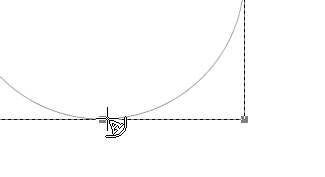
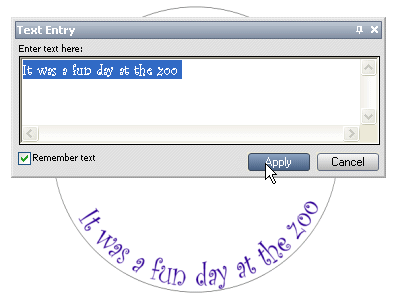
- Now you need to position the cursor over the line of your circle until your it turns into a sideways A with a curved line under it. Position your cursor approximately where you want the text centered on your path. When you're ready, click the circle's line and the Text Entry box will open. Enter your text and click Apply.
Hide the Circle
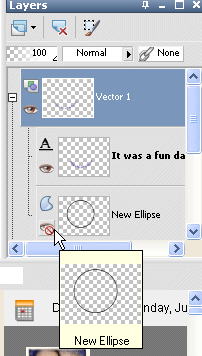
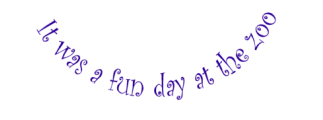
- If you like, you can get rid of the path that you placed your text on. On the Layers Palette, click the [+ +] next to the Vector 1 layer, and then click the layer visibility toggle (the eye) next to the New Ellipse. There you go! Reverse text on a path!
Was this article helpful?
Tell us how we can improve it.