Step 3 Adjust Depth of Field
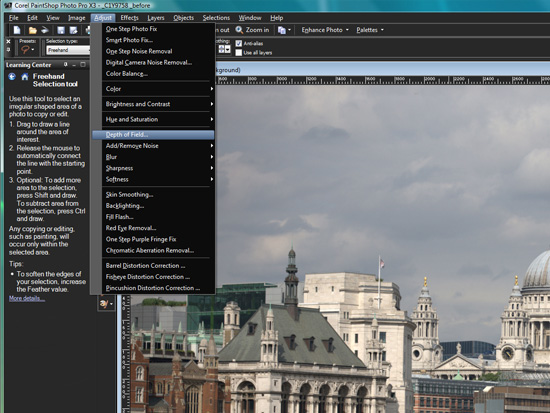
With your selection wrapped it’s time for PSP to make a mask, but before you stop there, this is the easy (and definitely fun) part. From the main menu, select Adjust > Depth of Field…
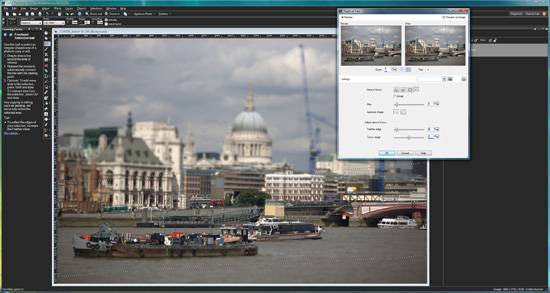
This command opens a new adjustment window, showing before and after previews and if you’ve got the Preview on Image box checked, you’ll be able to see the effect on the image in the main editor window.
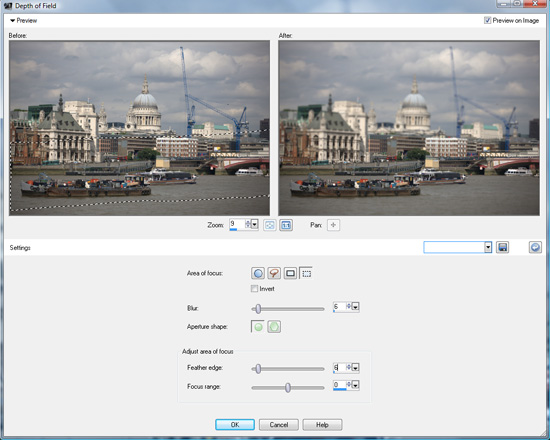
The trick here is not to overdo the Blur; I’ve selected an intensity of just 6 percent. If you have the intensity too high it’s just not realistic. You’ll need to keep the feathering low too. I’ve selected 6 percent again, but you’ll need to experiment to get it right for the image you are using. If it’s too high, or you’ve a narrow selection, you’ll find the image is blurred throughout. That’s not what you’re aiming for. I’ve increased the Focus range by ramping up the slider to the right but it seems to have very little effect on a small selection. Still, it all helps. Click OK when you’re happy. And, then Right click the image to remove the selection. That’s an important step.
Step 4 Adjust Saturation…
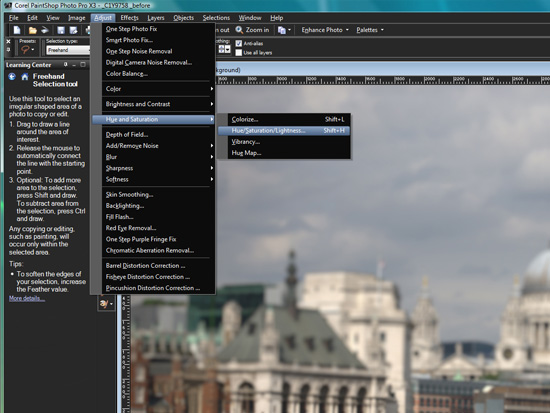
To make the image slightly unrealistic now, but definitely more miniature-like, we’re going to adjust the saturation. From the main menu, select Adjust > Hue and Saturation > Hue/Saturation/Lightness…or, if you prefer the shortcut, choose Shift+H.
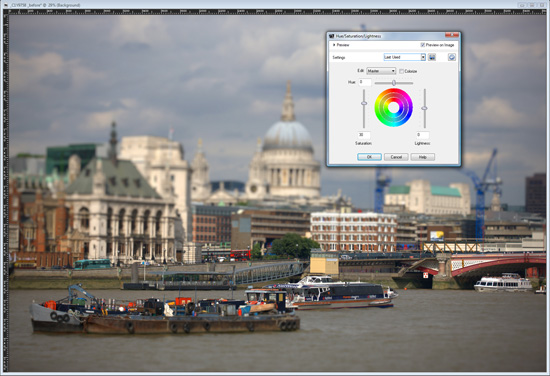
The HSL window opens. You can preview before and after images again, or preview the effect on the main image. I’ve inched theSaturation slider up 30 points, but it’s something you’ll need gauge by eye. I’ve left both Hue and Lightness untouched. Click OKwhen you’re done.
Step 5 Sharpen to taste…

In our final step, all we need do now is add some sharpening. If you’re unsure about the various sharpening techniques for different subjects, simply head to Adjust > Sharpness > Sharpen More while observing the effect at 100 percent actual pixels.
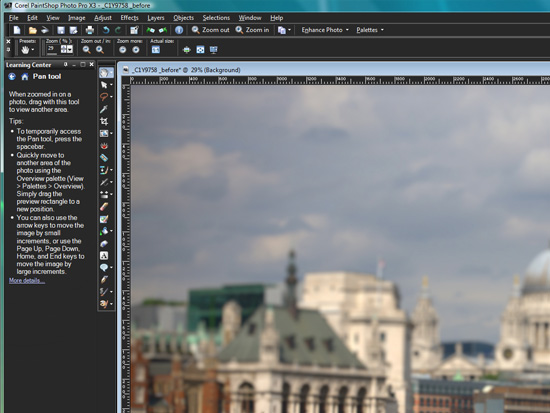
To do this, click on the Pan tool in the Tools palette, and then from the Tools Options palette, click the 1:1 icon, Actual size. Now pan to the area of interest (the subject or centre of the image). If you feel it needs more sharpening repeat the command (Adjust > Sharpness > Sharpen More).
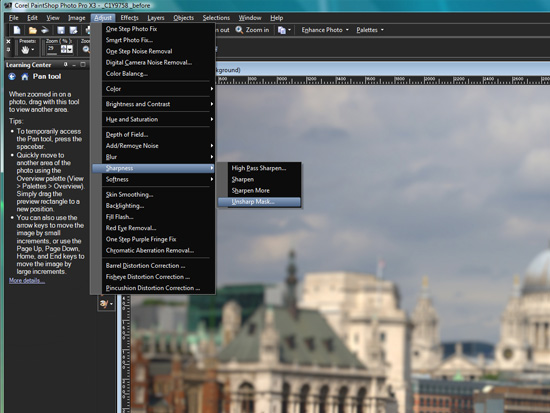
If, however, you feel confident using the Unsharp Mask filter (and PSP has an excellent USM tool with before and after previews) then from the main menu, select Adjust > Sharpness > Unsharp Mask… Remember, we’re trying to make this look slightly surreal, so we must be fairly heavy with the sharpening, but we must also try to avoid artifacts, such as unsightly noise and halos.

Invoking the Unsharp Mask command will reveal a new window, and if the Before and After previews aren’t shown, click on the little pull-down Preview arrow, top left. Check the Preview on Image box too, so you get an overview. As a guide, in theRadius box, anywhere between 1 and 2.0 pixels will suffice, set Clipping between 3 and 8 (lower being more intense). This then leaves you to adjust the Strength by eye between 100 to 150, depending on the image. Click Okay when you’re done, thenSave, or Save As… to make a copy. And that is it; you’ll be left with an image imitating that vaunted Tilt & Shift look.
© copyright 2010, Kevin Carter
Was this article helpful?
Tell us how we can improve it.