
Welcome to this tutorial on Restoring Low Resolution Images using PaintShop Pro.

In this tutorial you will learn how to touch up an old photograph and turn a special memory into a beautiful gift.
1. First, open PaintShop Pro and make sure that the Edit tab is active.

2. Next, open the image you're going to be working with.
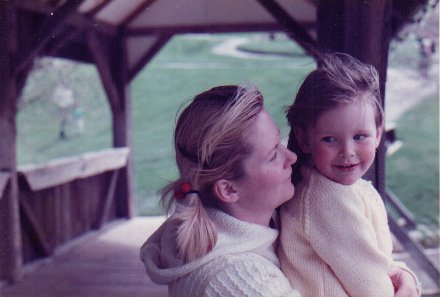
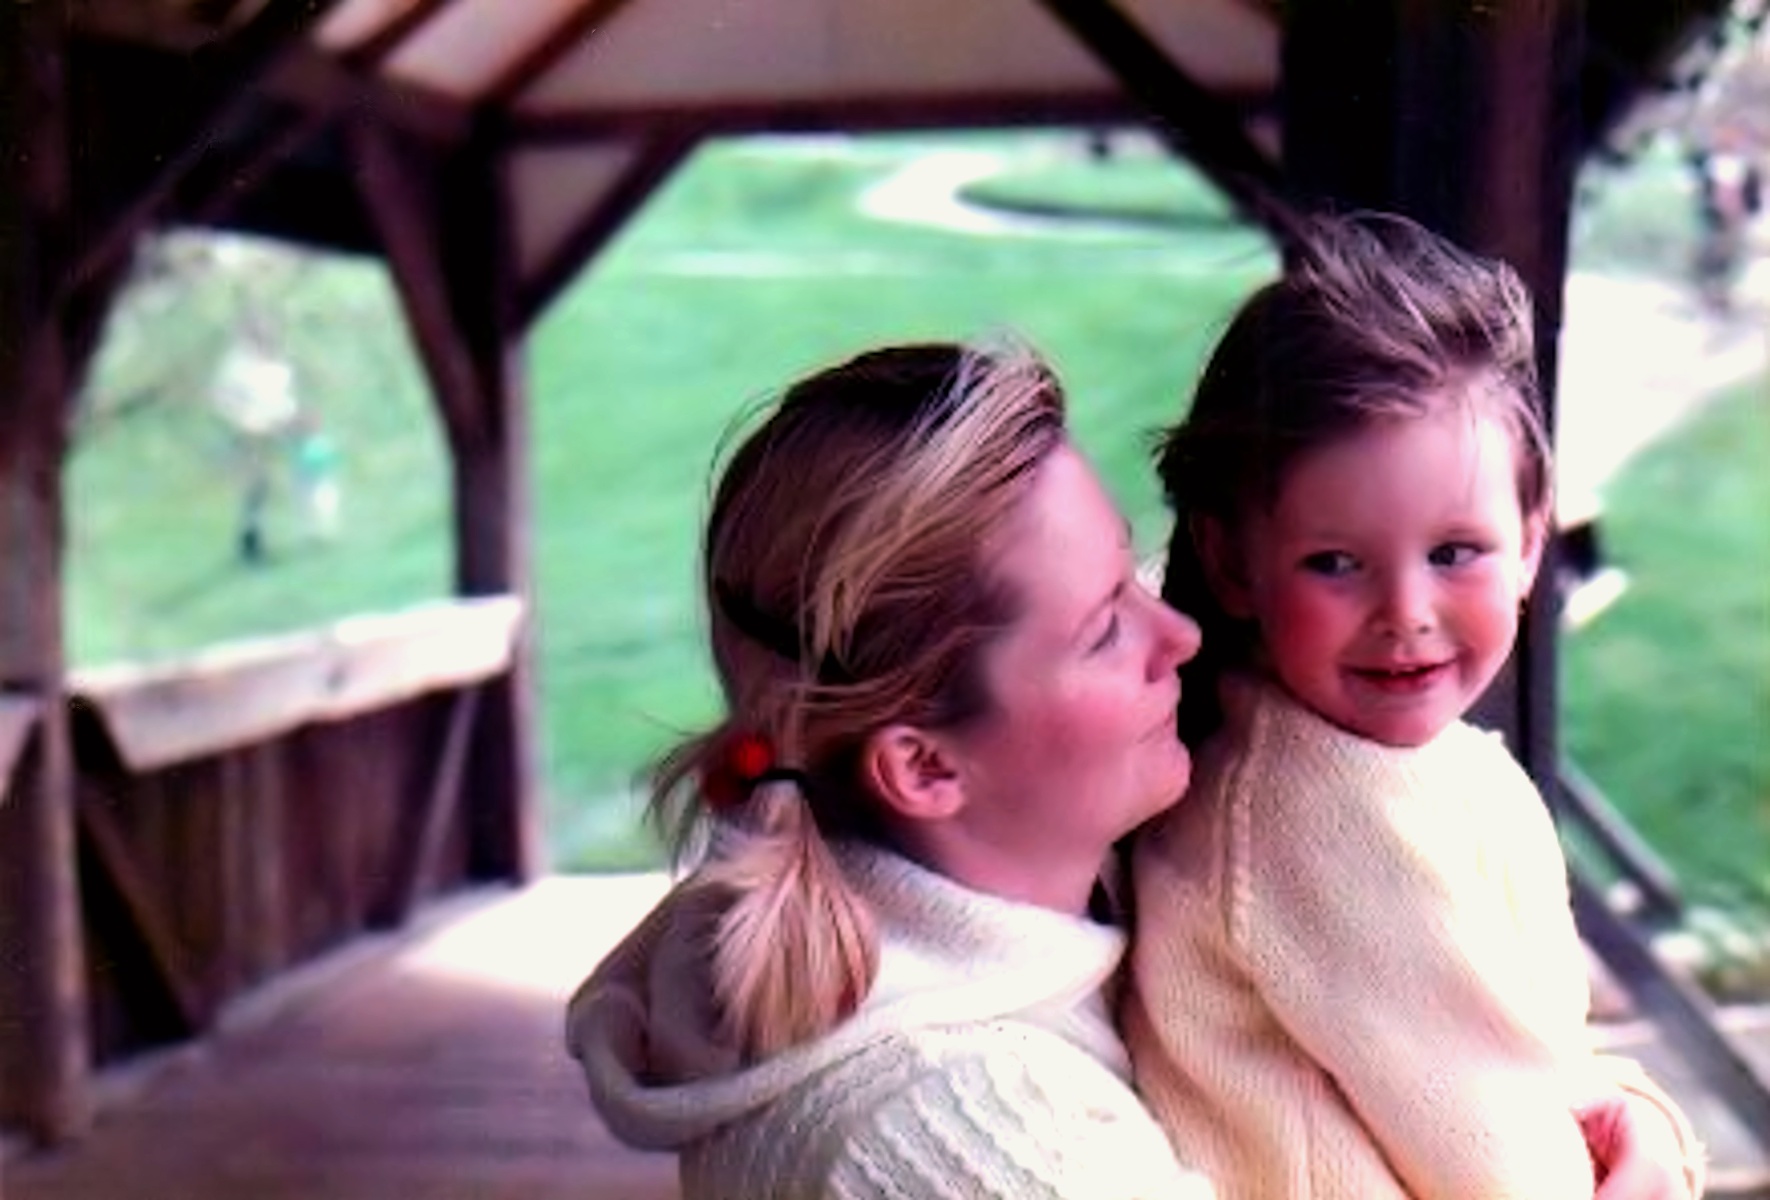
In this example I have a beautiful mother and daughter photo that was taken in the 80's. It has faded over time and has some marks on it; also the image resolution is very low because the scan was also done over 10 years ago. Insituations where the original image or negatives are no longer available, PaintShop Pro will allow you to increase the resolution manually.
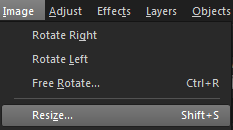
3. Go to Image >'Resize.
The photo will automatically zoom in at this point. To zoom back out to a full screen image, click on the Fit 'Image to Window button at the top of the screen.

Next, we'll remove the dust spots.

5. Open the Makeover tools drop down list from the standard toolbar and select the Blemish Fixer tool.
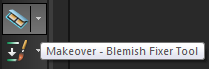
The Blemish Fixer works like a clone brush except it samples an area of a large circle around a smaller circle and uses those colors to fill in the center.
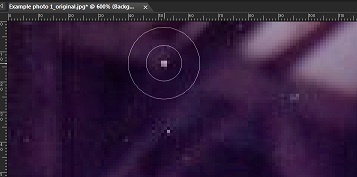
For more accuracy, you can increase or decrease the size of the Blemish Fixer tool in the interactive properties bar at the top of the screen.

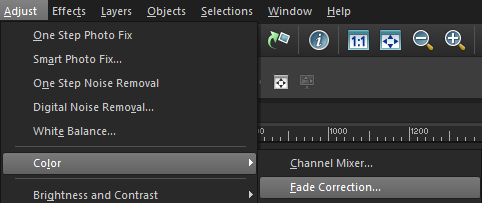
6. Next, from the Adjust menu, move the cursor over Color and select Fade Correction.
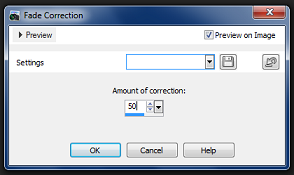
In this example, I will do a fade correction of 50. By putting a check mark in Preview on Image, you can see what the effect will be on the photo before you confirm; and click OK.
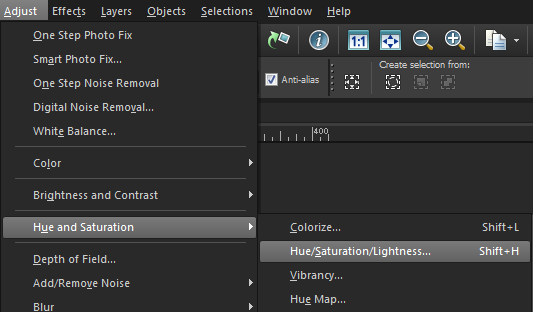
7. To make the image a bit more colorful, return to the Adjust menu, select Hue/Saturation/Lightness and increase the saturation.
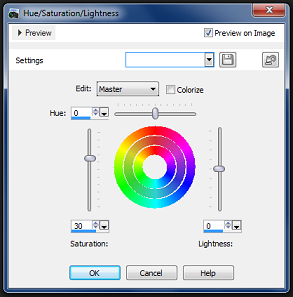
In this example, I'll increase it to 30 percent and click OK.
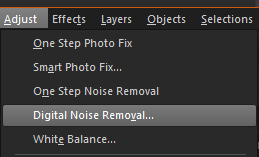
8. To further reduce pixelation, go to the Adjust menu and select Digital Noise Removal.
9. If there are areas that the noise removal tool did not smooth out properly, this can be done manually using the soften brush.
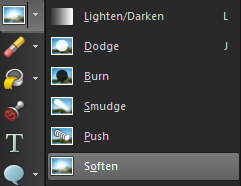
First, Zoom into the area you want to soften. Next, from the standard tool bar, select the Soften Brush; this brush is located in the same drop down list as the Lighten/Darken tool as shown in this example.
Change the size of the brush in the interactive properties bar and then apply as needed to areas that require soft touch ups.
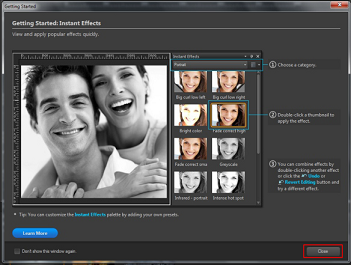
10. Last but not least, from the View menu, select Palettes and then Instant Effects.
Please note that the first time you use Instant Effects, the Getting Started Window will pop up and display useful information. This window will pop up each time you use an effect until you disable it by checking "Don't show this window again" in the bottom left corner of the window.
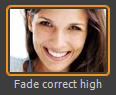
11. First, start with the Fade Correct High. This adds some detail back after the noise removal I applied earlier.
Next, to give the image a nice glow, I'll use the Warm effect.
12. When the work is completed, go to File> Save As > Jpeg.
Now that the image resolution has been increased and the photo restored, it can be printed and framed.
If you have enjoyed this tutorial, be sure to check out the other tutorials that are available in the Discovery Center. If you have any ideas for tutorials or projects that you would like to see in the future, please leave us some Feedback.
Was this article helpful?
Tell us how we can improve it.