

Insert the DVD
- Insert the Corel PaintShop Pro X6 DVD into the DVD drive for the computer
- In the next step, the Autorun box should appear. If the Autorun box does not appear, then it will be necessary to access the drive through Windows.
Windows XP
- Click on START
- Left-click on My Computer (the My Computer icon may also be visible on the Desktop)
- Double click on the DVD drive icon labeled PSPX6
- Locate and double left-click on the Setup.exe file
Windows Vista / 7
- Click on the STARTpearl (button)
- Left-click on Computer in the START menu list
- Double click on the DVD drive icon labeled PSPX6
- Locate and double left-click on the Setup.exe file. It also may be just plainly called Setup which is listed as an Application
- Select Run As Administrator
Windows 8
- Click on the Folder Icon in the Taskbar at the bottom of the screen
- In the left panel, left-click on the DVD drive
- Locate and double left-click on the Setup.exe file. It also may be just plainly called Setup which is listed as an Application
- Select Run As Administrator
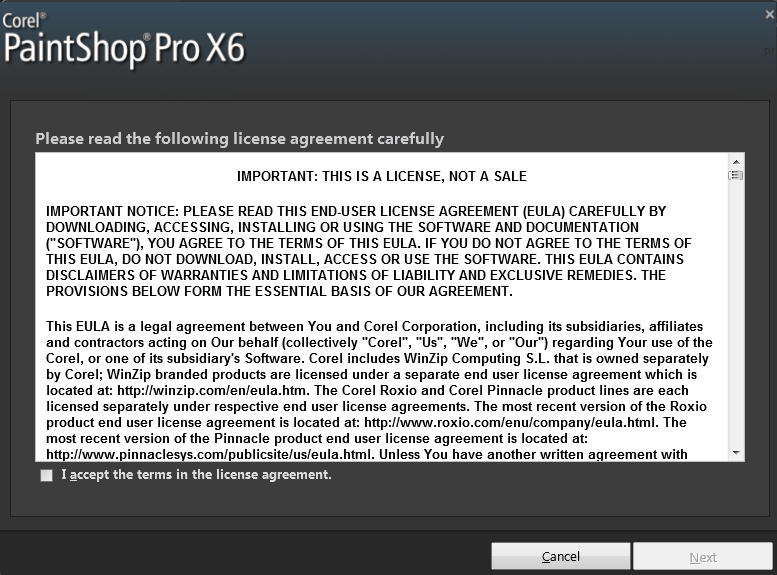
1. Accepting the End User License Agreement by putting a checkmarkin theI accept the terms in the license agreement box. Click the Next button.
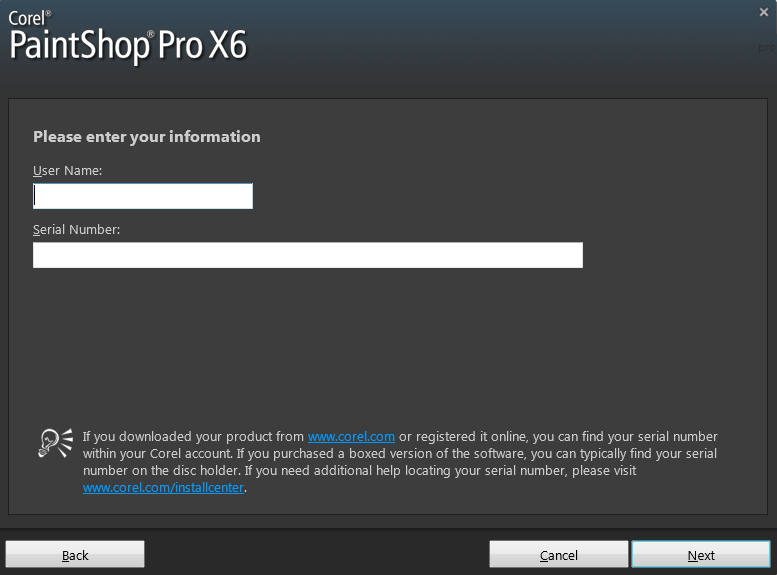
2. Fill in the User Name and Serial Number fields with your name and the serial number. You can find the serial number printed on the sticker affixed to the DVD envelope.
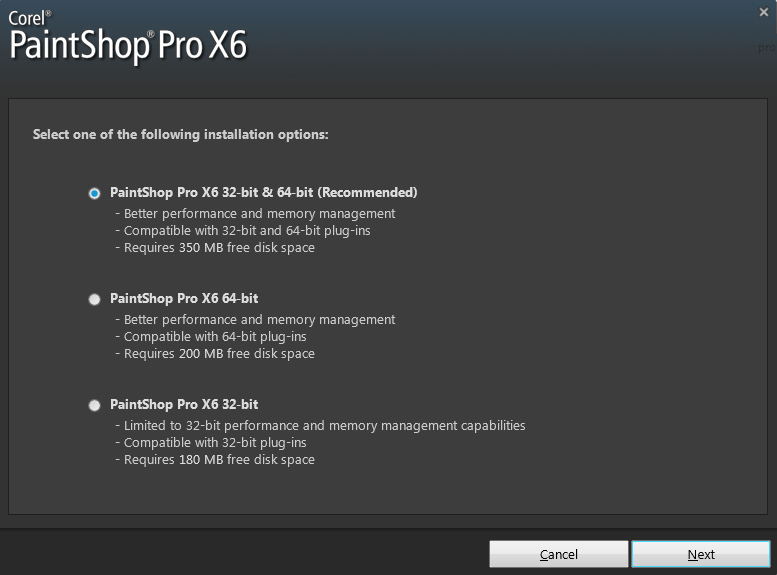
3. The next step will ask if you would like to install PaintShop Pro X6 as either a32 bit, 64 bit, or both versions. We recommend installing bothversions if you have a 64 bit version of Windows due to the possibility that some plugins or printer drivers are only 32 bit compatible.
4. This screen will allow you to pick the languages you would like to install with PaintShop Pro. The Language Pack will allow you to change languages for the workspace once the program is installed. If you wish to continue with the installation at this point, click the Install Now button.
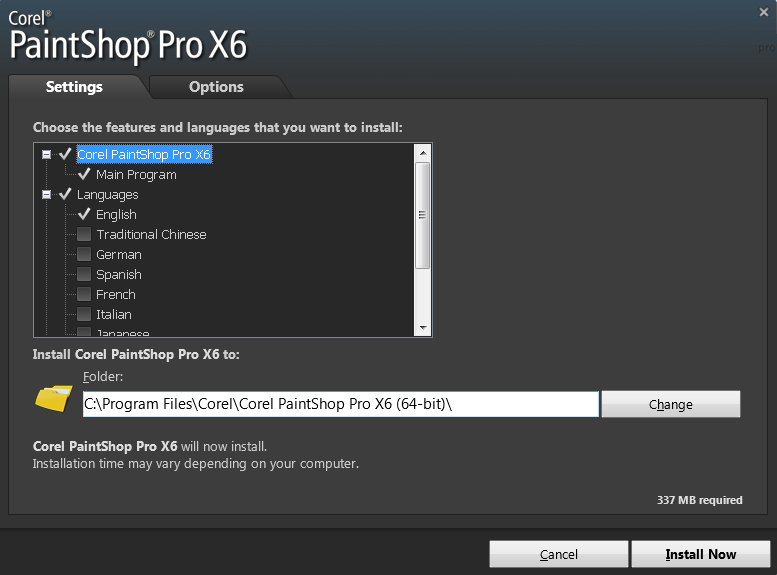
The supported languages in PaintShop Pro X6 are:
English
Traditional Chinese
German
Spanish
French
Italian
Japanese
Dutch
5. You may also wish to click the Options Tab before installation. Clicking on the Options Tab will allow you to select whether you wish to receive product updates automatically. By default, it is already checked. If you do not wish to receive these updates automatically, removethe checkmark from the selection box. Again, when ready, you may click on the Install Now button.
Note: Installing PaintShop Pro X5 on XP gives you in Options the choice to disable the file associations with PaintShop Pro
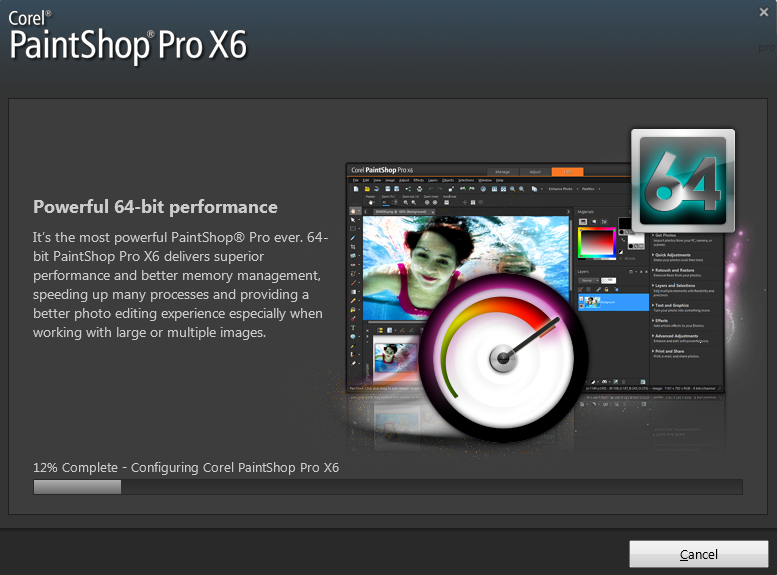
6. Next, PaintShop Pro will begin to install. A status bar will run from left to right, displaying a percentage along the way from 0 to 100%. Once the status bar reaches 100%, the program should be installed.
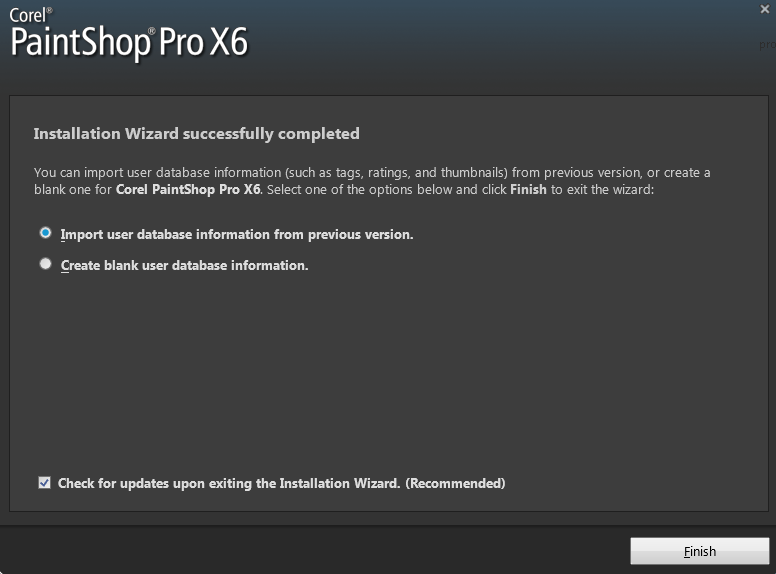
7. Once the program has finished installing, you will receive the above screen with the message: Installation Wizard successfully completed. You will then be asked if you want to Import user database information from previous versions or to create a brand new one. You may wish to select importso that items such as tags, and other information from previous versions can now be used in the current program. Click Finish.
8. The last thing you will see after PaintShop Pro X6 installs will be a message that the program is initializing. You will need to wait until it has finished completing its initialization process before being able to launch the software.

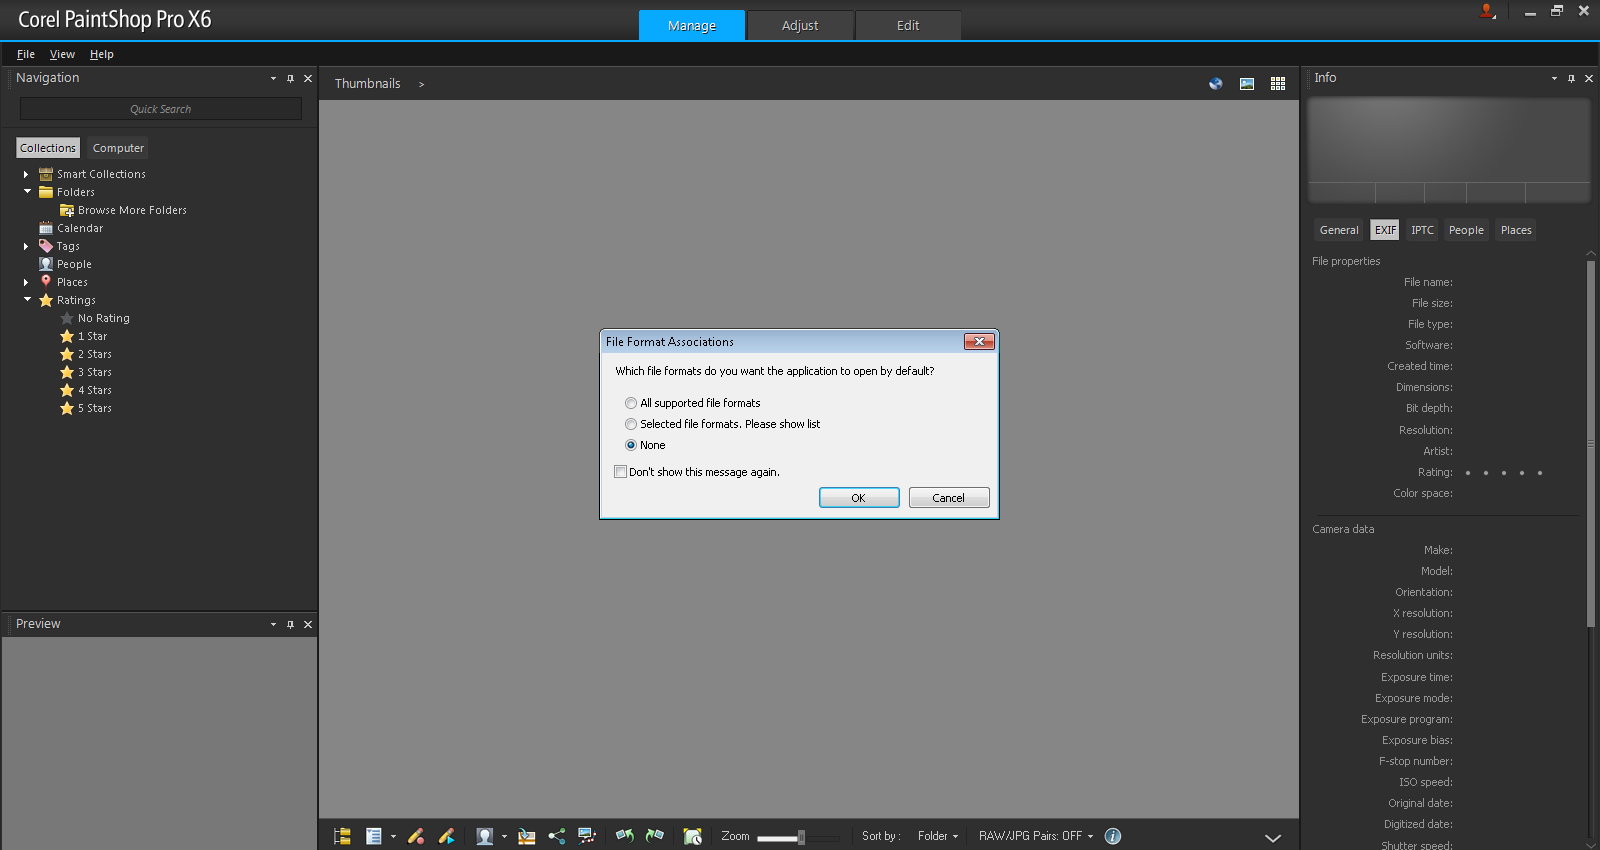
9. Once installed, your first launch of PaintShop Pro X6 will ask you to set File Format associations. Please chose whether you would like any and all image files to open in PaintShop Pro X6 by default or not. If not, then please select None and add a check to the Don't show this message again box before clicking the OK button.
Was this article helpful?
Tell us how we can improve it.