How to restore and/or install Perfectly Clear Complete 3 once purchased
1. Launch PaintShop Pro 2018
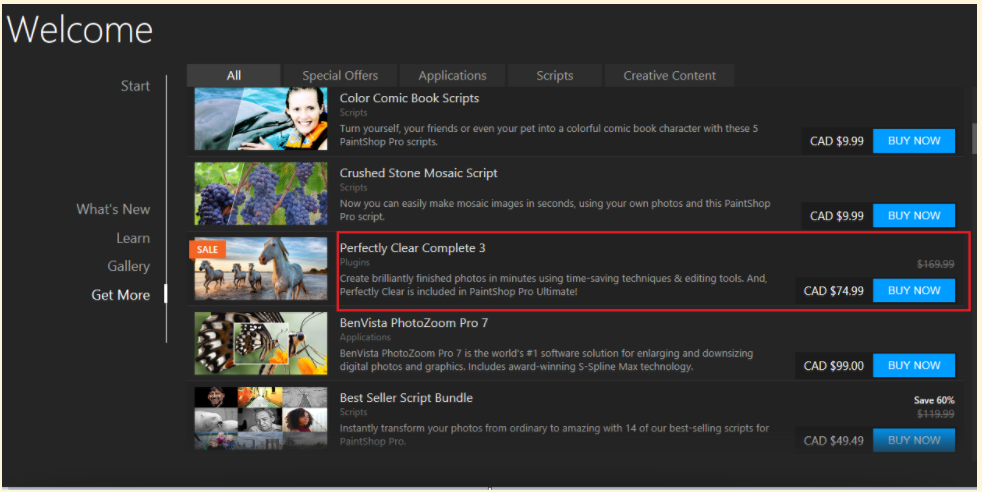
2. From the Welcome screen, go to Get More, select All
3. Scroll down to ensure that Perfectly Clear Complete 3 shows as an item to purchase
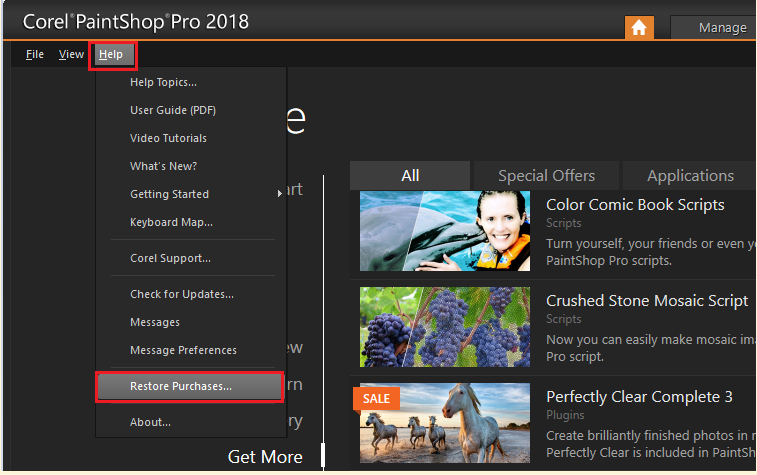
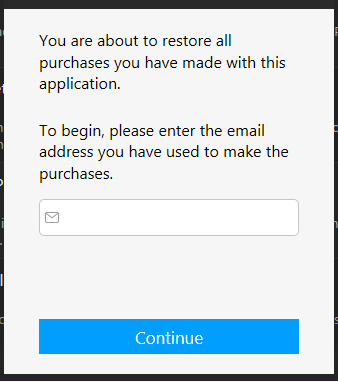
4. If Perfectly Clear Complete 3 was already purchased, you can restore the product by going to Help, Restore Purchases, enter the email address used to purchase Perfectly Clear Complete 3 and click Continue
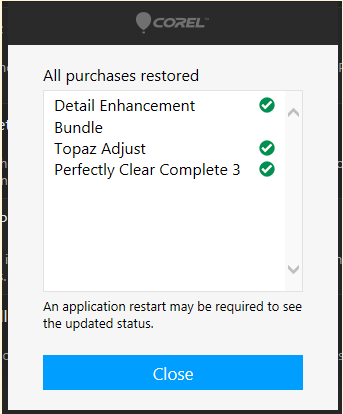
5. Once completed, it will display Perfectly Clear Complete 3 and possibly other items purchased from PaintShop Pro using that email address, then click Close. See example below:
6. Close PaintShop Pro 2018 and restart the application.
7. Once the application has restarted, look at the Get More and you will see that Perfectly Clear Complete 3 is now showing as Purchased.

8. The next step will be the installation. Click on the Perfectly Clear Complete 3 from the window above, and click Install
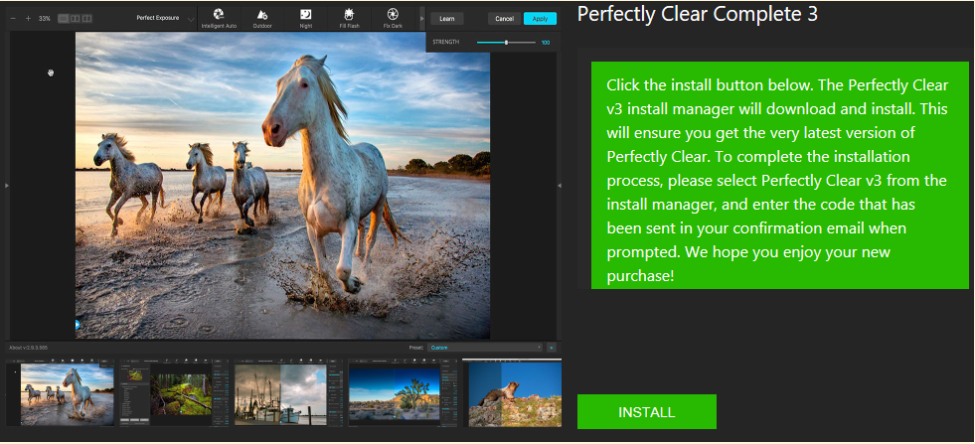
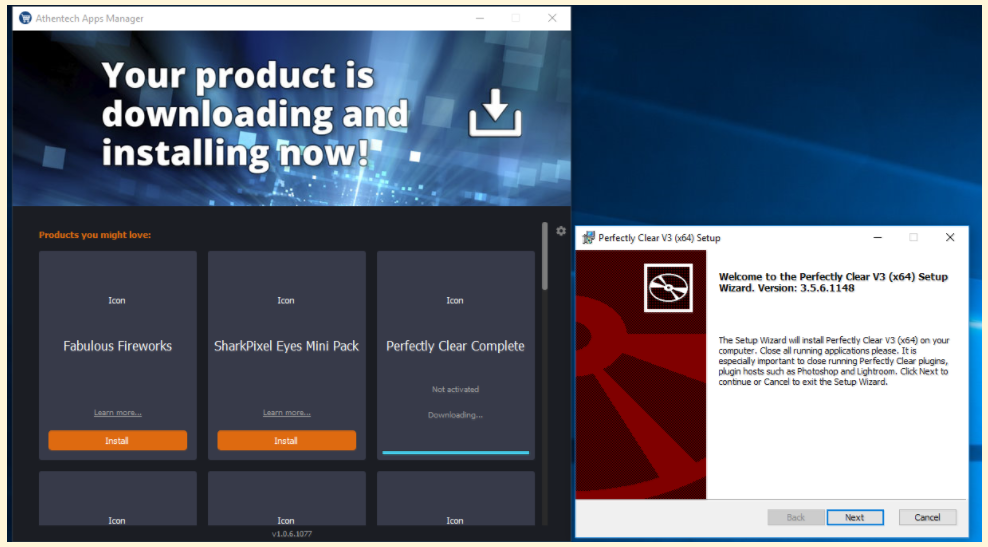
9. Once you click on Install, the product will download and then will ask you to click Next to continue with the setup
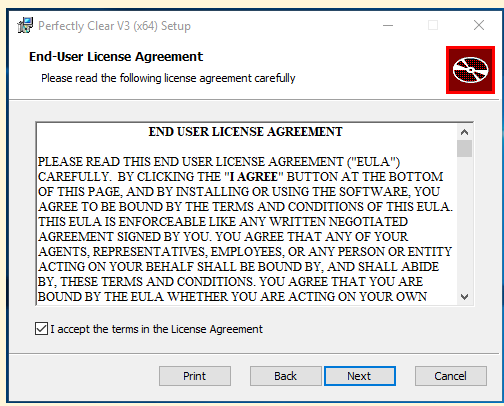
10. Accept the license agreement and click Next
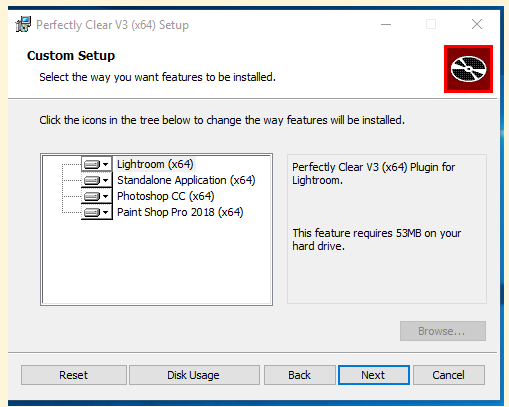
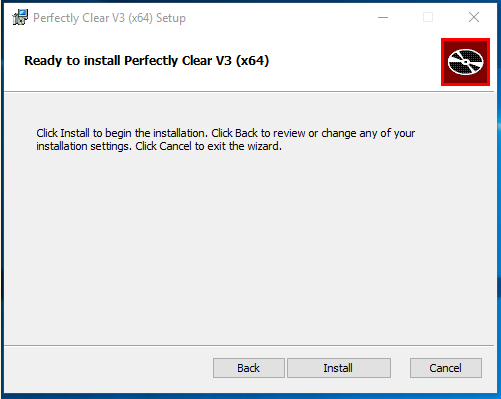
11. Click Next again to accept the default settings and then click Install
12. If you still have PaintShop Pro installed, the system will ask you to close PaintShop Pro

13. Once competed, click Finish
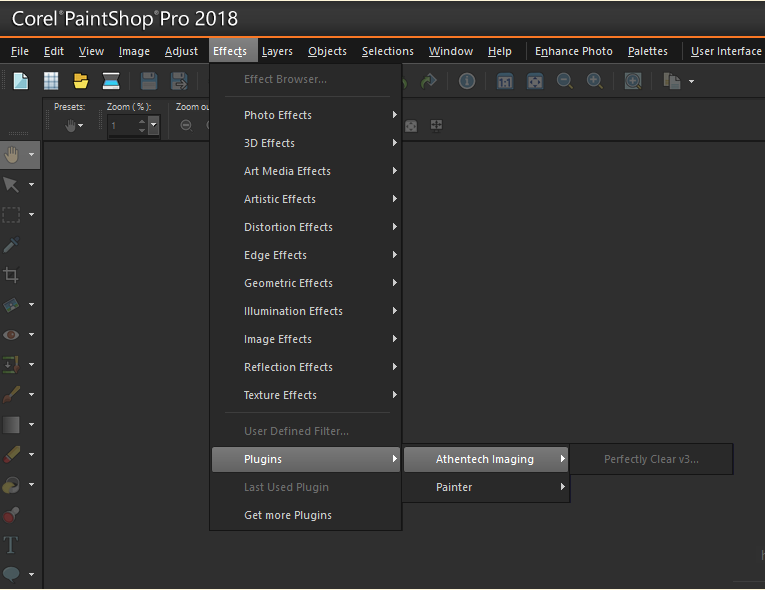
14. Start PaintShop Pro 2018, select the Edit mode, then go to Effects, Plugins and you will see Athentech Imaging -> Perfectly Clear v3
Was this article helpful?
Tell us how we can improve it.