Smart Photo Fix is the best way to correct color, exposure, and lighting problems in your photos. By completing this tutorial, you'll see how Smart Photo Fix analyzes your photo and suggests corrections with just a single click. Before you apply the corrections, you can fine-tune them to create just the look you want.
What you'll need
- Corel® Paint Shop Pro® Photo XI
- Sample image PSPPXI_02.jpg (download)
When you complete this tutorial, you'll be able to
- Use the Organizer to open a photo
- Improve photos by using Smart Photo Fix
Open the photo
1. Download the PSPPXI_02 image, and save it in your My Pictures folder.
2. Once you have the image saved, begin typing the file name PSPPXI_02 in the search box at the top of the Organizer. Your collection of image files is automatically filtered.
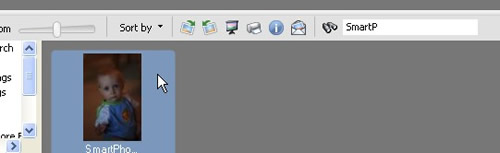
3. Once you find the sample image, double-click the photo to open it in the workspace.
Preview Smart Photo Fix Corrections
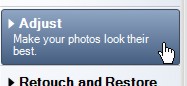
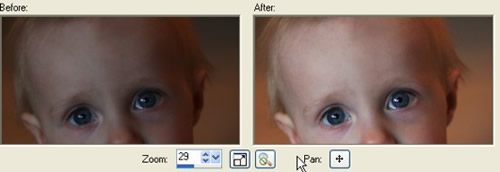
4. In the Learning Center, click Adjust, and then click Smart Photo Fix. Your photo is instantly analyzed, and you can preview a set of suggested adjustments in the Smart Photo Fix dialog box. At the top of the dialog box, you'll see the original photo (Before) and a preview of the photo with the suggested settings applied (After).

5. At the top of the dialog, you'll see the original photo (Before) and the photo with the suggested command settings applied (After). Smart Photo Fix instantly analyzes your photo and applies a set of suggested adjustments. If you like the settings that Corel Paint Shop Pro Photo suggests, just click OK, and you're done.
Adjust Settings
6. If you like, you can adjust the suggested settings. For example, place the cursor over the Highlights slider, and drag the slider to the left or right. When you release the mouse button, the preview in the After pane is updated with the newHighlights setting. For this example, we changed the Highlights setting to 20.
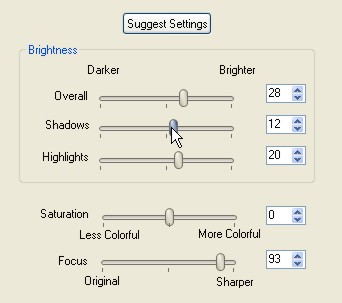
7. More settings are available by clicking the Advanced Options check box.
- The Color Balance option allows you to place additional grey balancing points on the original preview (Before). These points help Smart Photo Fix determine the optimum adjustments needed to make the photo look its best.
8. The Blacks and Whites sliders allow you to further adjust the darker and lighter areas of the photo. Advanced users will appreciate the histogram display in the bottom right corner - it shows the tonal distribution of the original photo (grey) compared with the adjusted photo with the current settings. 9. Adjust the settings while paying close attention to the preview in the After pane. If you don't like the setting you've chosen, just click the Suggest Settings button to start back at the beginning. When you're happy with the photo, click OK to apply your settings.
Next steps
With Corel Paint Shop Pro Photo XI, it really is easy to correct color, exposure, and lighting! Now that you've seen for yourself how quickly and easily you can make improvements, you can use Smart Photo Fix with every photo you take.
Was this article helpful?
Tell us how we can improve it.