Making your own photo collage is very simple using this template and PaintShop Pro.
Open the collage template in PaintShop Pro. If you don’t have PaintShop Pro yet, you can download a free trial for 30 days.
Select the photos you want to use and open them in PaintShop Pro as well.
The template that we are demonstrating in this tutorial is best suited to square images so we’ll start by cropping our photos into a square shape. Depending on the layout of the collage template and the size of your photos, you may not need to crop your photos, but if you do – here’s how. Select the Crop tool from the Tools toolbar on the left.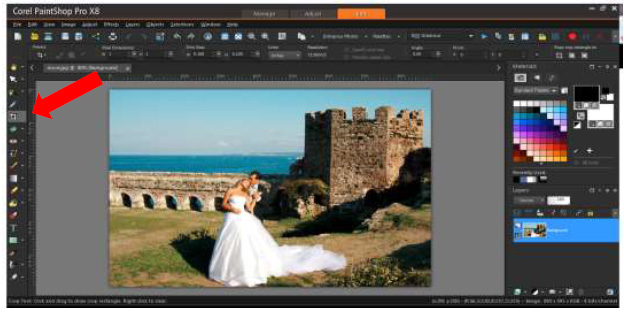
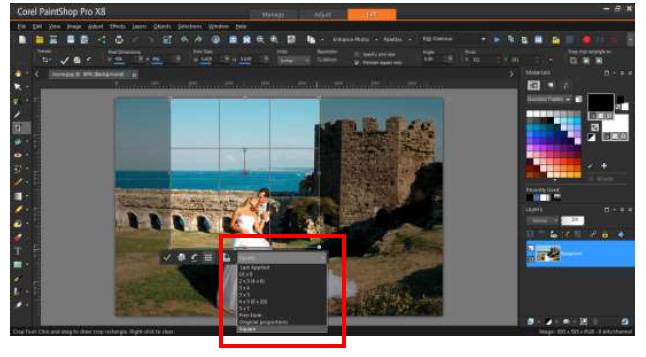
Select the Square option from the dropdown list and drag the corner handles to resize the crop area to your liking, then click on the green arrow to apply the crop.
Now you need to copy and paste this image into the collage template. Select the cropped photo using keyboard shortcut Ctrl-A or going to Selections > Select All. Then copy the image using Ctrl-C or going to Edit > Copy.
Next, click on the tab that has the collage template. Paste the first photo using Ctrl-V or going to Edit >Paste As New Layer.
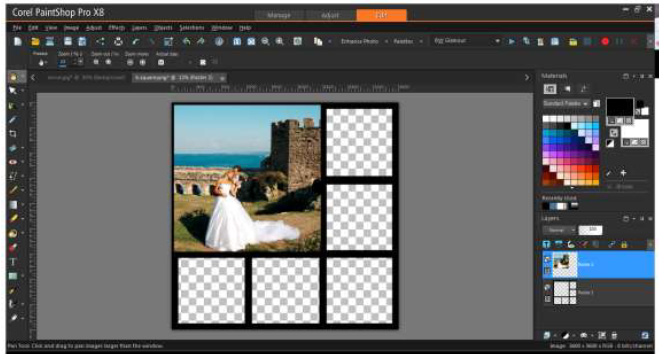
Using the Pick tool, resize and drag the photo to fit in the opening. It’s better to make the photo slightly larger than the opening, so it overlaps a bit. This will ensure that there are no gaps between the photos and the collage frame. As you can see below, the photo is covering part of the frame, making it look uneven but we will fix that in the next step.
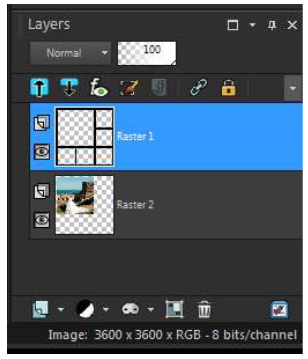
Now go to your Layers palette. If the Layers palette is not open, go to View > Palettes > Layers or press F8 on your keyboard.
Drag the thumbnail of the collage template above the thumbnail of the photo, so it is on top of the list of layers.
This will place the collage frame on top of the photo, which makes for a nice clean look with no gaps between the photos and frame and no photos overlapping the frame.
Now all you have to do to complete your collage project is to repeat these steps with the remaining photos. Crop each photo if required, copy and paste them into the collage template, resize and move them to the position you want, and use the Layers palette to keep the collage template on the top layer. Here’s a sample of the finished product.

Was this article helpful?
Tell us how we can improve it.