


The Fill Light/Clarity tool simplifies brightening shadows or darkening light areas without affecting other portions of the image. You can fine-tune the brightness and clarity of underexposed photos or shots taken in low-light conditions to sharpen subtle yet important details.
You will learn how to:
- Apply Fill Light/Clarity to a photo.
- Add depth to a photo with Local Tone Mapping.
- Add a picture frame to a photo.
Using the Fill Light/Clarity Tool
1. Open an image you want to work on.
2. In the 'Edit W'orkspace, choose Adjust> Brightness and Contrast >Fill Light/Clarity. The Fill Light/Clarity dialog box appears.
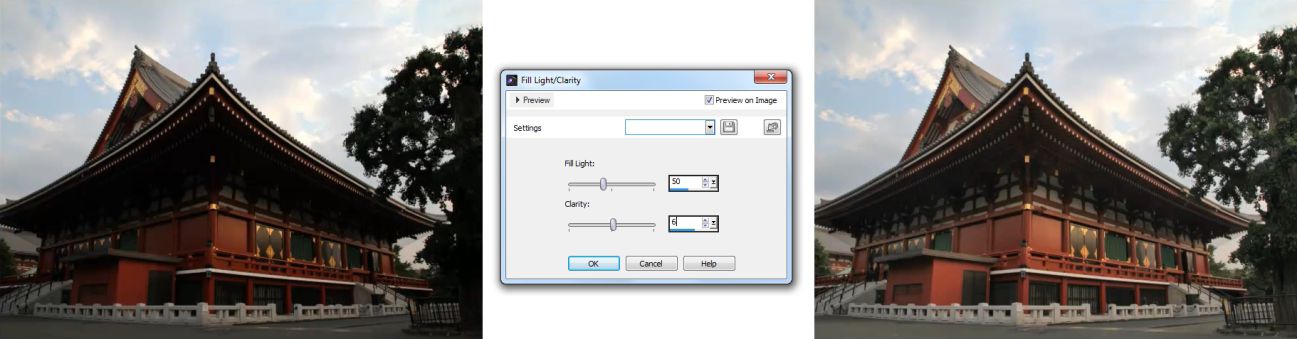
3.Type or set a value in the Fill Light control. A positive number lightens the darkest areas of the photo; a negative number darkens the light areas of the photo. A value of zero preserves the original setting.
4. Type or set a value in the Clarity control. A positive number increases detail; a negative number decreases detail and focus.
A value of zero preserves the original setting.
5. Click OK.
Adding Clarity Using Local Tone Mapping
To add further depth and clarity to the image you can adjust the tone curve of the image using the Local Tone Mapping feature.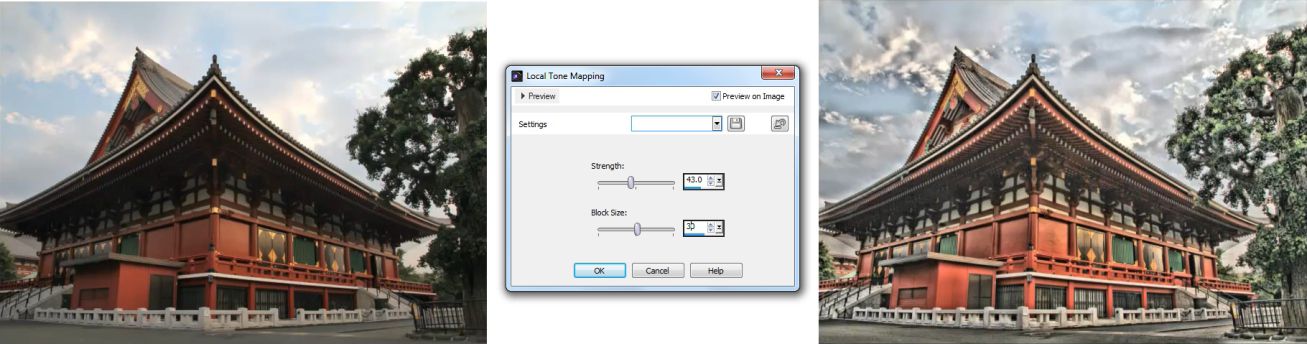
1. Choose Adjust > Brightness and Contrast > Local Tone Mapping. The Local Tone Mapping dialog box appears.
2. Type or set a value in the Strength control. Use the smallest value that produces a satisfying result. Values that are too high cause unwanted artifacts to appear in the photo.
3. Click OK.
This is great way to adjust the depth of an image and really bring out the color saturation after brightening a photo using the Fill Light/Clarity tool.
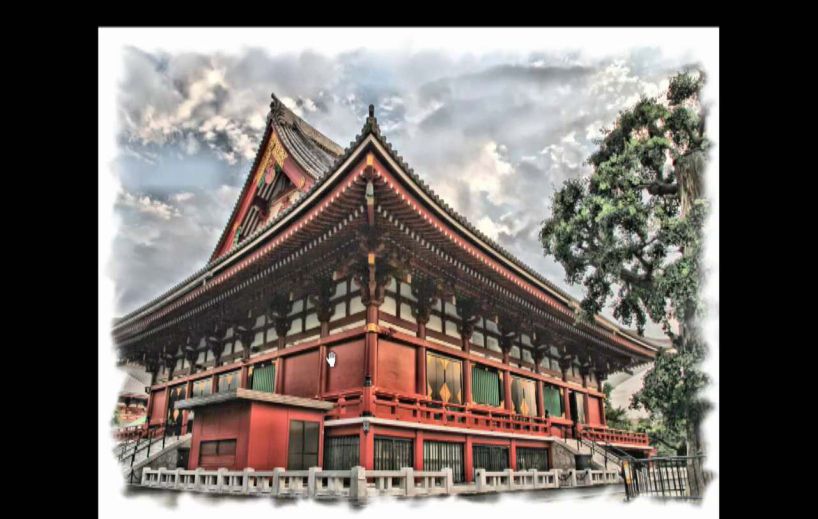
Adding a Picture Frame
To truly transform an image into a work of art, you can add a border or picture frame around it. Corel PaintShop Pro offers dozens of picture frame options.
1. Choose Image>Picture Frame.
The Picture Frame dialog box appears.
2. In the Picture Frame group box, choose a frame from the drop-list.
3. In theOrientation group box, choose one of the following options:
- "Frame canvas"sizes the frame to the canvas
- "Frame current layer"sizes the frame to the current layer
4. Choose one of the following options:
- "Frame inside of the image" resizes the frame to fit within the image canvas
- "Frame outside of the image" increases the canvas size to accommodate the frame
5. Click OK.
If you enjoyed this tutorial, be sure to check out the other tutorials that are available in the Discovery Center. If you have any ideas for tutorials or projects that you would like to see in the future, please leave us some Feedback.
Was this article helpful?
Tell us how we can improve it.