Express Lab
Launched from within PaintShop Photo Pro X3, the Express Lab is a convenient, rapid editing mode that groups together all of the most widely used tools for a range of image corrections. As well as featuring basic editing tools for straightening or cropping, removing troublesome red-eye, blemishes and colour correction, the feature-set in the Express Lab has been expanded in PaintShop Pro Photo X3 to include noise reduction, sharpening and even tone-mapping for improving shadow and highlight detail, amongst others. What’s more, the easy-to-use Express Lab can be used for editing single images or whole folders, quickly and efficiently. In fact, after making your first selections in the Organizer, the Express Lab is the logical next step to making final selects and corrections to large folders of images, moving quickly from photo-to-photo, using the Next and Previous buttons. As an option, if you have a number of similar images from a particular shoot or session, you can save time by copying corrections performed on one photo, and then apply them to a whole batch of images in just a couple of clicks.
In this tutorial, we’re going to reveal a typical workflow for dealing with image files in PSPPX3’s extended Express Lab.
Download tutorial images (.zip 10MB)

Step 1
Open Express Lab from the Organizer
Having saved your images to your computer hard drive, open PaintShop Photo Pro X3, navigate to the folder with your images from the Organizer – there’s no need for additional photo-management software and is the best place to start to edit files – the last folder worked-on opens by default.
Left click to highlight the image you want to correct from the Organizer, and click on the Express Lab button (located top right, next to Full Editor). (Don’t click on the Express Lab before highlighting an image or else every image from the folder will be loaded into the Express Lab – that’s not a bad thing but we don’t want to do that for this example.)
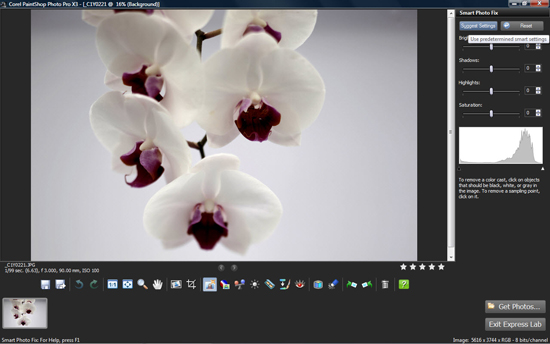
Now with our single image selected, and Express Lab button clicked, the same photo opens in the Lab ready for correction. We’re going to select Smart Photo Fix option – the Lab opens with this selected by default, as the automatic corrections are a useful place to start. Now click the Suggest Settings button - you don’t need to make any adjustments, the Express Lab automatically makes the corrections, but you can tweak the sliders to your liking.

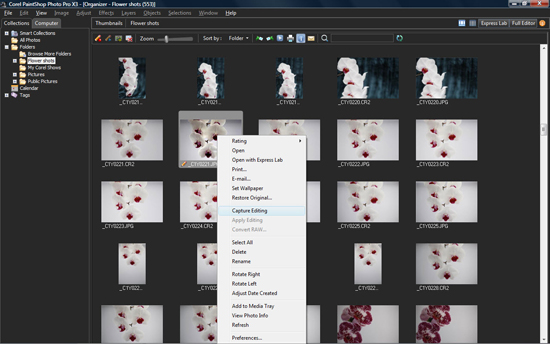
Now click Exit Express Lab, and, when prompted, click Yes to save the changes and to return to the Organizer. Right click the same image (there’ll be a little Pen icon bottom left of the thumbnail), then select Capture Editing from the window.
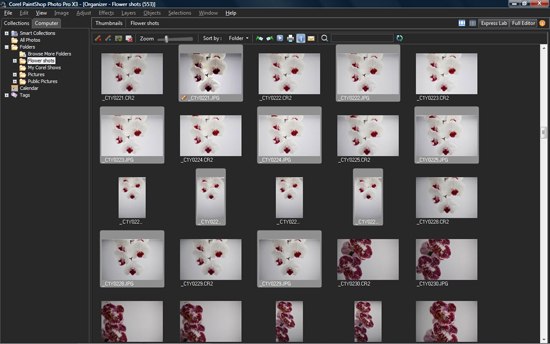

Now select the images you to want to apply the same settings to - hold down the Ctrl key when selecting more than one image - then right-click again and choose Apply Editing. You can use this method to apply more than the Smart Photo Fix option, it will work for any adjustments made, but bear in mind you’ll want to choose similar looking images in the first place.
Fix White Balance…
Step 2
Select the eyedropper
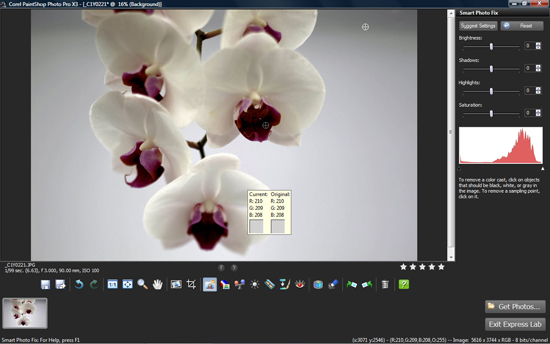
The Smart Photo Fix option is a handy way to work on a lot of images fast, and it offers some adjustment too, however there are times when you’ll want to make some adjustments yourself, especially to the white-balance. To remove colour casts from within theSmart Photo Fix option, simply move your cursor over the image, and it will turn into an eyedropper – click the deepest black you can find (usually in a shadow area), then a neutral grey, and finally a white (but with some detail, rather than a blown out highlight). Each time you do this the eyedropper will leave a sampling point – if you think you’ve made a mistake (you’ve introduced a cast for instance), go back and click on it to remove it. Now find another area to sample and click.
Step 3 (optional)
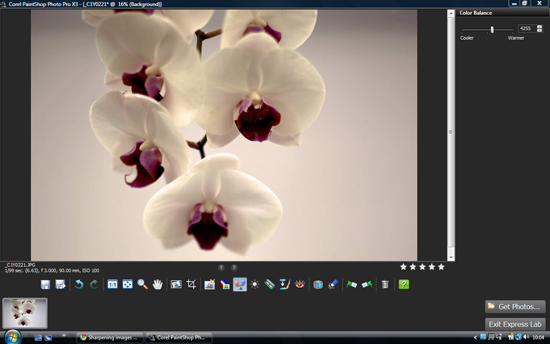
Alter Colour Balance
While correcting white balance is all about removing unwanted colour casts, and making the image appear neutral, adjusting the colour balance is more of a creative decision. True, you can use the colour balance slider to remove colour casts instead, but after fixing the white balance you can use the colour balance slider to simply warm up or cool down your photo to your liking. Click on theColour Balance icon underneath the photo and inch the slider back and forth slowly until you get the result you’re looking for. Be careful not to overdo it though.
Fix Exposure…
Step 4
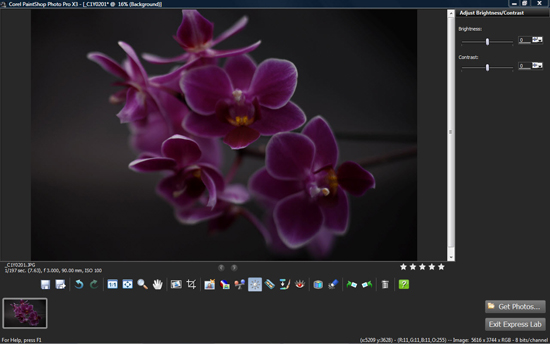
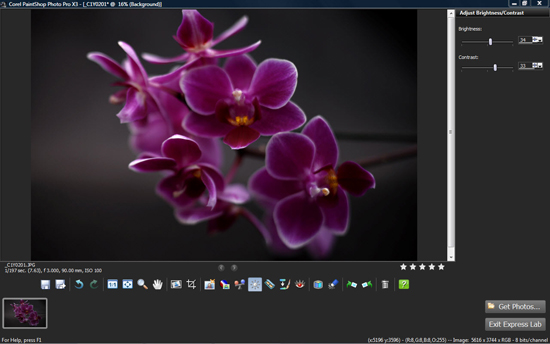
Adjust Contrast/Brightness
The auto-levels adjustment used by the Smart Photo Fix feature usually does an excellent job of correcting exposure, but you can also use the new Adjust Contrast/Brightness option from the tool-bar to adjust over-or-under-exposed images. Here, we’re going to tweak this underexposed image, by first inching the Brightness levels slider to the right (or use the Up/Downarrows for greater precision). You’ll notice the contrast drops, so we’ll slowly inch the Contrast slider to the right, judging the effect by eye.
Step 5 (optional)
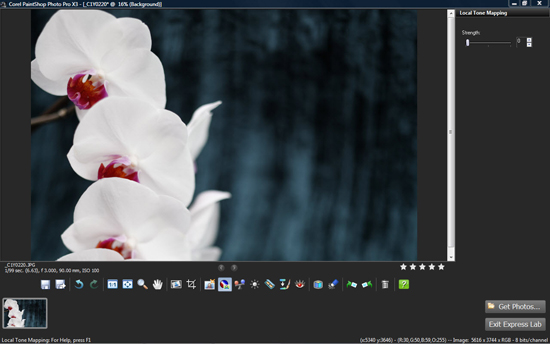
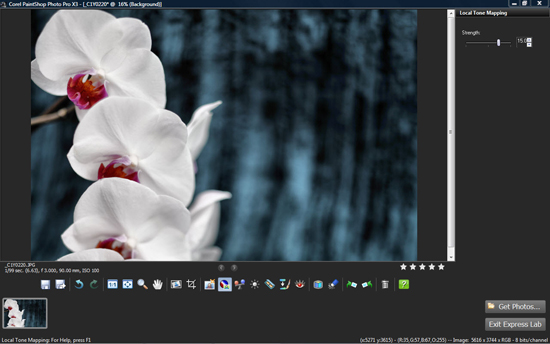
Local Tone Mapping
I couldn’t resist mentioning this cool new feature, as it’s such a powerful tool. You wouldn’t want to use this all the time, but if you have a bunch of photos that lack a bit detail in the highlights (not blown – there’s no detail left), then this remarkable tool will help extract what detail there is. Simply select the Local Tone Mapping (Circular filter icon) tool then inch the Strength slider to the right. You may want to check the highlight areas at 100-percent as you do this.
Finish up…
Step 6
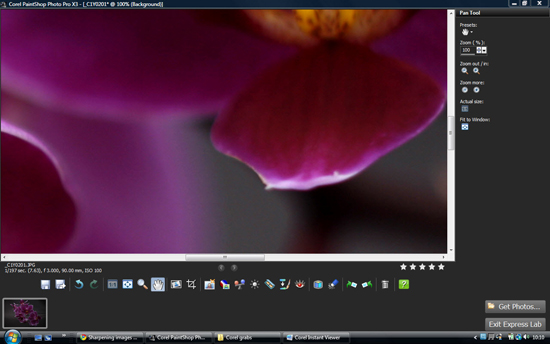
Remove Noise
Once you’ve corrected your colour and exposure, take a moment now to inspect your images for those ugly colour-speckles. It’s not just those high-ISO settings that induce noise; the speckles can often be seen in the shadow areas of images at base sensitivity. Fortunately the Express Lab has it’s own noise reduction feature, so you don’t have to interrupt your workflow with a trip into the main editor. The Express Lab has some nice features to speed up your assessment too.
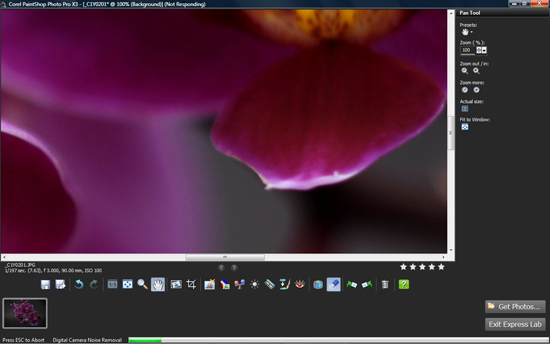
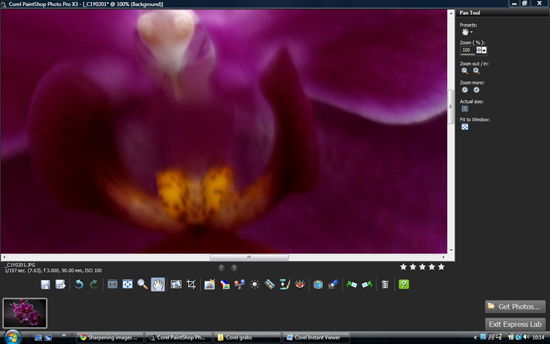
First off, you’ll want to check the image at 100-percent actual pixels, so click the 1:1 icon from the tool bar. Now select the Pan tool (the icon shaped like a hand), and click and drag the image to look for those speckles. If there aren’t any, that’s fine, leave well alone. But if there are, click the Noise Removal icon to start the automatic noise removal – you’ll see a progress bar at the bottom of the main window.
Step 7
Sharpen
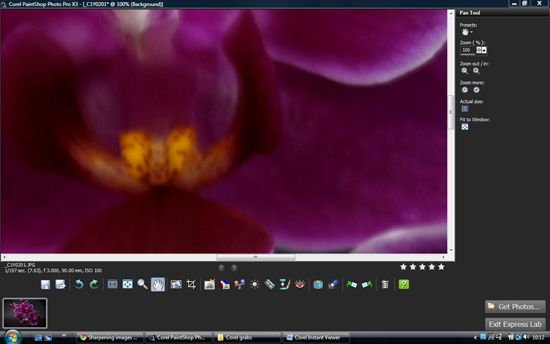
New to the Express Lab in PaintShop Photo Pro X3 is a one-click Sharpen option – handy for those that want to enhance images in a hurry, but it doesn’t have the control of the main editor. All the same, this option can be used more than once, if needed. First of all you’ll want to check the subject of your photo at 100-pecent again, like you did when removing noise.
Click the 1:1 icon and then the Pan tool and click and drag the image to inspect the subject matter. Now, click on the Sharpen tool (Box icon) and you’ll notice the progress-bar bottom left. If you need more sharpening, click the Box icon a second while watching an increase in artifacts – noise and haloing – shadows around the edges. If on the second (or possibly third) pass it looks too much, simply select the Undo Last Command icon (third icon from the left).
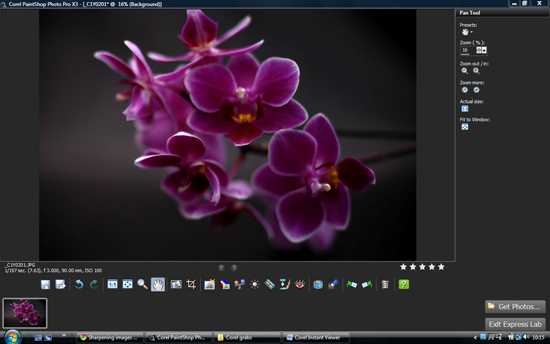
Select the Fit Image to Window to view the full image, and rather neatly, the Express lab keeps the Pan tool options available if you need check over the image. Once you’re happy with the results, select Save (the 3.5-inch floppy disc icon) or simply click Exit Express Lab, and then select Yes to the prompt to save changes. And, that’s it, you’re done.
© copyright 2010, Kevin Carter
Was this article helpful?
Tell us how we can improve it.