


Welcome to this tutorial on working with layers in Corel PaintShop Pro
In this demonstration we will show you how to create a wedding 'save the date' card using 4 layers; a background, a pattern, a photo, and text.

1. First, launch PaintShop Pro and make sure that the Edit workspace is active.

2. Click on File and then New
3. Change the Units to Inches and enter 6 inches for the width, 5 inches for the height and 150 DPI for the resolution. Also, make sure that the Transparency option is unchecked.
4. Select a light pink background and then click OK.
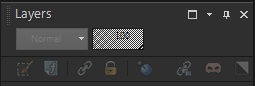
5. From the Layers menu, select New Raster Layer and then click OK

6. You will see the layer appear in the Layers palette on the right side of the screen. If the layers palette is closed, you can open it by pressing the F8 key on your keyboard.
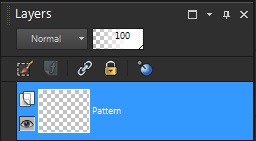
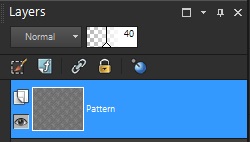
7. You can re-name a layer by right click on it and selecting rename. In this example, we'll rename it Pattern because that is what we'll be using this layer for.
Now you can create a pattern that will overlap the background.
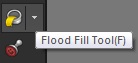
8. Click on the Flood Fill tool.
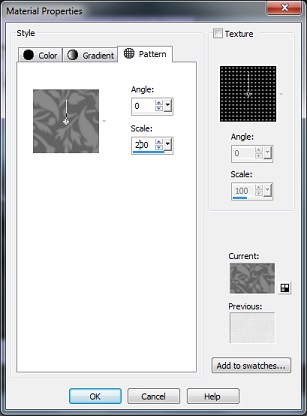
9. From the Materials palette, select the pattern swatch from the style options.
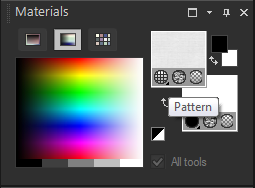
10. In the Material Properties you can click on the swatch in the Pattern tab and select a different pattern. In this example, I’ll select Floral and then click OK.
11. Click once on the image to apply the fill.
12. On the Layers palette, you can adjust the opacity of the layer to make it blend in with the layer below. Reduce the Opacity of the Pattern layer to 40% for a more subtle look.
13. Next, open the photograph that I’ll be using on the card.

14. To copy this image over to the project, simply drag the layer from the layers palette over to the project and it will automatically paste as a new layer.
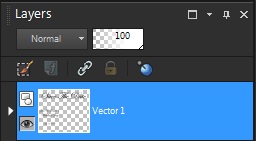
15. Click on the Text tool in the Tools and then click in the project.

When you type text in, Paintshop Pro will automatically create new vector layer for the text and this will show up in the Layers palette.
16. After you have finished entering the text, click on File > Save As and save as a PSPImagefile. This will ensure that your layers will remain intact.
17. Next, save a copy as a JPEG, this version will be able to be printed at print shops and other locations which may not have PaintShop Pro installed.
18. When saving an multi layer project as a JPEG file you will get a warning message and this is because JPEG’s can only contain a single layer.
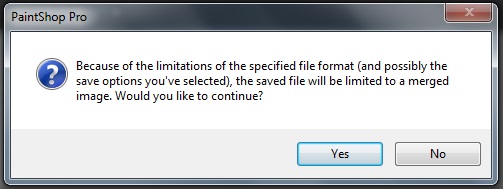
Click OK to this message to continue.
Now the file is ready to print and send.
If you have enjoyed this tutorial, be sure to check out the other tutorials that are available in the Discovery Center. If you have any ideas for tutorials or projects that you would like to see in the future, please leave us some Feedback.
Was this article helpful?
Tell us how we can improve it.