PaintShop Pro is shipped with well over 100 Preset shapes for use in all of your projects.
To access this tool, you will need to be in the Full Editor/ Edit mode. The Preset Shape tool is located in the toolbar off to the far left of the Workspace. The icon looks like this: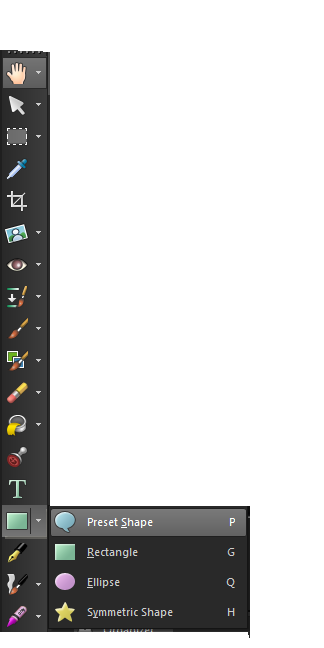
To access the Preset Shape tool, click on the downwards triangle located to the left of the Rectangle tool. Clicking on the downwards triangle will open some new menu options. Clicking on the Preset Shape icon (the voice bubble) will change the Rectangle tool icon to the Preset Shape icon in the toolbar. You can also press "P" on your keyboard to activate the tool.
To access the many different preset shapes, you will need to look at the Tool Options bar located at the top of the Workspace. See the example below: 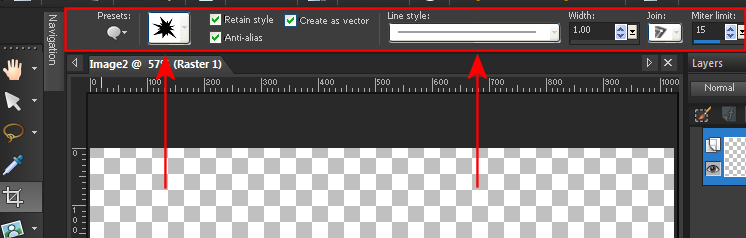
If you click on the space just above the first arrow, you can access the many different shapes in PaintShop Pro. You can choose to retain the style of the preset shape, create it as a vector, or apply anti aliasing to it. You can also change the line style located above the second arrow. The drop down menu will provide various options of lines that are available in PaintShop Pro. The settings to the right will allow you to adjust the width of the line, and the Join and Miter Limit.
Keywords: preset; shapes; psp; graphics; vector
Was this article helpful?
Tell us how we can improve it.