Welcome to this tutorial on Improving the Color of Dull Photos using Corel PaintShop Pro.
In this example, I will take an average photo of a sunflower and transform it into a stunning image in three easy steps.

Step 1: Adjusting the brightness of the image
Open the photo in PaintShop Pro and make sure that the Edit workspace is active.

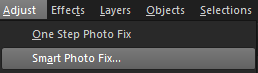
From the Adjust menu, select Smart Photo Fix.
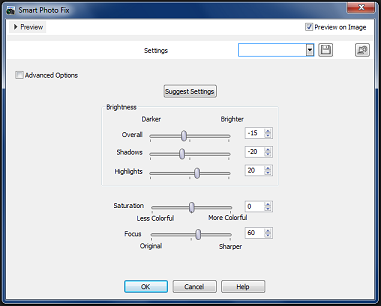
Since there's a bit of glare on this image, we will reduce the Overall brightness to -15.
Next, we'll set the Shadows to -20 and the Highlights to +20, this will create a nice contrast.
Lastly, we will set the Focus to 60 to sharpen the photo a little.
Step 2: Make the color really stand out.
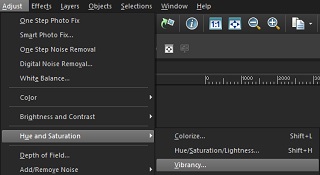
From the Adjust menu, select Hue and Saturation and then choose Vibrancy.
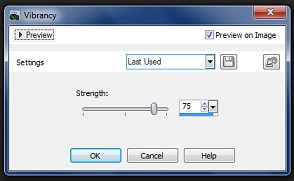
In this example, we'll set the value to 75 to give the photo a rich color.
With the Preview on Image check mark selected, you can view the enhancements on the photo while you're working.
Step 3: Sharpen the image further.
Double click on the Instant Effect called More Definition. If the change is not very noticeable, simply repeat the effect by double clicking again.

Remember, if there are any marks or imperfections in your image you can always remove those quickly and easily using the Blemish Fixer tool.

It's just that easy to make a dull, average photograph into a stunning professional-looking image using Corel PaintShop Pro.

If you have enjoyed this tutorial, be sure to check out the other tutorials that are available in the Discovery Center. If you have any ideas for tutorials or projects that you would like to see in the future, please leave us some Feedback.
Was this article helpful?
Tell us how we can improve it.