The Background Eraser lets you easily remove unwanted backgrounds while retaining the fine detail in your photos. It's great for when you want to cut something out of a photo and pop it into a new one! With this tutorial we'll show you how easy it is to use the Background Eraser.
What you'll need
- Corel® Paint Shop Pro® Photo XI
- Sample image PSPXI_08.jpg (download)
- Sample image PSPXI_09.jpg (download)
When you complete this tutorial, you'll be able to
- Use the Organizer to open a photo
Open the photo
- Download the PSPXI_08.jpg and PSPXI_09.jpg images, and save them in your My Pictures folder.
- Once you have the images saved, type PSPXI in the search box at the top of the Organizer. Your collection of image files is automatically filtered, so that only the images that start with PSPXI appear.

- Double-click each of the sample images to open them in the workspace. Before we start, click PSPXI_08, to make it the active image.
Remove the Background
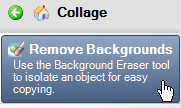
- On the Learning Center palette, click Collage, and then click Remove Backgrounds. The Background Eraser is now the active tool.

- On the Tool Options palette near the top of your screen use these settings:
- Size: 110
- Limits: Discontiguous
All the rest of the default settings are fine.

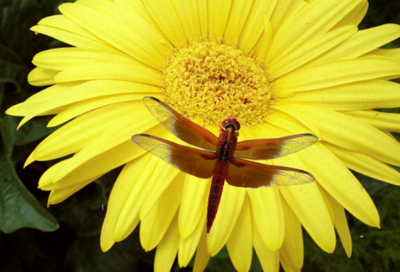
- We're going to erase the background from the dragonfly photo. Place the cursor near the tip of the dragonfly's left wing. Make sure the edge of the cursor overlaps the dragonfly. Now hold down the mouse button and carefully drag around the dragonfly, removing the sky and the rope as you drag. When you've erased all the sky, release the mouse button. What you've erased will be transparent.
NOTE: Keep in mind that if you accidentally erase part of the dragonfly or an area you want to keep, just press Ctrl + Z to undo your most recent action. You can then continue using the Background Eraser.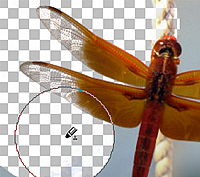
Copy the Dragonfly Photo & Paste into a New Photo
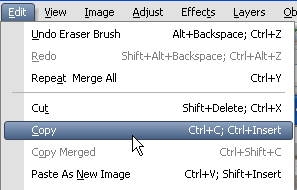
- Now comes the fun part! With the dragonfly photo the active image, choose Edit > Copy (or press Ctrl + C). This will copy your entire photo to the clipboard.
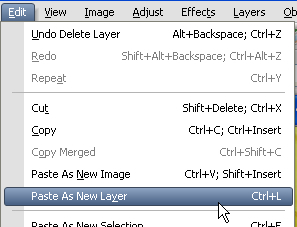
- Now we need to make sure the flower image is our active photo. Just click it once to make it the active image. Then chooseEdit > Paste As New Layer (or press Ctrl + L).
- The dragonfly photo will appear on top of your flower. You can use the Pick Tool to move the dragonfly around. That's all there is to it! Save and you're done.
Was this article helpful?
Tell us how we can improve it.