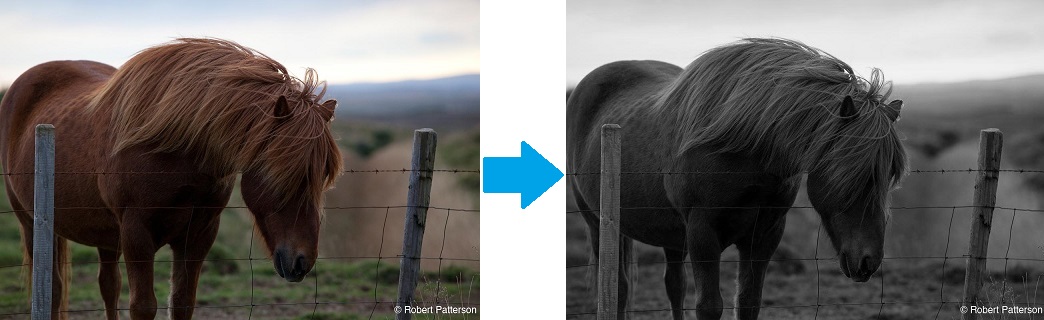
This tutorial will show you some simple ways to convert your color photo to black and white, as well as how you can make some minor edits to enhance the subject matter for greater impact.
Let's go over some of the simplest techniques first.
Removing the Color from a Photograph:
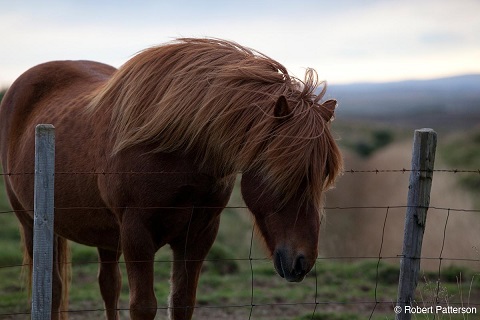
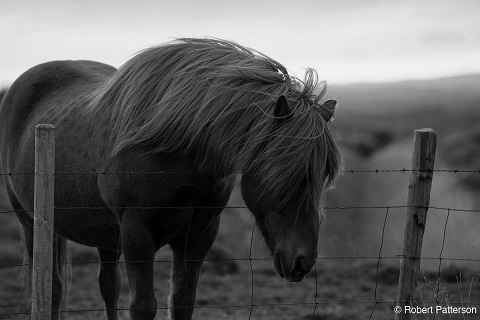
In this first example, I can convert an image to black and white simply by removing the color.
1. Open your image in PaintShop Pro and launch the Edit workspace.

2. Go to Adjust > Hue and Saturation > Colorize.
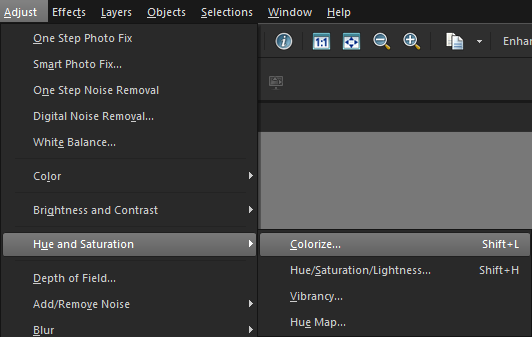
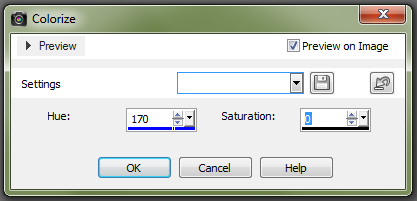
3. Reduce the Saturation to 0.
The same technique can be applied by going to Adjust > Hue and Saturation > Hue/Saturation/Lightness, and reducing the Saturation to 0' Lightness of the image.
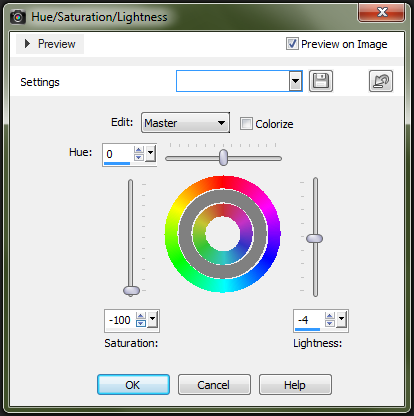
Note: With Preview' on Image checked, you will be able to see the change take place on the photo below this window.
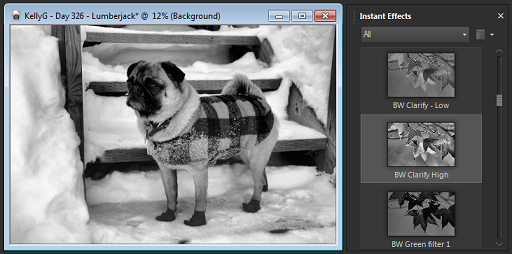
Black and White Instant Effects
In this next example, we will convert an image to Black and White using some of selections in the Instant Effects collection.

1. From the View menu, select Palettes > Instant Effects. Next, scroll down to the section Black and White.
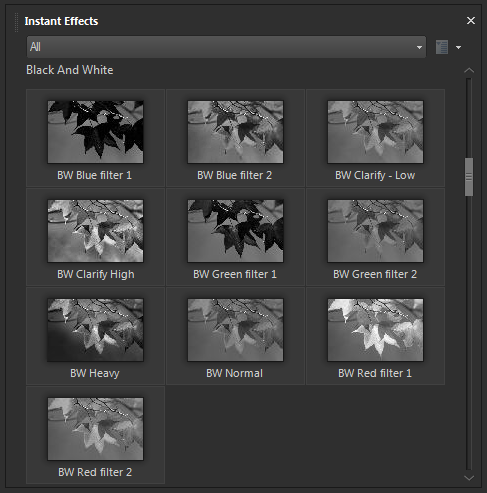
2. As you can see from the thumbnail examples, there are various different Black and White effects that can be used. For example, the Red Filter 1 will do a very light conversion of this image and show the red areas in light grey, almost white.

3. If you select the Heavy filter, you can see how this effect shows a much darker and vibrant result.
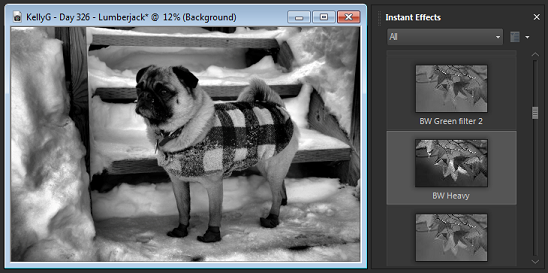
4. Clarify High is somewhere in between these two but provides more contrast than you would get by simply reducing the saturation.
5. Another option in the Instant effects is the Film Styles section. These filters mimic how images may have looked had they been taken using various photographic technologies, including cameras that used Black and White film. The below example is the Platinum Instant Effect.
For more information on using Instant Effects, please view our tutorial dedicated to this topic : 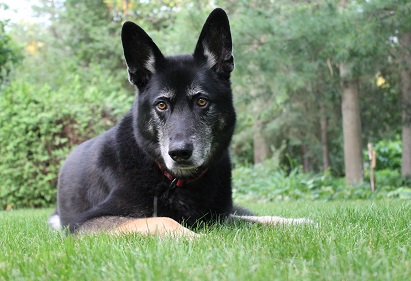
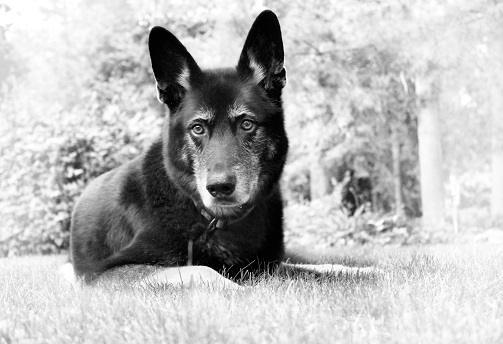
In this last example, let's look at how we can bring greater attention to the subject matter with some easy yet powerful adjustments.
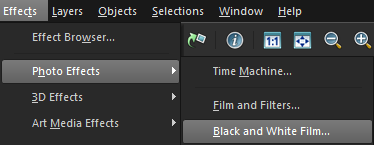
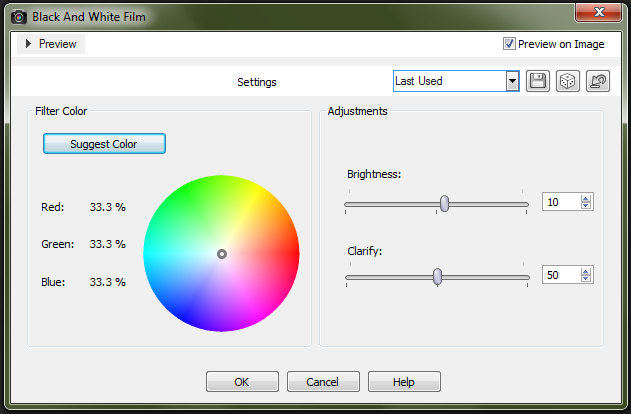
1. I will first convert this image to black and white by going to Effects > Photo Effects and then selecting the Black and White Film effects.
2. You can adjust the Brightness and Clarify settings until they look right to you.
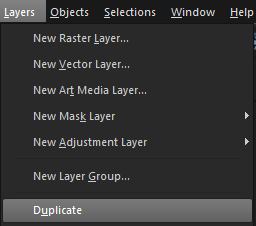
3. Duplicate this layer by going to Layers and selecting Duplicate.
4. Change the Blend Mode of this layer to Soft Light, and reduce the opacity. In this example, I'll reduce it to 18%. This adds depth and contrast.

5. Next, Duplicate the bottom image again and drag it to the top of the Layers palette. Change the Blend Mode of this layer to Screen.
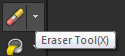
You will notice everything appears light and over-exposed, so simply use the eraser on this layer over the subject until the right amount of your desired subject shines through.
6. You will have greater control as you erase if you set your Hardness to 0 to give it a soft edge, and reduce the Opacity to 40-50%.

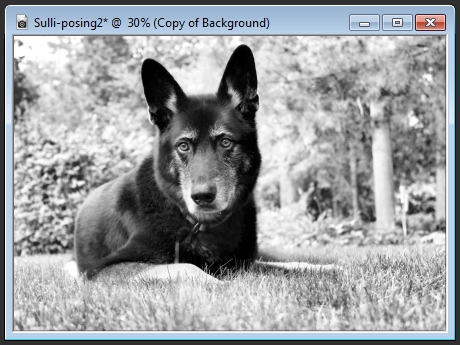
Once completed, you can see how the lighter areas around your subject make it stand out so much more.
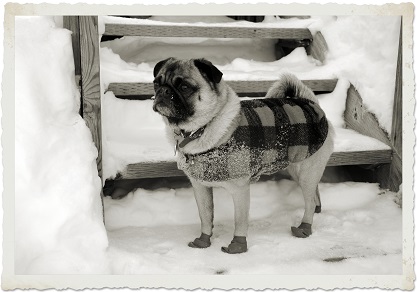
7. If you want to take it a step further and really highlight your subject, create a white vignette around the boarders. To do this, create a new layer by selecting New Raster Layer from the Layers menu.

8. From the Tools, select the Paintbrush and set the color to white in the Materials Palette.
9. You can reduce the opacity of the brush in the Tool Options Palette at the top of the screen, and increase or decrease the brush size so that it will cover a large portion of the background.

As you can see, adding this white haze to the edges of the image makes the subject stand out even more.
When the project is complete, it is important to save a version as a PaintShop Pro image file, this way, your layers remain intact.
10. From the File menu click Save As and select the PSPImage file type.
11. Next, save a version that can be printed or shared online by going to File > Save As and selecting JPEG.
12. When saving a multi-layer project as a JPEG file, you will get a warning message and this is because JPEGs can contain only a single layer. Click YES to continue.
If you have enjoyed this tutorial, be sure to check out the other tutorials that are available in the Discovery Center. If you have any ideas for tutorials or projects that you would like to see in the future, please leave us some Feedback."
Was this article helpful?
Tell us how we can improve it.