Working with Text
You can apply vector text, raster text, and text as a selection. The type of text you apply depends on the effect you want to create.
Vector text
Vector text is used in most instances. It is the most versatile type of text because you can edit the text characters at any time. For example, you can change the words, font type, style, and alignment. Unlike raster text, vector text retains its crisp, sharp edges when re-sizing. When using raster tools or commands, the text is converted to a raster layer, and it can no longer be edited as text.

Raster text
Once text has been converted to a raster object, it can no longer be edited. However, you can create text as a floating selection on a new raster layer to easily move and transform before applying it to your image. When you defloat the text selection, the text then merges with the underlying raster layer. If a vector layer is active when you defloat the raster text, a new raster layer is created.
Text selection
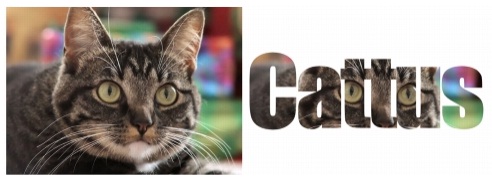
You can create a selection in the shape of text, and edit it as you would any other selection. You can use a text selection to create special effects. As with raster text, it cannot be edited once it is created.

Text formatting options
When you create text, you can specify formatting options such as font, size, alignment, and spacing.
Adding Text to an Image
From the Edit Workspace:
1. On the Tools toolbar, choose the Text tool 
2. On the Materials palette, click the Foreground and Stroke Properties box, and choose a color for the text outline.
- a. If the Materials palette is not displayed, choose View ▸ Palettes ▸ Materials.
- b. If you want to create text with no outline, click the Transparent
 button below the Foreground and Stroke Properties box.
3. On the Materials palette, click the Background and Stroke Properties box, and choose a color for the text fill.
- a. If you want to create hollow text, click the Transparent
 button below the Background and Fill Properties box, and on the Tool Options palette, set the Stroke widthcontrol to 1.0 or greater.
4. On the Tool Options palette, choose one of the following text types from the Create As drop-list:
- Vector — creates fully editable text that resides on a vector layer. This text type is the default and is used in most instances.
- Selection — creates a selection marquee in the shape of the text characters. The marquee is filled with the underlying layer.
- Floating — creates raster text as a floating selection. The selection can be moved, but the text characters cannot be edited.
5. The Tool Options palette will allow the user to choose a font type, size, unit, and style.
The Units drop-down list offers two options — Points (for print output) and Pixels (for Web output).
6. In the image window, click where you want the text to appear, type the text, and click the Apply button  on the Tool Options palette. After clicking the Apply button, a bounding box appears around the text.
7. Do any of the following to adjust the text position:
- Position the pointer in the center of the bounding box until the pointer changes its shape to a four-way arrow, and drag the text to the desired location.
- Position the pointer over a corner or side square (node) of the bounding box until the pointer changes its shape to a two-way arrow, and drag up, down, diagonally or rotate the text.
To delete text
From the Edit Workspace:
1. On the Tools toolbar, choose the Pick tool  .
.
2. Click the vector text you want to delete to select it.
3. Press Delete.
Was this article helpful?
Tell us how we can improve it.