


Welcome to this tutorial on how to use your Automatic Camera Modes! Even a more advanced photo situationlike this long exposure in night time lightingdoesn't always have to be set up manually. Understanding your cameras automatic settings is helpful; it saves you work, and allows you to make the most of your hardware.

On most cameras, both SLR and compact, there is a set of auto options that will give you the ability to quickly set the camera to shoot a specific type of scenario. Using these modes automatically adjusts settings like aperture, shutter speed and focus to best suit the scene you are trying to capture. Along with these basic settings the camera may also apply some digital processing to enhance colors or soften skin tones.
The control for these options is usually located on a dial on the top of the camera but may also be menu driven. The names and options for auto shooting modes vary from one make of camera to another. Consult your manual for the specifics for your camera. Usually an icon on the dial will simply be a simplified picture of the kind of photo you wish to take.


These options are great for the amateur who is not yet familiar with the technical aspects of photography or even for more experienced photographers when they need to quickly take a shot and don't have enough time to set the camera to the proper settings.
Common Shooting Modes
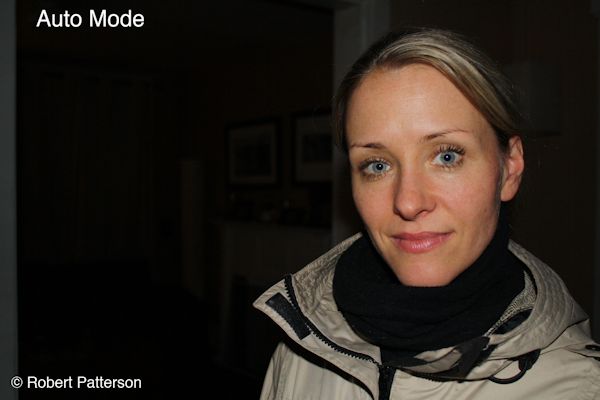
Automatic Mode
This is a great mode for a wide variety of situations. The camera will adjust all settings: Focus, aperture, shutter speed, flash and many others. You will have no options for adjusting any of these on their own however, so if you want to turn off the flash or use manual focus for example you will not have those options. Great for the inexperienced photographer, a pro in a hurry or most candid shots.
Portrait Mode
This mode will select the optimal aperture value to best soften the background of your portrait. This places more emphasis on your subject. Skin tones may also be digitally softened to give a more flattering look to the person you are photographing.

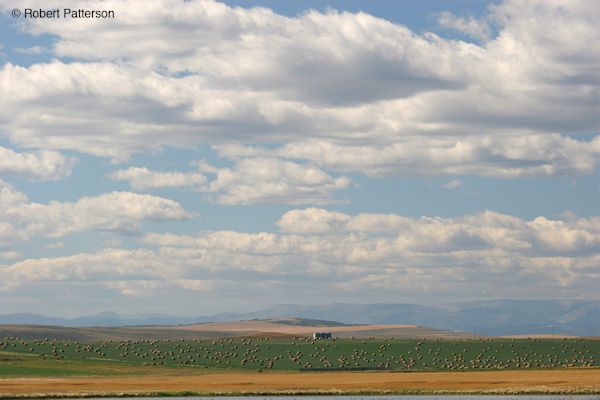
Landscape Mode
This mode is great for landscapes and wide scenery shots. The camera will set the aperture to allow for sharp focus from the farthest to the closest parts of the photo. The flash will be deactivated to prevent illumination of the foreground and because a small on camera flash is useless for lighting the large areas of a landscape photograph. Color may also be enhanced, usually in the blue and green areas to give a more vivid feel to the photo. Some digital sharpening may also be applied.
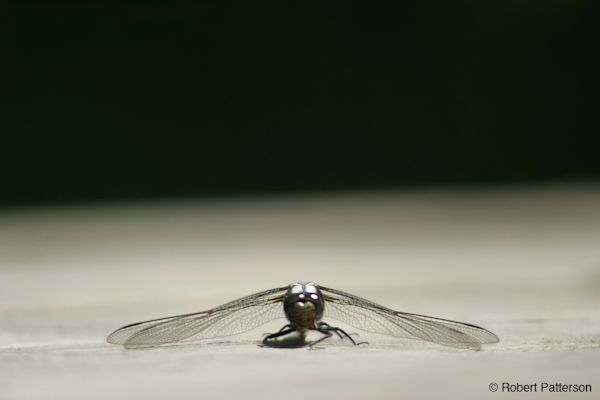
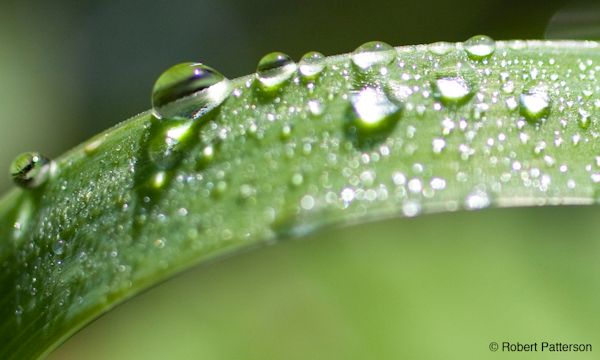
Close Up Mode
Close up mode is for pictures of flowers, insects or any other small subject matter that requires you to get in close. This will select an wide aperture that will soften the background, placing emphasis on the subject.
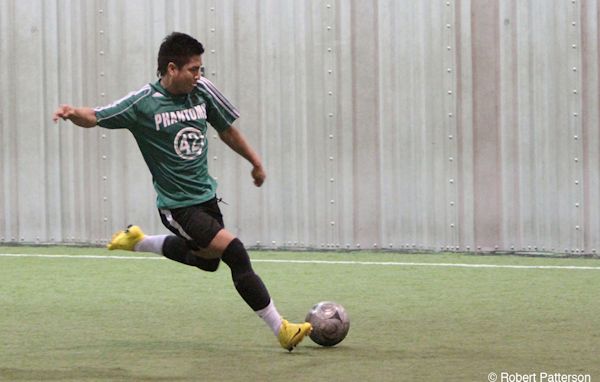
Sports Mode
This mode is best used for any scene in which fast action is happening.In order to capture very sharp images and to freeze the action, the camera will automatically select the fastest shutter speed possible.
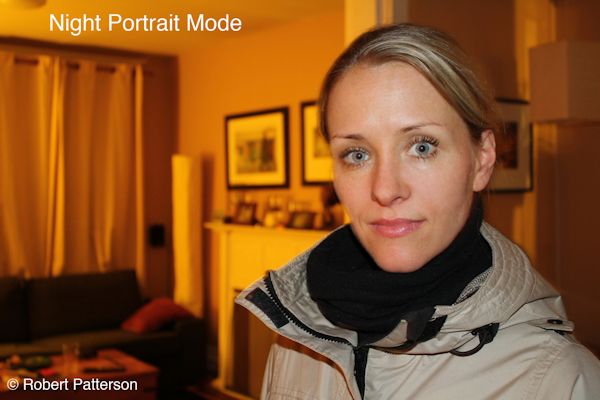
Night Portrait
This mode is used for portrait shots at night or in low light situations. The flash is activated to illuminate your foreground subject matter and a slightly slower shutter speed is selected to help bring out details in the background that cant be illuminated by the flash. This provides a nice balance between foreground and background, preventing the shot from being a bright shot of your subject in front of a black background. A tripod will help in this mode due to the slower shutter speed but is not totally necessary.
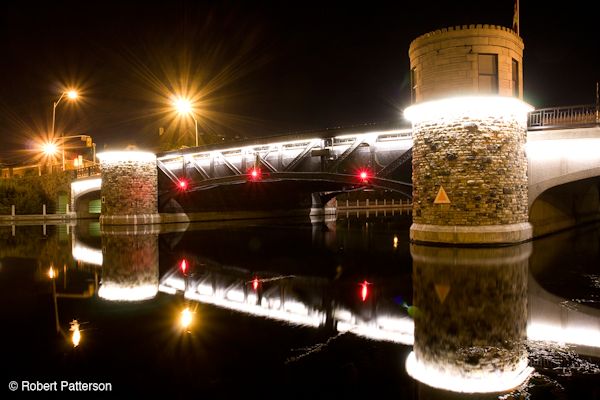
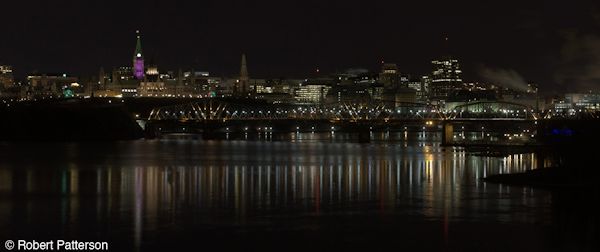
Night Landscape
This mode will select slow shutter speeds to allow enough light into the camera in a dark situation. A tripod is recommended to reduce blur from camera shake. If no tripod is available try bracing the camera against something solid. The flash will be deactivated in this mode.
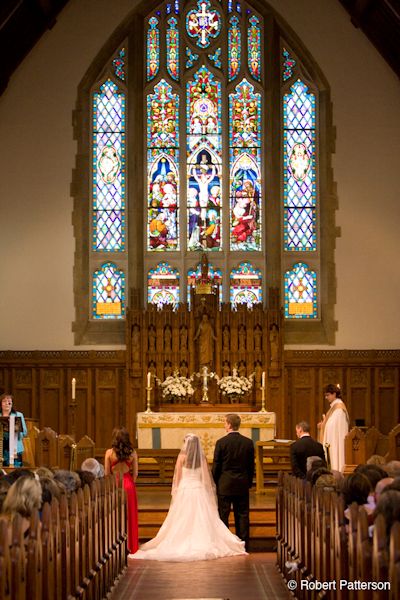
No Flash
This mode will deactivate the flash and is best suited for situations where no flash photography is permitted (Museums or sometimes weddings for example). Some photographers will prefer to use this mode to avoid the sometimes harsh look of a flash. This allows the natural light to be used instead but may result in long exposures that will require a tripod to reduce blur from camera shake.

Along with these options is another set of automatic modes that are a little more advanced. These allow for some assistance from the camera but still allow the photographer to have control over other settings to best achieve the look they are going for. These can be very handy for situations in which things are happening fast and you may miss a shot trying to adjust every setting manually.
Manual
The manual mode is best suited for the more experienced photographer that is very familiar with their camera. All settings, shutter speed, aperture, focus, ISO etc. are handled by the photographer. This mode can be used for any kind of photography but requires that the photographer has a good understanding of how all of the camera settings are used in a wide variety of situations.
Aperture Priority
Aperture Priority functions much like manual mode but will automatically select the optimal shutter speed to match the aperture setting selected by the photographer. This allows you to concentrate on controlling depth of field without worrying about shutter speed.
Shutter Priority
Shutter Priority allows the photographer to adjust shutter speed but will automatically select the best aperture setting. This is good for shooting scenes with a lot of action in them by allowing you to easily capture sharp images of fast moving subjects with a fast shutter speed or to create a blurred look to a photo with a slow shutter speed.
Program Mode
Program mode is somewhat like a combination of the auto and manual modes.
Shutter speed and aperture are selectable but will both be adjusted simultaneously based on the scene being photographed. Flash and auto or manual focus are still in the hands of the photographer but most other settings will be decided by the camera.
Creative Auto Mode
Shutter speed and aperture are automatically selected but manual control is available over settings like picture style, motor drive, Raw or JPEG. All other settings are handled by the camera.
Bulb
This allows manual control over all settings but will keep the shutter open for as long as the button is pressed. This allows for long exposures for night or fireworks shots or creative blurring effects. Generally a tripod is required and a remote control or use of the timer function can help prevent blur from camera shake.
Custom Modes
Some cameras will allow you save various camera configurations to one of three custom modes. Setting your camera up for various different scenarios and saving them allows for quick selection of the required settings and eliminates the need to always reconfigure your camera to suit different situations.
If you enjoyed this tutorial, be sure to check out the other tutorials that are available in the Discovery Center. If you have any ideas for tutorials or projects that you would like to see in the future, please leave us some Feedback.
Was this article helpful?
Tell us how we can improve it.