Clipping is done with a mask. There are lots of mask options, but we’ll look at just two examples.
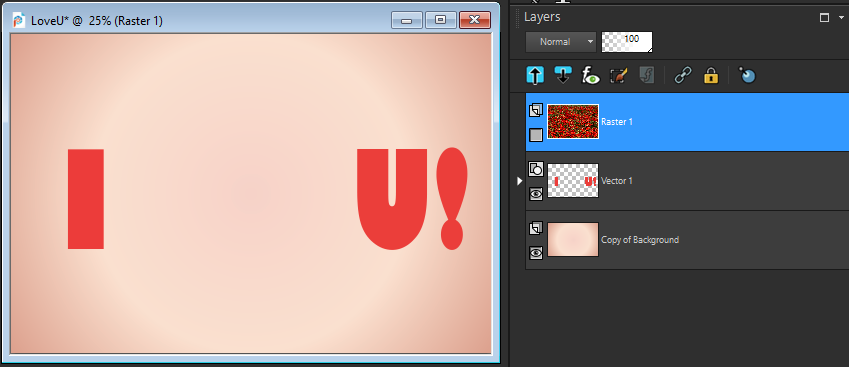
This image has 3 layers: a top layer with an image of flowers, a middle layer with text and a bottom layer with a gradient fill.
We also have another image open that is a heart shape. The goal is to clip the flowers using the heart shape.
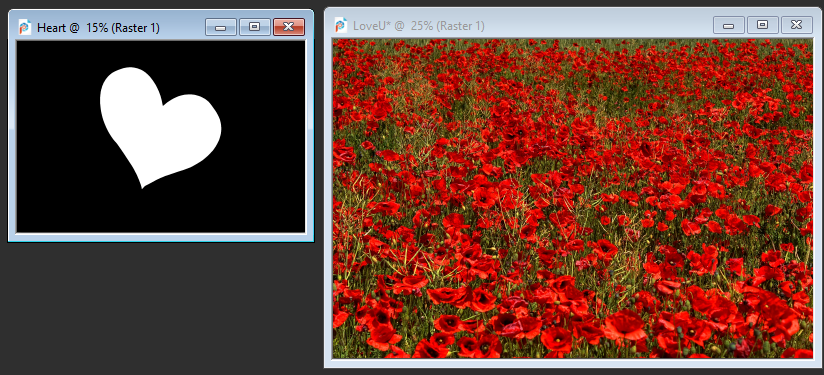
In the heart image, black is what will become blocked, and the white parts will show through.
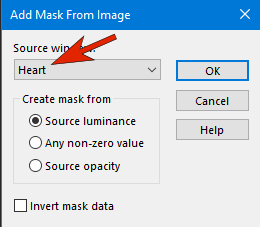
With the flower layer selected in the Layers palette, click the New Mask Layer icon and choose From Image.

In the Source Window dropdown, choose the heart image and click OK.
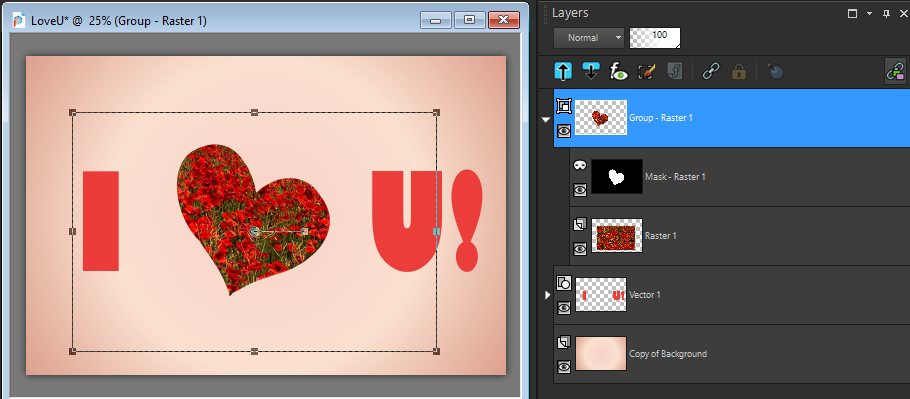
Now the flower layer is clipped to the heart shape.

With the mask group layer selected in the Layers palette, you can use the Pick tool to move the heart flower mask into place and resize if necessary.
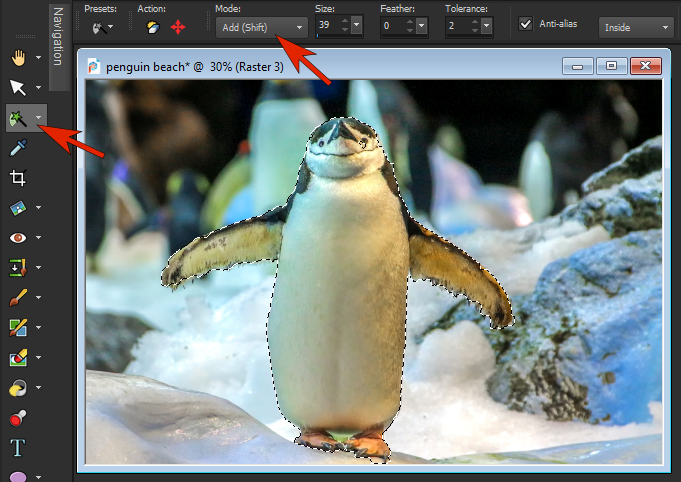
In the second example we have a chilly looking penguin above a beach background layer. With the Smart Selection Brush set to Add mode, select the bird, trying to be as exact as possible.
Click the New Mask Layer icon at the bottom of the Layers palette but this time choose Show Selection.
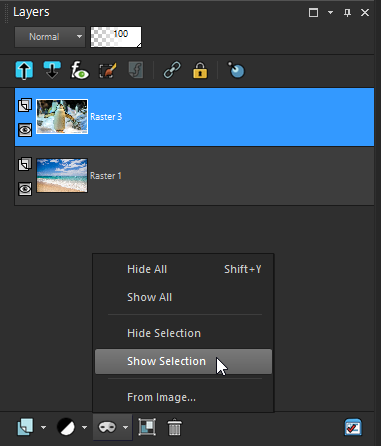
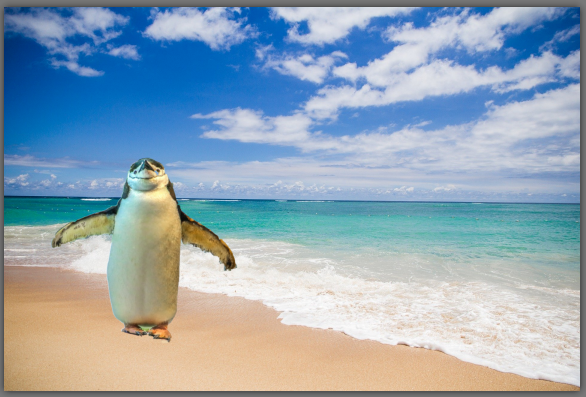
This will mask out the winter background outside of the penguin selection, allowing the beach background to show through and now this lucky penguin gets to leave the wintery weather behind.
Learn more about masking in our tutorial series Working with Masks.
You can also find the PaintShop Pro Q&A video here on the Discovery Center, where we answer more questions submitted by PaintShop Pro users
Was this article helpful?
Tell us how we can improve it.