Welcome to this tutorial on how to lighten up dark photos in PaintShop Pro.
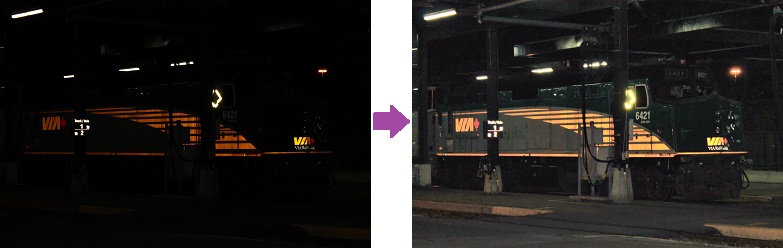
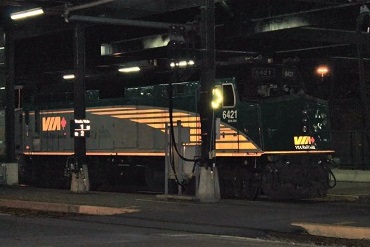
In this example I will demonstrate how easy it is to restore visibility to a dark photo. This is a common occurrence when photos taken at night with a flash are shot far away from the subject.
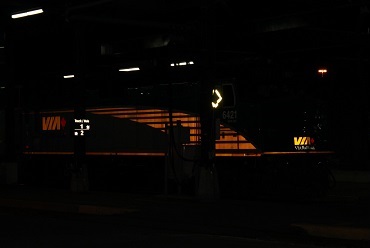
1. First, open the image in PaintShop Pro and make sure that the
Editworkspace is active.
As you can see, it's very difficult to make out what the image actually is; so let's add some light and reveal the scene.
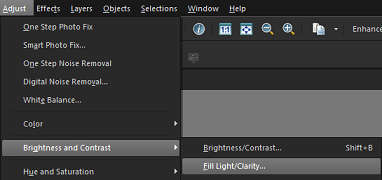
2. From the
Adjust menu select
Brightness and Contrast, and then
Fill Light/Clarity.
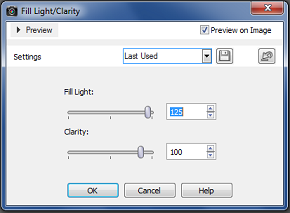
3. Since the image was extremely dark, I'll increase the
Fill Light to 125 and the
Clarity to 100.
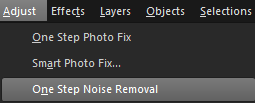
4. Next, from the
Adjust menu, select
One Step Noise Removal; this will remove a lot of the grain commonly seen in dark photos after they've been brightened.
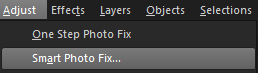
5. Lastly, from the
Adjustmenu select
Smart Photo Fix. These options will allow you to lighten the image a little more, as well as restore some of the color to the photo.
When you're happy with the adjustments here, click
OK to continue. That's how easy it is to restore dark night photos in Corel PaintShop Pro.
If you have enjoyed this tutorial, be sure to check out the other tutorials that are available in the
Discovery Center. If you have any ideas for tutorials or projects that you would like to see in the future, please leave us some
Feedback.

Was this article helpful?
Tell us how we can improve it.