


What You Will Learn
- How to enhance the deep rich colors of your fall photographs
- How to use effects to create a surreal look on a special moment
- How to bring focus to a particular area of an image
- How to turn an ordinary picture into an impressionistic painting. A video version of this tutorial can also be viewed at the Corel Discovery Center.
Enhancing Color
1. First, open the file in PaintShop Pro and make sure the Edit screen is active.

2. Use Show Navigation to locate the images you wish to work with by clicking on the icon with the two file folders on it. After selecting the folder, click the icon again to Hide Navigation.
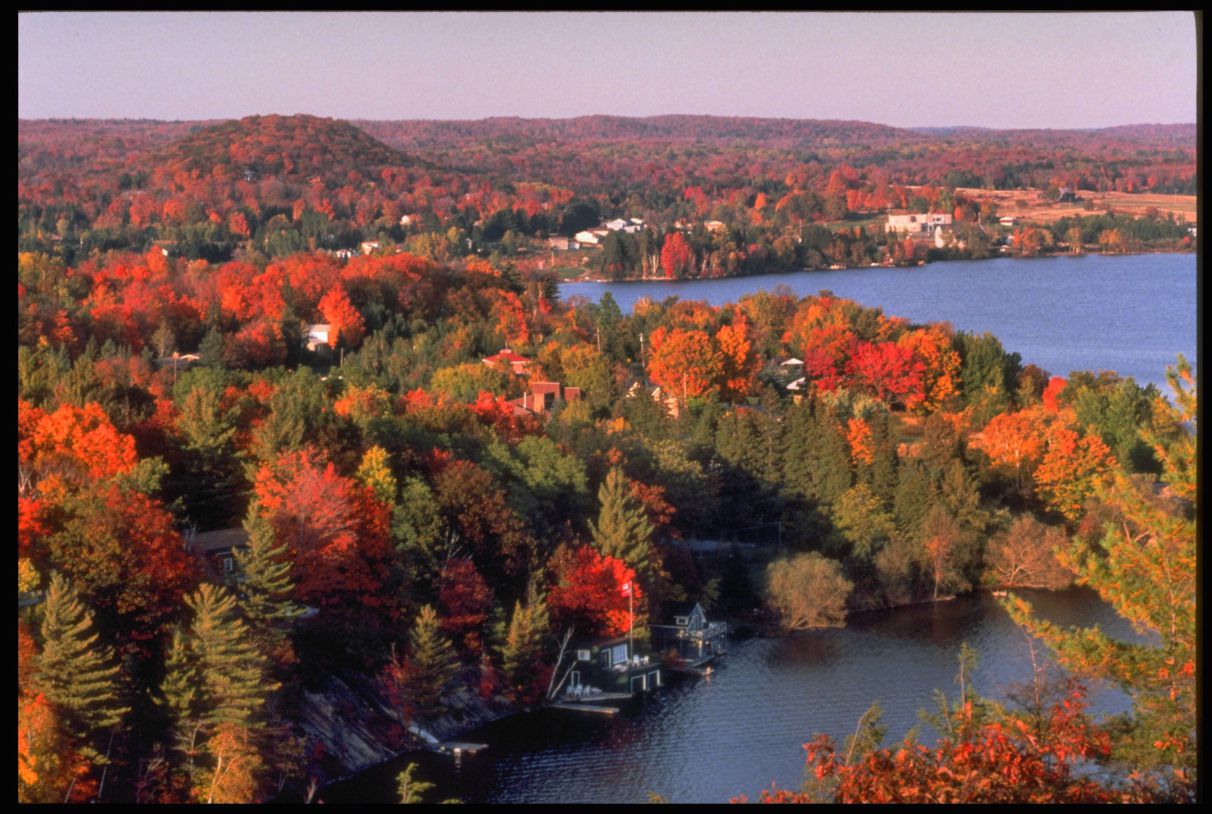
In this first example the view is stunning but the image is a little bit flat and the camera just hasn't picked up those vivid colors quite as well as they looked in real life.
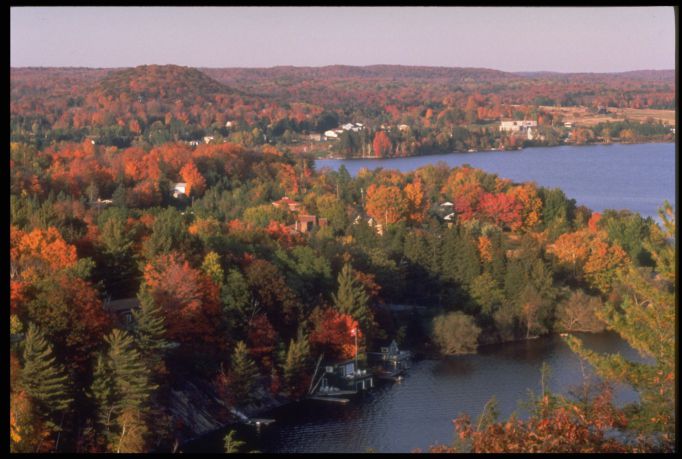
One of the great features in PaintShop Pro is Local Tone Mapping because it instantly adds depth to a photograph.
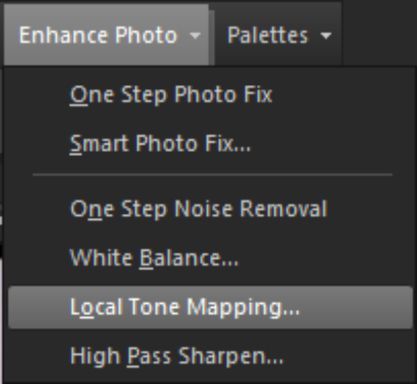
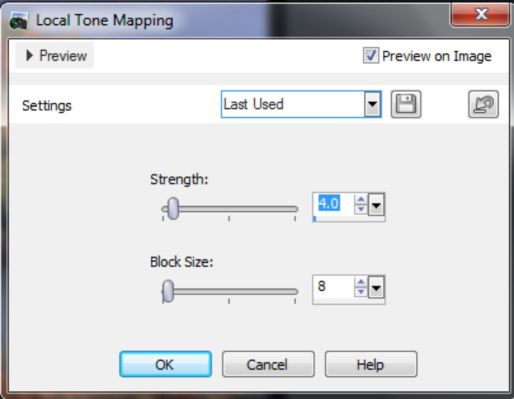
3. Click on Enhance photo in the Standard toolbar and Local Tone Mapping.
In this example the Strength is set to 4 and the Block Size to 8.
4. Click on Adjust > Hue and Saturation > Hue/Saturation/Lightness.
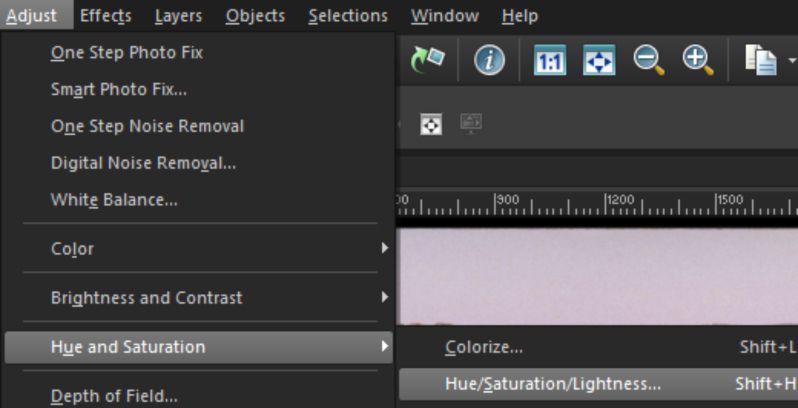
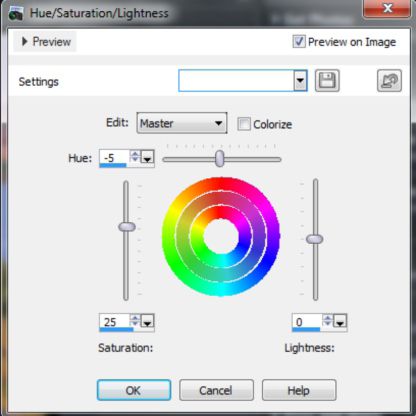
As you can see, setting the Hue to -5 and the Saturation to 25 has made a significant improvement in the overall richness of the colors and looks a lot more realistic.
Creating a Surreal Look
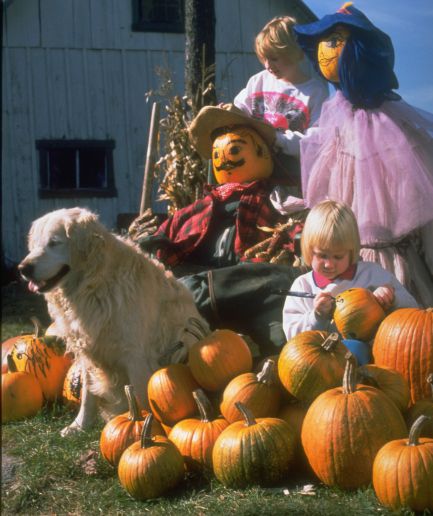
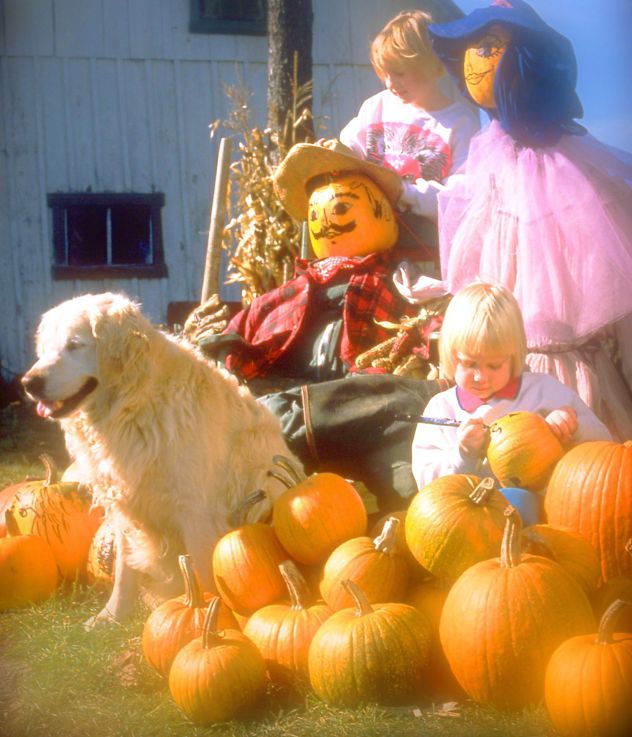
This next example is a shot of a family choosing a pumpkin at the Farm. Memories of times like these can sometime seem very dreamy, vivid and surreal.
As it happens, there is an effect that can depict just that!
1. To do this, from the Adjust menu, select Palettes and then Instant Effects.
2. From the Retro Effects, double click on Retro Surreal and instantly the photo represents the feeling of that
memory perfectly.
Note: The first time you use Instant Effects, the Getting Started window will pop up and display useful information.
This window will pop up each time you use an Instant Effect until you disable it by checking ""Don't show this window again."" at the bottom left corner of the window.
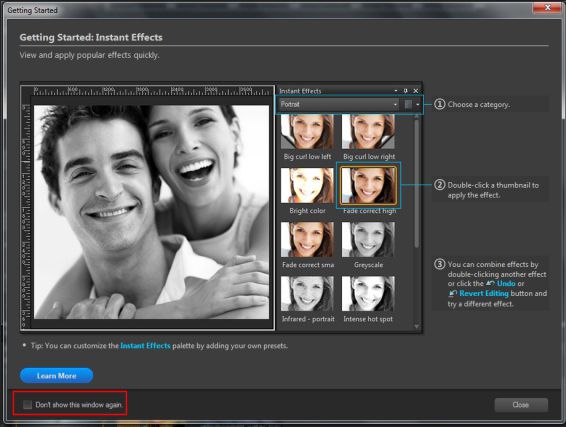
Click Close on the Getting Started window and you will see the effect has been applied to the image.
Selective Focus
There are two fabulous effects in PaintShop Pro that work with focus.
The first is the Selective Focus and can be found in the Effects menu under Photo Effects.
Selective Focus is a way to draw the viewer's eye in a particular direction when looking at the image.
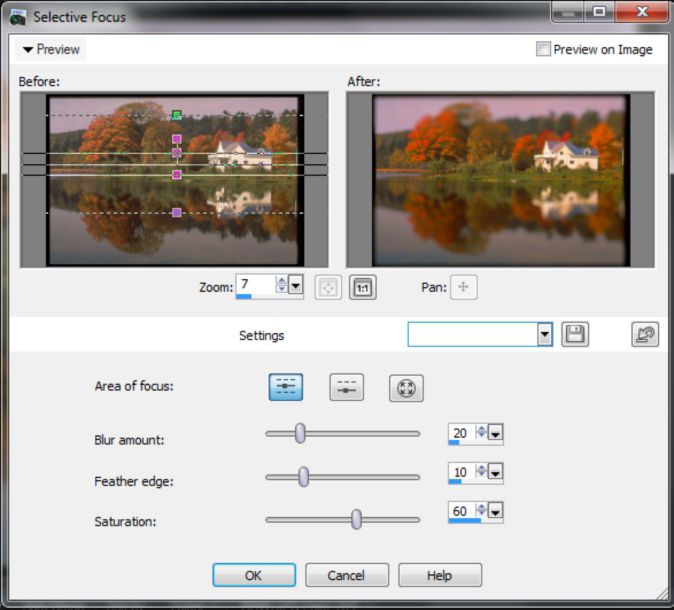
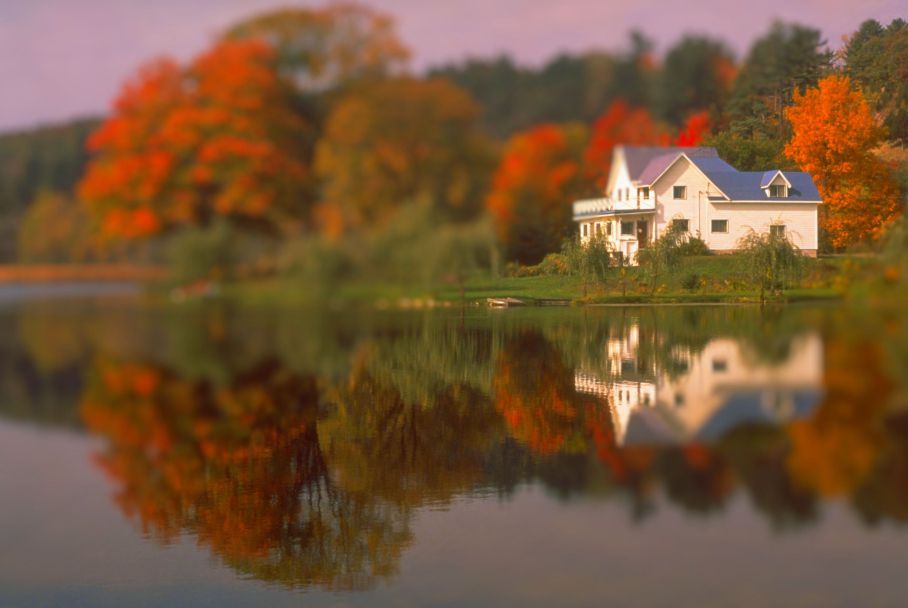
By positioning the lines horizontally, the focus draws attention to the house and the water's edge.
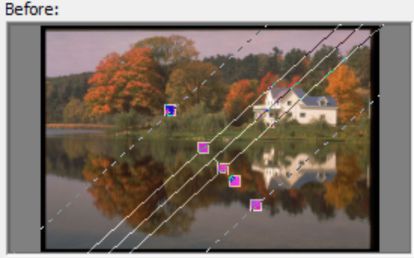
This tool can also be used to create a fun effect on photos of houses, to make a scene appear to be out of a model railroad village. To do this, rotate the focus on an angle over the house.
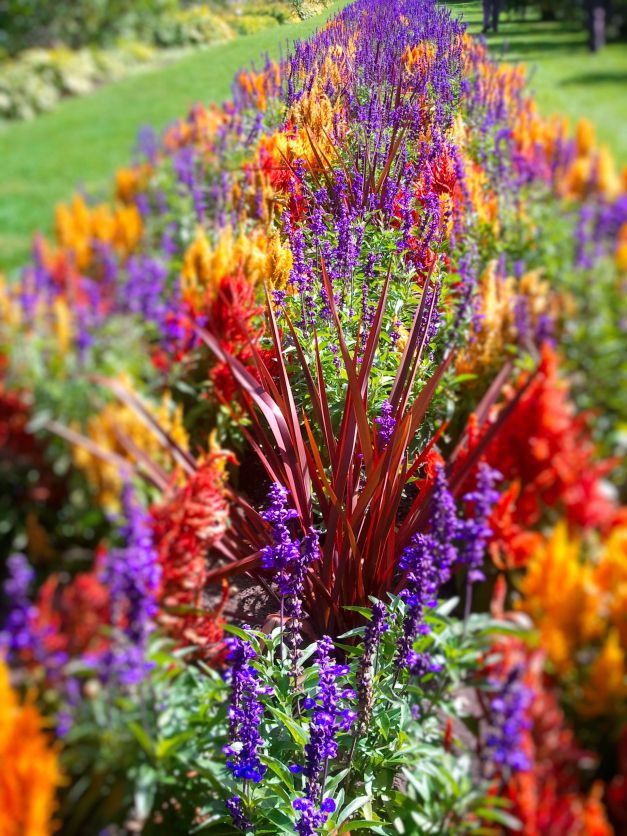
In this image, the row of ?owers was photographed at one end to show just how far it stretches off into the distance. Apply Selective Focus with the lines vertical to draw the viewer's attention down to the line of perspective and back again.
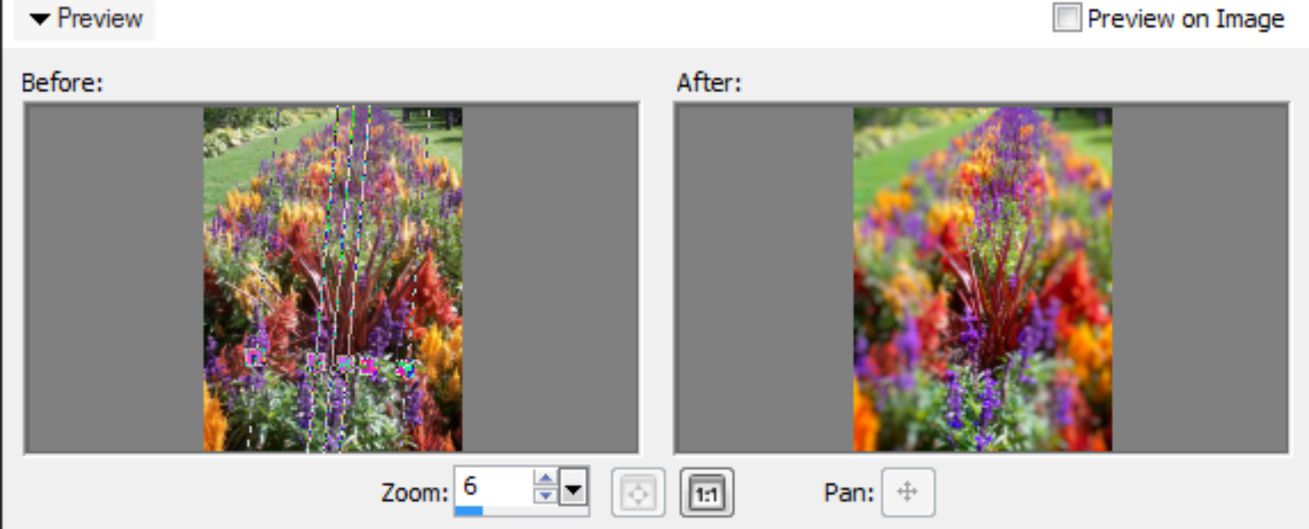
As you can see, by using the Selective focus tool it becomes hard to look away!
Depth of Field
There is another effect in PaintShop Pro that works somewhat similarly to Selective Focus and that is Depth of Field. Rather than move the attention across a particular plane, the function of this effect is to draw attention to one specifc area on the image and make that spot stand out.
1. From the Adjust menu, select Depth of Field. You will notice on the Depth of Field dialogue box that there is a Before and an After preview screen.
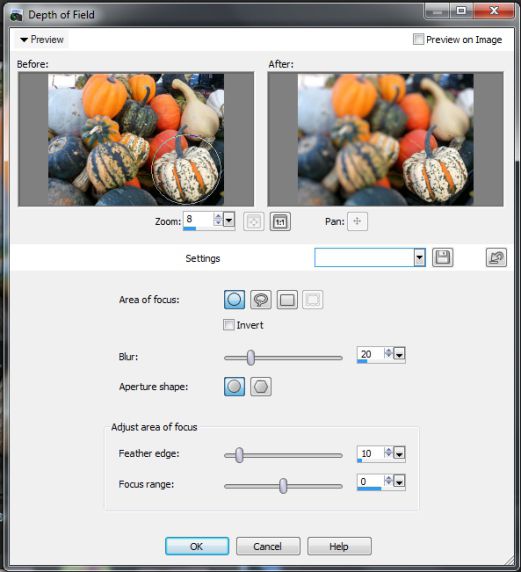
2. Holding down your left mouse button, in the Before preview screen, drag a selection around the area on the image you wish to be the have focused.
The After preview screen will show what the image will look like or you can also check Preview on Image to see the effect in real time.
3. When you have the image just right, click OK.
Now it is clear which squash in the bunch is the focal point.

Depth of Field can also be used to enhance and bring focus to an area of an image with even more precision.
1. Using the Freehand Selection tool, in the Depth of Field dialogue box Before preview pane, draw an outline around the perimeter of the object.
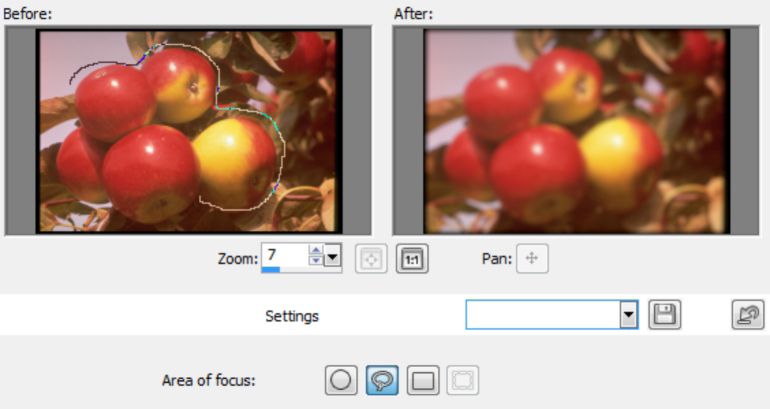
In this example the apples are the heroes of the image and the background will be blurred out.
2. Go to Adjust > Hue and Saturation > Hue/Saturation/Lightness. A Hue of -5 with a Saturation of 25 will make them appear almost too good to be true.

Photo Painting
Another wonderful effect that can used is especially beautiful when applied to photos of trees.
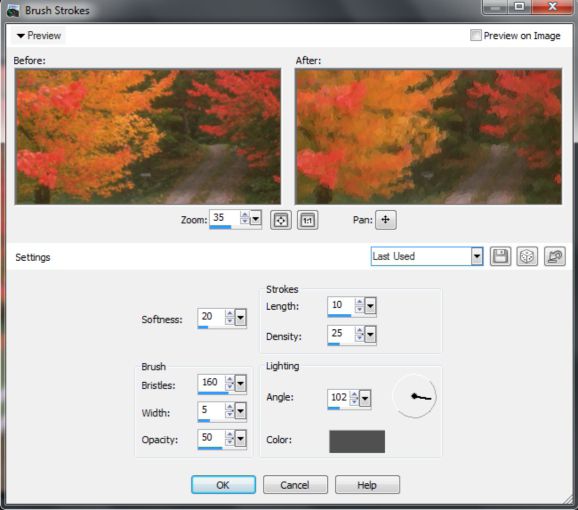
1. To create an impressionistic painting from any image, click on Effects > Art Media Effects > Brush Strokes.
The exact settings used in this example are shown on the right. Any of these setting can be adjusted to produce various results.

Note: It may take a minute or two to load the painting if Preview on Image is selected.
After the image has completed converting, the picture can be saved and can even be printed onto canvas at many print shops or printing service web sites.
If you enjoyed this tutorial, be sure to check out the other tutorials that are available in the Discovery Center. If you have any ideas for tutorials or projects that you would like to see in the future, e-mail Discovery.Center@corel.com.
Was this article helpful?
Tell us how we can improve it.