


Introduction
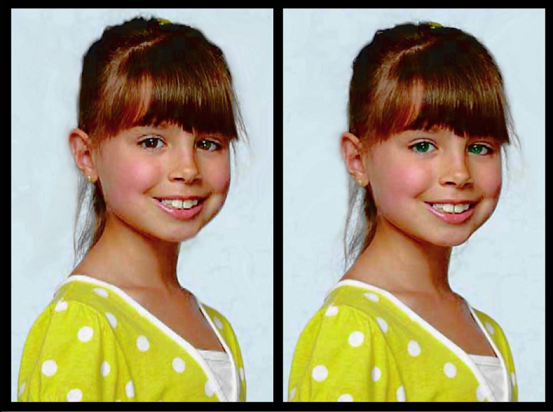
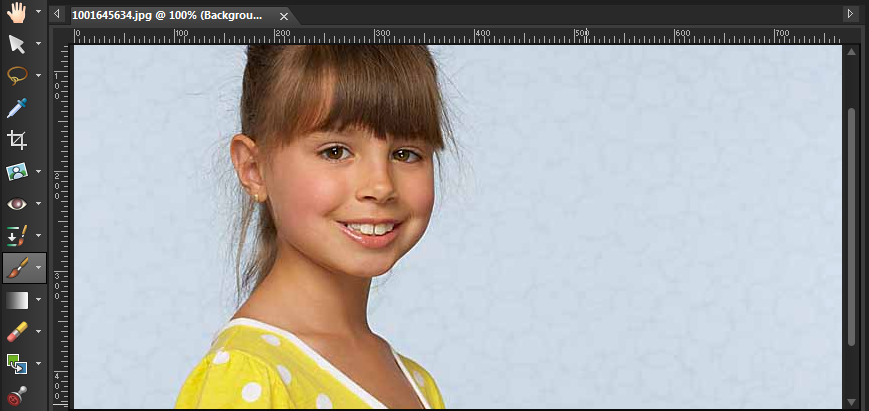
Have you ever wondered what you would look like if your eyes were a different colour? Luckily you don't need to buy coloured contact lenses to find out. In this tutorial we will demonstrate a few techniques in PaintShop Pro to change the eye colours in your photos.
What You Will Learn
In this tutorial, you will learn how to change the color of selected area on an image using the:
- Paintbrush tool
- The Layers Palette Options
- Working with Layer Opacity
Using The Paintbrush Tool
1. To begin, create a new Raster Layer by going to Layer > New Raster Layer. In the New Raster Layer dialog box, click OK.

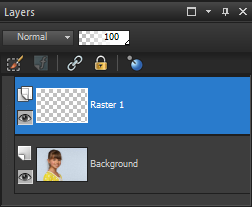
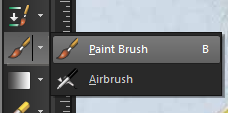
2. Once this layer has been created, click on the Paintbrush tool in the Tools Toolbar.
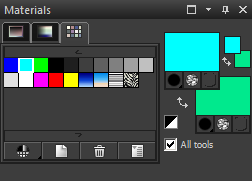
3. In the Materials Palette, choose a color that you want to apply to the eyes. In this example, I will be using Cyan.
4. Zoom into the subject's eyes using the mouse wheel; make sure that the zoom-in factor covers both eyes. This will help you select the iris properly when doing the next step.
5. Reduce the size of the Paintbrush and then start painting all over the iris but remember to skip the pupil area; don't worry about any mistakes as we can fix them later on.
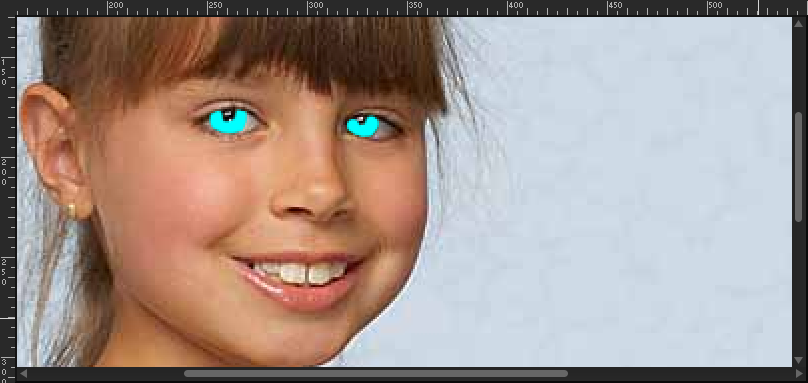
The color that I have chosen doesn't look very realistic, but I can improve this by changing the way this layer blends with the background layer.
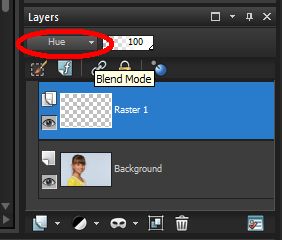
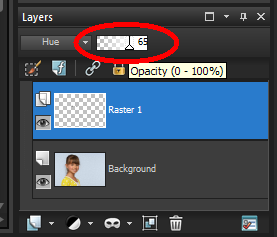
6. Head over to the blend mode of the layer and change it from Normal to Hue. The effect will automatically be applied to the layer.
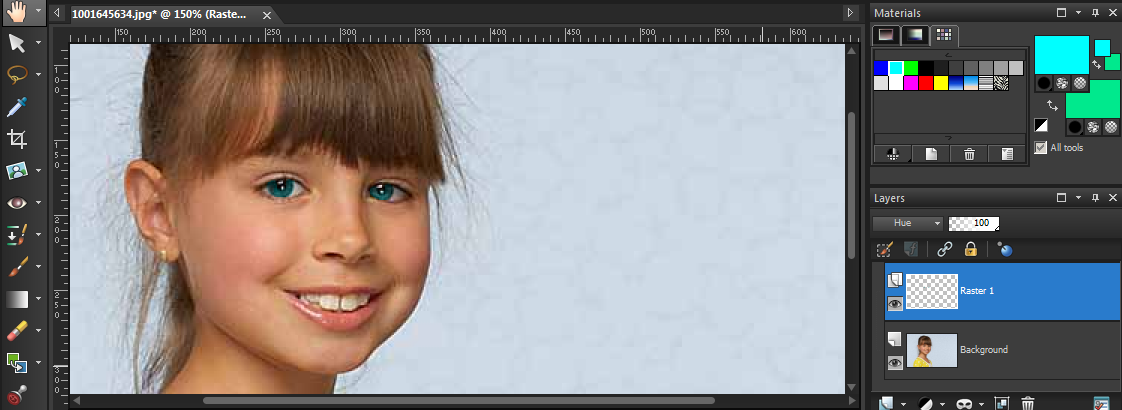
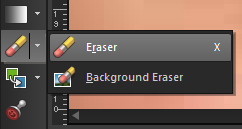
7. Use the Eraser tool to remove unwanted areas that you have created.
8. Once done, reduce the transparency of the layer to make it look more natural.
9. Zoom out from the image to see the result.

If you have enjoyed this tutorial, be sure to check out the other tutorials that are available in the Discovery Center. If you have any ideas for tutorials or projects that you would like to see in the future, please leave us some Feedback."
Was this article helpful?
Tell us how we can improve it.