


Using Layers is a fundamental skill in many photo projects, from a simple collage to the most complex masterpiece. This tutorial will teach you the basics of working with layers in PaintShop Pro.

Layers can help you with projects such as:
- Collages
- Scrapbooks
- Background replacements
- and many more!
By the time you're finished, you will know how to create a simple collage with layers in under 5 minutes. Check out the three photos below that were combined to create a beautiful 3-layer collage.
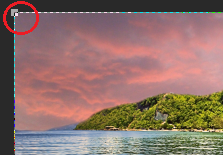
1. To begin with, open PaintShop Pro and make sure that you're using the Edit Workspace.
2. Next, open the Layers Palette. You can do this by going to the View menu > Palettes and then putting a check mark in Layers - or by pressing the F8 key on your keyboard.
In this example we will create a simple 3 layer collage using one photo as the base and then changing the background and foreground.
You can picture a collage much like setting up a play. The middle photo is the stage, there is a backdrop behind, usually of a sky, and then props are in the front.
First, open the image that you will be using as the base.
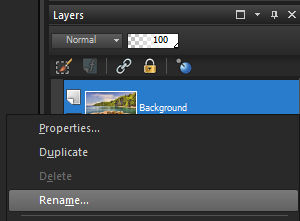
3. Right-click on it and rename the layer to "Base". You will need to do this, as any layer with the name "Background" cannot be moved around.
In this example, we will remove the sky behind the hillside and add some flowers to the foreground.
4. Next, open the image you wish to use as the background.
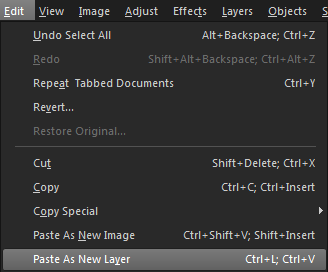
6. Next, use they key combination Ctrl+C, or go to Edit > Copy.
8. To resize, click on one of the corner nodes and drag outward.
To move layers around, simply hold down the left mouse button over the layer and drag it above or below the other layers.

10. Next, open the foreground image.
Repeat the steps from earlier to copy this image into your project and resize it appropriately.
Use the Eraser Tool again to remove everything but the flowers at the bottom.
Now that the collage is finished it should be saved as a PSPIMAGE file. That way, if you wish to make changes later, those layers will stay separated.
To save a copy that you can upload to Facebook or send via e-mail, go to File > Save As and select Jpeg.
Since Jpeg images can only hold a single layer, you will get a warning message. Click YES to this message to continue.

If you have enjoyed this tutorial, be sure to check out the other tutorials that are available in the Discovery Center. If you have any ideas for tutorials or projects that you would like to see in the future, please leave us some Feedback.
Was this article helpful?
Tell us how we can improve it.