


You spend a lot of time and effort composing and taking your photographs to get them just right. You are proud of them and want to show them off to friends and family. The last thing that you want to see is that some unscrupulous person has taken your image and called it theirs. What can you do? In this tutorial you will see how quickly and easily, images can be watermarked. 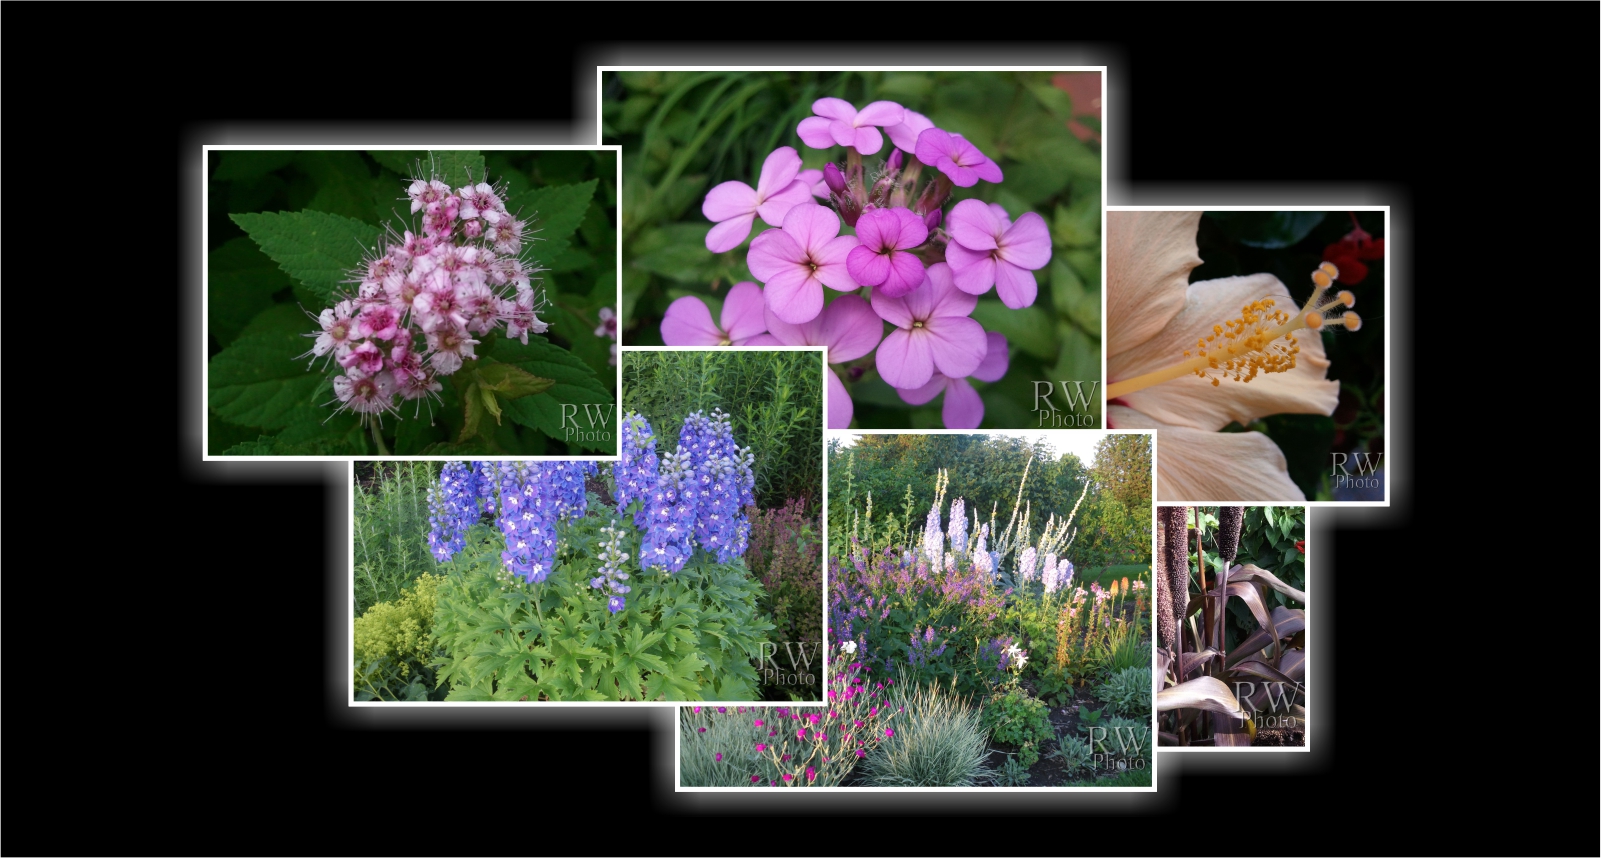
You will learn how to:
Add a Watermark to an image.
Create a Script to automate a function.
Batch Process on a folder of images to apply a script to them.
Getting Started
Create an image that you will be using as a watermark. It should be a PNG file with transparency for the best effect. You may also want to use white for the most dramatic effect.
Recording the Script
Once you have launched Corel PaintShop Pro and start the script recording, any commands that you execute will be recorded into the script. Once saved, this can be used in Batch playback mode to process large groups of images.
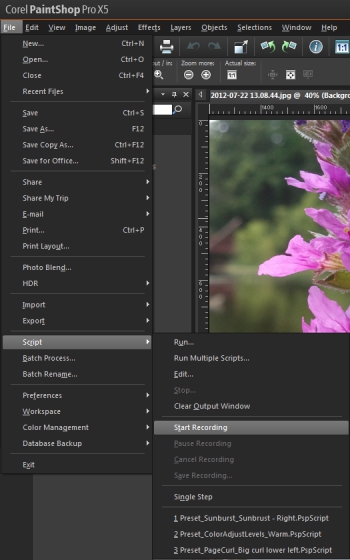
1. Select File > Script > Start Recording. Next, select Image > Watermarking > Visible Watermark.
2. Select Browse and browse to where the watermark image is saved and load it in.
3. Under Style, set the Size to 20; the Opacity to 50 and the Emboss to somewhere around 50 and then clickOK.
4. Select File > Script > Save Recording. In the Save As dialog box, type a name for the script.
It's Time to Batch
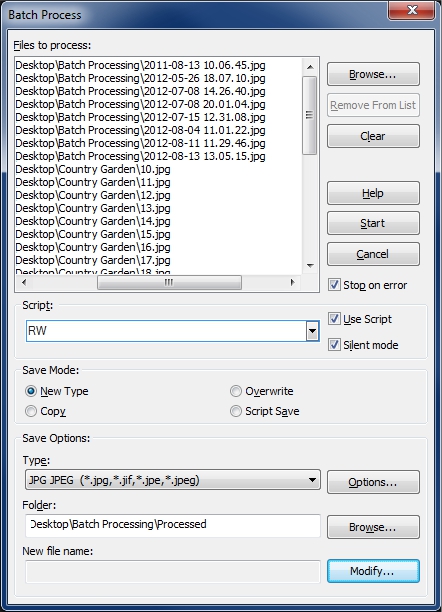
1. Select File > Batch Process. This will open the Batch Process dialog box that will allow you to set up the various parameters.
2. Select Browse and browse to where the images are that will require the watermark (they can be in a single folder, or multiple folders, but the output MUST all go to the same folder).
3. Select the option to Use Script and then using the drop-down, locate the script that has been created.
4. Ensure that Silent Mode is selected.
5. Under Save Options, select the desired file format. In most cases this will be .JPG JPEG.
6. Select the Browse button to point to a folder where the processed image will be saved.
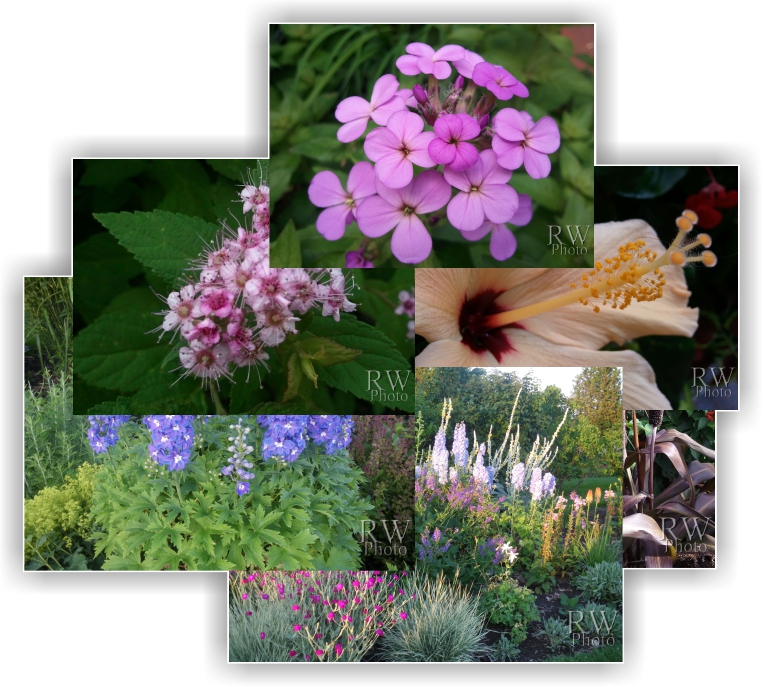
PaintShop Pro is now ready to process the files.
1. Click Start. A Batch Process status bar will appear and you will see the progress as the script is being applied to the various files. Upon completion click "OK" and the browse to the processed files.

If you have enjoyed this tutorial, be sure to check out the other tutorials that are available in theDiscovery Center. If you have any ideas for tutorials or projects that you would like to see in the future, please leave us some Feedback.
Was this article helpful?
Tell us how we can improve it.