
Tired of long upload times when trying to share photos on the Internet? Batch resizing is very useful when preparing to upload multiple images to the internet or to send via e-mail. This tutorial shows you how to batch process your photos with PaintShop Pro, so you can easily resize them in bulk and painlessly share them with family and friends.
You will learn how to:
- Record and save a script.
- Use your created script to perform a batch resizing process.
Step 1: Recording a Script in PaintShop Pro
The following steps will guide you through the process of recording and then saving a script in PaintShop Pro.
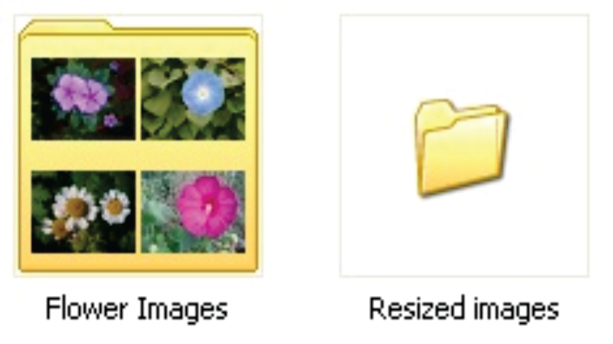
1. A Batch Resize is very useful when preparing to upload multiple images to the internet or to send via e-mail. To prepare for this project you will need to have a folder containing a group of images you wish to resize and create a new, empty folder in Windows which will later be used to store the new images created by the batch process.
2. Launch PaintShop Pro making sure to choose open Edit Workspace at the top of the screen. Open the File menu and select a sample image. It does not matter which image you select as it will simply be used to create a script that can later be applied to multiple images.
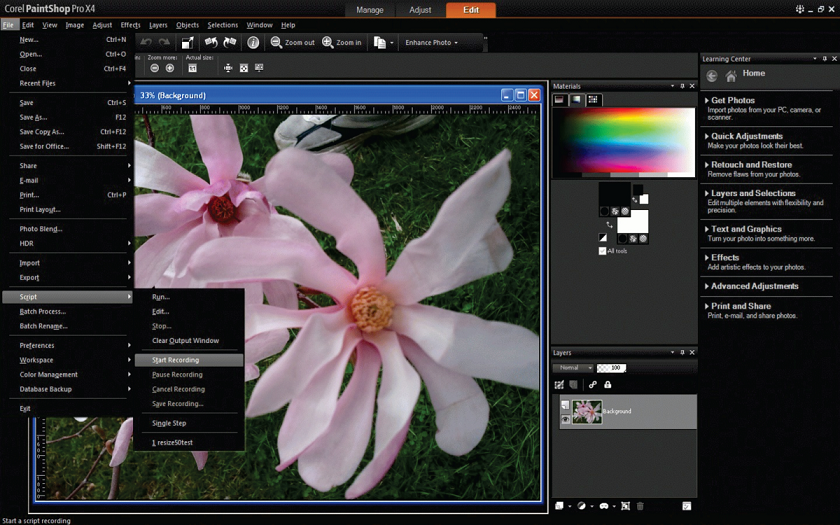
3. In the File menu select Script and then click Start Recording.
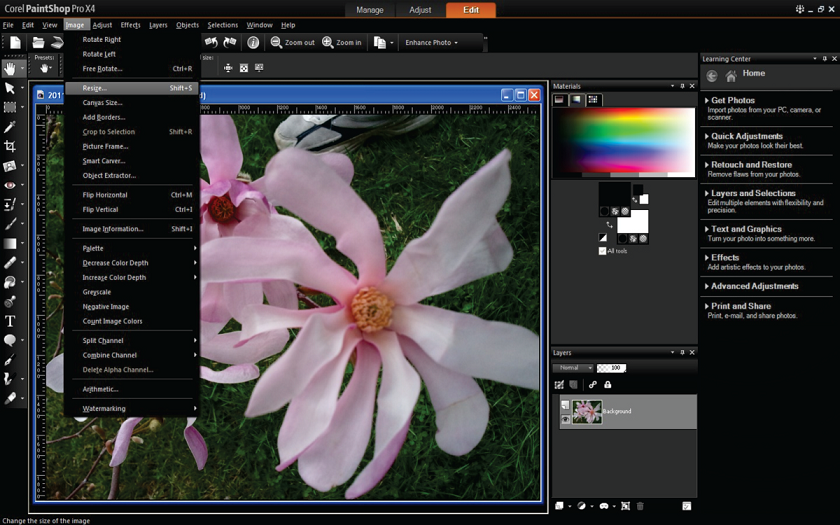
4. Click on the Image menu and choose Resize from the drop-down list.
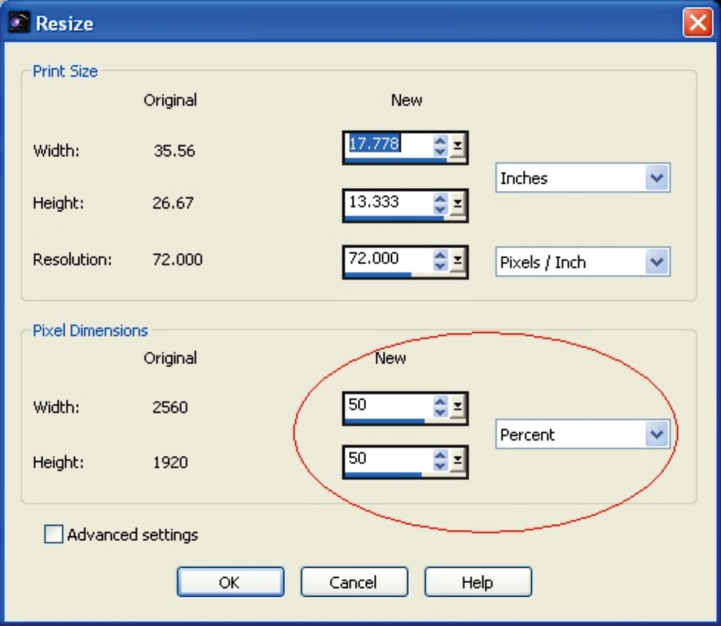
5. In the Resize dialog box, adjust the Percent option to 50 for Width and 50 for Height. After doing this, click OK.
Please note that if the option ""maintain aspect ratio"" is selected in the advanced options, changing the width will automatically change the height and visa versa.
6. Now that the resize has been done it is time to stop the script. Click on the File menu, choose Script and click on Save Recording.
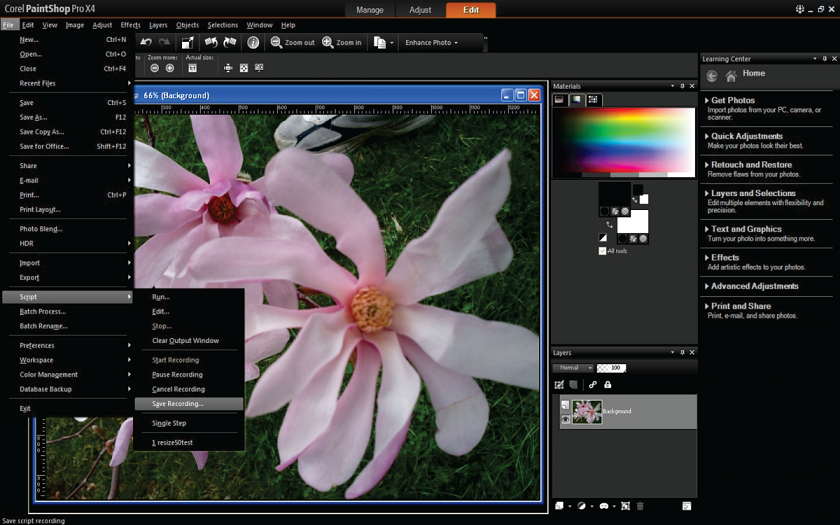
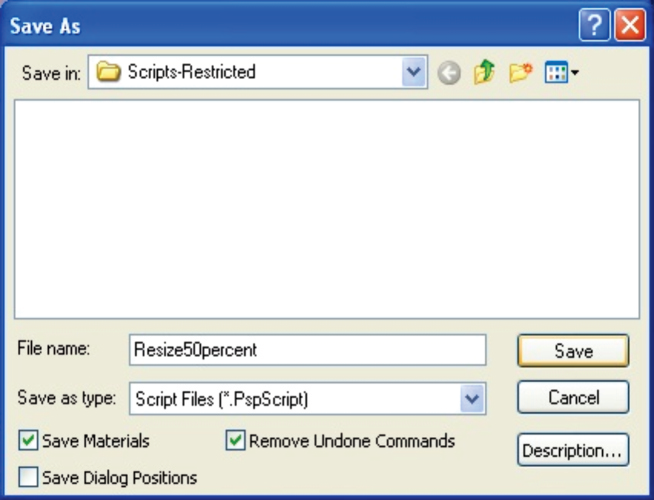
7. Give the script a name that is relevant to the task it performs. In this tutorial the script will be named "Resize50percent". Click OK and the script will be saved. The image used to create the script can be closed and need not be saved.
Step 2: Batch Processing in PaintShop Pro
The following steps will guide you through the process of using the script you have created in Step 1 to do a Batch Process in PaintShop Pro.
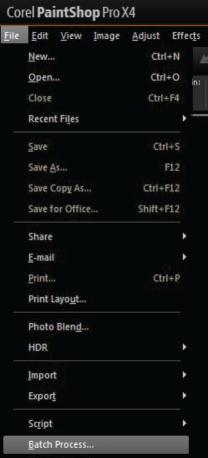
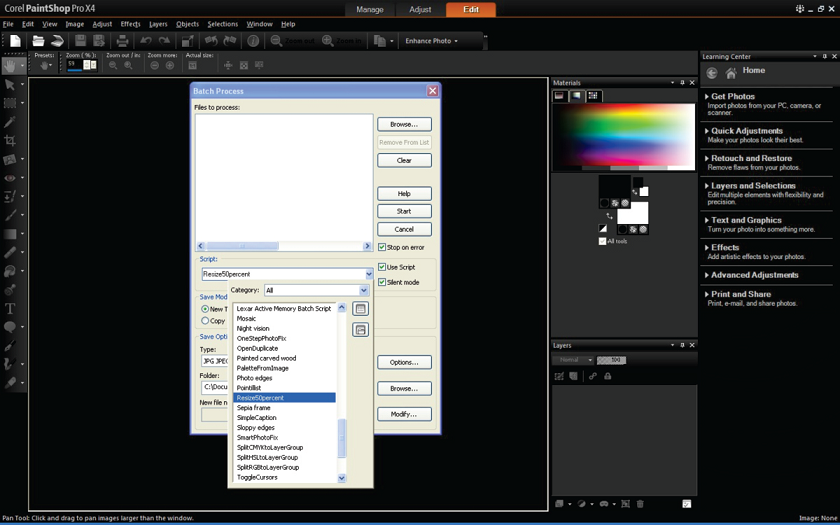
1. In the File menu, select the option Batch Process and this will open the Batch Process Dialog box as shown below.
2. In the Batch Process Dialog box, first make sure that there is a check mark in the box beside Use Script. This will allow you to choose the script that you created in Step 1 of this tutorial, from the drop down list.
3. Click Browse to choose the files which you will be resizing. The Select Files Dialog box will allow you to select multiple images. Click Select All.
3. In the File menu select Script and then click Start Recording.
4. Click on the Image menu and choose Resize from the drop-down list.
5. In the Resize dialog box, adjust the Percent option to 50 for Width and 50 for Height. After doing this, click OK.
Please note that if the option ""maintain aspect ratio"" is selected in the advanced options, changing the width will automatically change the height and visa versa.
6. Now that the resize has been done it is time to stop the script. Click on the File menu, choose Script and click on Save Recording.
7. Give the script a name that is relevant to the task it performs. In this tutorial the script will be named ""Resize50percent"". Click OK and the script will be saved. The image used to create the script can be closed and need not be saved.
Step 2: Batch Processing in PaintShop Pro
The following steps will guide you through the process of using the script you have created in Step 1 to do a Batch Process in PaintShop Pro.
1. In the File menu, select the option Batch Process and this will open the Batch Process Dialog box as shown below.
2. In the Batch Process Dialog box, first make sure that there is a check mark in the box beside Use Script. This will allow you to choose the script that you created in Step 1 of this tutorial, from the drop down list.
3. Click Browse to choose the files which you will be resizing. The Select Files Dialog box will allow you to select multiple images. Click Select All.

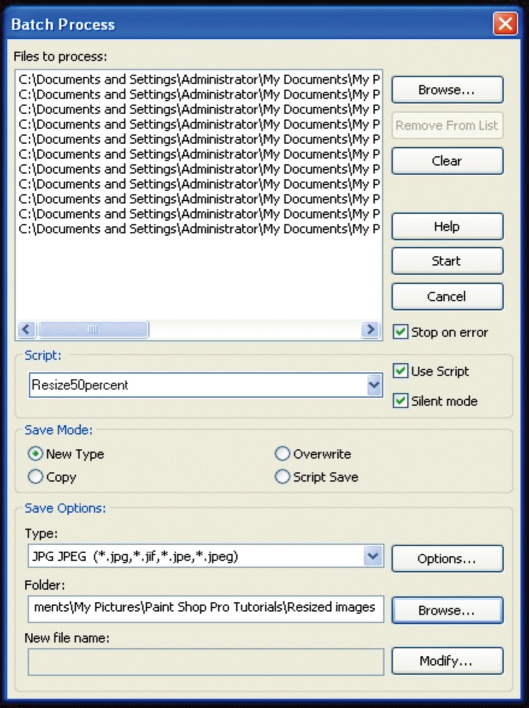
4. After selecting the images, you will need to select the folder for the re-sized copies to be placed in. Browse to the folder you created at the beginning of Step 1 of this tutorial. When you have chosen where the images will be saved the Batch Process Dialog box should appear something like the one in this example. Click Start to begin the batch process.
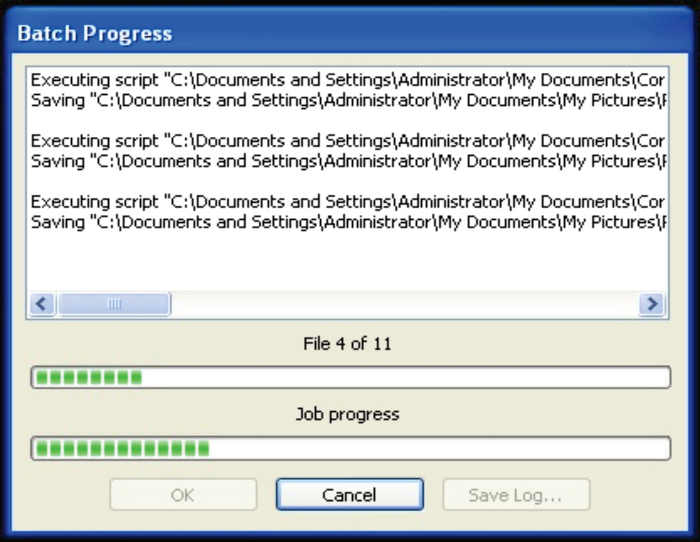
5. After clicking to Start the Batch Process Dialog box will appear on the screen and show a detailed progress as it processes the images. After the job progress is complete click OK.
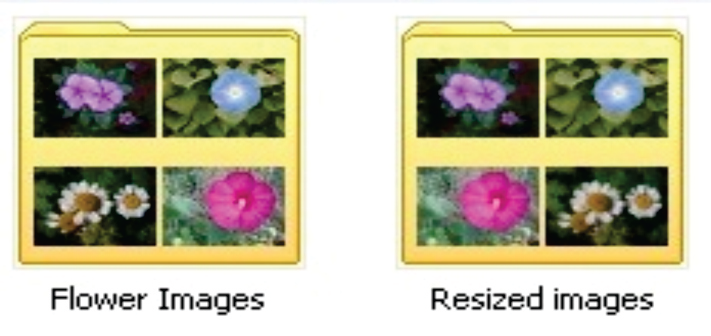
6. Now the empty folder you created at the beginning of this tutorial will contain copies of all the images you selected and each one will be exactly 50% the size of the original.
If you have enjoyed this tutorial, be sure to check out the other tutorials that are available in the Discovery Center. If you have any ideas for tutorials or projects that you would like to see in the future, please leave us some Feedback."
Was this article helpful?
Tell us how we can improve it.