
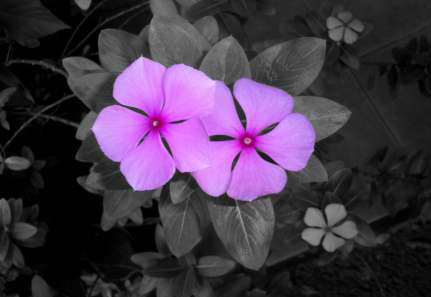
Want to spice up your nature photos, or draw attention to a particular object in your photo? This PaintShop Pro video you will show you how to add a splash of color to a black and white photo.
You will learn how to:
- Adjust brightness and contrast settings.
- Use simple masking techniques.
- Use the Hue/Saturation/Lightness controls.
1. With your image open, select its thumbnail in the Organizer Palette, and click the Edit tab.
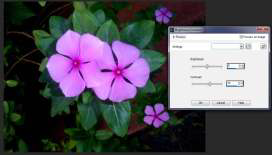
2. Select Adjust menu > Brightness and Contrast> Brightness/Contrast.
3. Set the Contrast control. The amount you increase the contrast varies from image to image

4. Next, protect the image area that you want to remain in color using a Selection tool. On the Tools toolbar, choose a tool from the Selection Tools Palette (third from the top) that best suits the area you want mask: the Selection tool for creating selections of a specific shape; the Magic Wand tool for selecting areas based on the color, hue, brightness, or opacity of an object; or the Freehand Selection tool for creating a selection around the edges of an object. In our image, we used the Magic Wand tool.

5. On the Tools Options Palette, choose Add (Shift) from the Mode drop-list, and click the image areas you want to protect. When using the Magic Wand tool, you can adjust the size of the selection by adjusting the Tolerance control.
6. Next, invert the mask by selecting Selections Menu > Invert to protect image area that you want to remain in color.
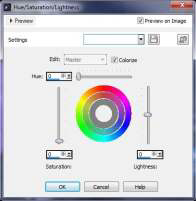
7. SelectAdjust Menu >Hue and Saturation > Hue/Saturation/Lightness. The Hue/Saturation/Lightness dialog box will appear.
8. Now because we want to affect the color, mark the Colorize check box and set the Saturation control to 0. Increasing this setting makes the colors glow, and decreasing it removes color.
9. Click OK to apply, and then select Selections menu > Select Noneto remove the mask. Just save the image, and your work is complete.
Was this article helpful?
Tell us how we can improve it.