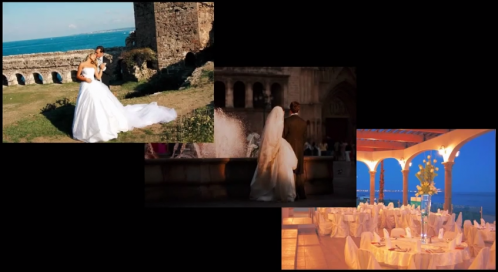
It’s your wedding and you look fabulous. Your friends and family have all shown up with smart phones and cameras to capture those candid moments that professional photographers would never dare, but will those photos look as great as you do? This video will help you make sure you look perfect in every shot.
Let's start with the basics. If somebody wants to catch a moment and they have very little time, they probably didn't have the opportunity to line up the shot perfectly. You'll notice, if you're looking at smartphone photos from events that often times the image is on a bit of an angle. You can fix this easily. Let's demonstrate.
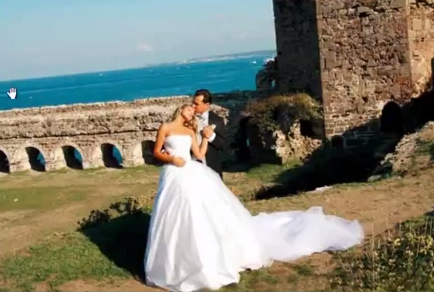
Open the image in PaintShop Pro's Edit workspace.
Next, click on the straighten tool and then drag the line along the angle that should have been straight. This will work for you on either the horizontal or vertical angles and PaintShop will know, based on where you put this line, which it is.
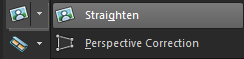
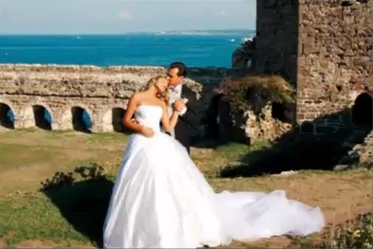
So again, I'll simply drag this line along the part of the image that would ideally have been straight, just like so. Double click, and it’s done.
The next thing you're going to probably need to do is crop the image so it fits into your Facebook profile picture or any other social media; another very simple procedure in PaintShop that you can use in any project. I'm going to choose a 4X6 frame that fits the subjects nicely, then click on the check mark. In a couple minutes we have changed our image for the better.
One other thing you’ll run into over and over again with wedding images are color issues. Some shots may have been taken with a flash and washed out the faces of subjects, you'll have other shots where the flash wasn't used and some of those may end up a little dark. That's where the Adjust menu comes in.
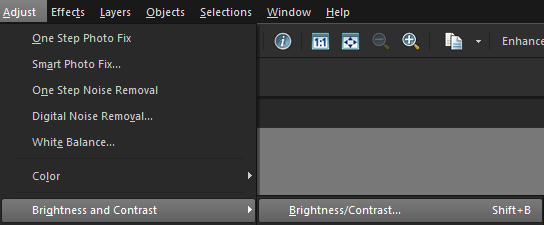
In this menu you'll find all the tools you need to fix up color, brightness and contrast in your photos.

So first we'll take this flash photo and bring it back to life with some natural color and contrast. From the Adjust menu, select Hue and Saturation, then Hue/Saturation/Lightness. I'll reduce the lightness a little here and increase the saturation.

If it still needs a little something more, you can go back to Adjust, select Brightness and Contrast and then Brightness/Contrast and these settings can be adjusted as well.
Anytime photos that have come out too dark, you can use the same options. You’ll simply lighten rather than darken and then add contrast. Guests will look bright and alive, rather than dark and dull in the photos.

In this example I'll also use a great tool called Fill Light and Clarity from the Brightness and Contrast menu. What this does is pull out all the details that are hidden behind this dark exterior. Amazing isn't it?
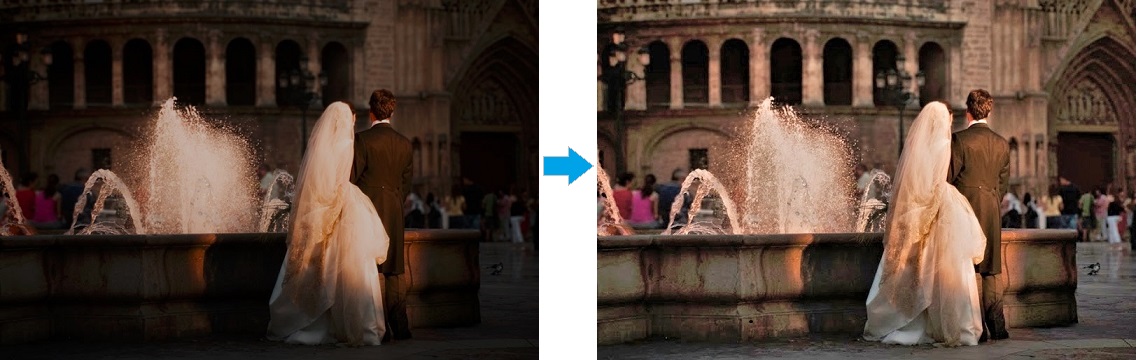
Again, in just a few minutes, you can turn photos like these around and make them look just as gorgeous as you did.
Don't say "I Do" to poor quality wedding photos; make your album reflect the moments of your dream wedding just as you remember it with a few simple touch ups in Corel PaintShop Pro.
Was this article helpful?
Tell us how we can improve it.