

Welcome to this tutorial on how to improve food photography with Corel PaintShop Pro
Food photography has become increasingly popular in the last few years, but it can be a challenge to get that perfect shot. However, with the right tools, you can create stunning images that will look like they came from the pages of your favorite cook book.
Part 1
1. Open your image in PaintShop Pro and make sure that the Edit workspace is active.

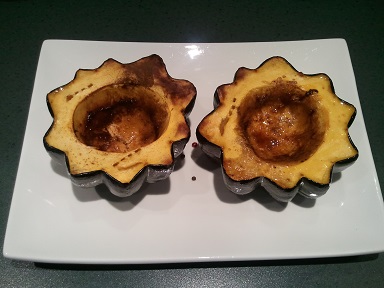
In this example I have a photo of two squash halves; they look very tasty and the lighting is just right but there are a few areas that need to be touched up.
2. From the Makeover tools, select the Blemish Fixer tool.
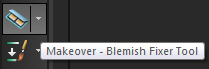
3. Resize the tool so that the inner circle completely covers the spot you want to remove and then click once over that area.

4. For harder to reach spots, the Clone Brush tool is the better option.
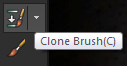
5. First, zoom in close to the area you want to work on.
6. Next, resize the Clone Brush as needed - this will be different depending on the resolution of the image and the size of the area you'll be working on.

A clone source is an area of the image you want to copy to cover up another area. To select the clone source, right-click with your mouse and a circle will appear around the area.
Remember, its normal to change the brush size and the clone source often to properly match the background.
7. When the image has been cleaned up, crop it if need be, so that the photo appears properly centered.

Part 2
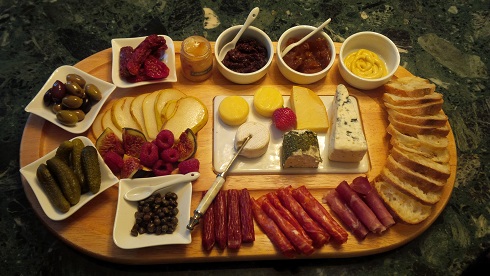
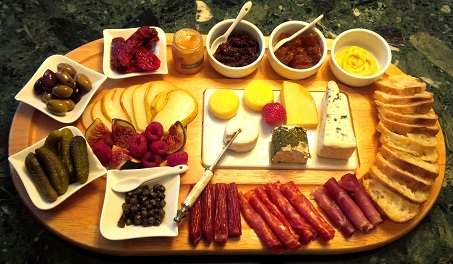
In this next example, I have a photo that was taken of a Charcuterie board. When the image was shot, the flash was not used and therefore the light is even and there is no glare on the plates or utensils, however the room wasn't very bright at the time so we can add some light in PaintShop Pro to bring out the richness of the colors.
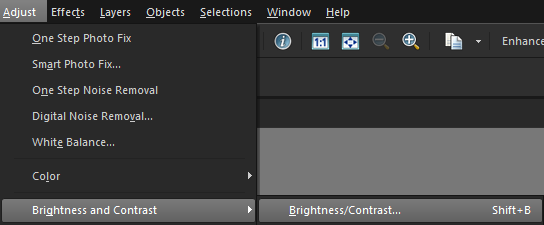
1. From the Adjust menu select Brightness and Contrast and then Brightness/Contrast from the fly-out menu.
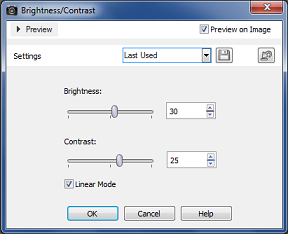
2. In this example, increase the Brightness to 30 and then, to prevent the image from appearing washed out, increase the Contrast to 25.
The subject of the photo is slightly crooked - this is a very common occurrence with food photographs, as so many plates, trays and boards have straight edges that are almost impossible to line up correctly in a photo, even when you're using an LCD preview screen. Luckily, this is easy to fix in PaintShop Pro.
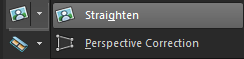
3. From the Tools toolbar, select the Straighten tool.
4. Drag each end of the line to the sides of the area of the photo you want to straighten.
5. Double-click and the image will straighten.
6. Now it's simply a matter of cropping the photo so that the subject is centered properly.
Part 3
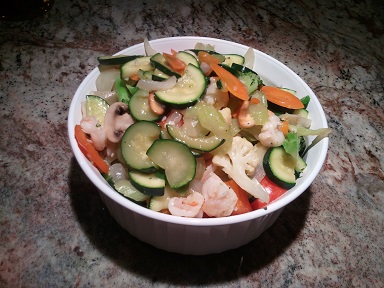
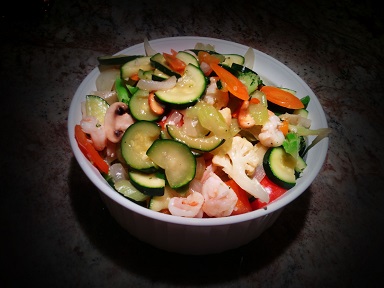
In this last example we have an image that was taken of a seafood stir fry. A few minor adjustments can make this image really stand out.
1. First, from the Adjust menu select Hue and Saturation, and then Vibrancy.
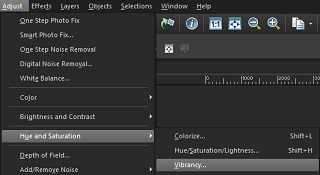
2. In this example, the vibrancy strength was increased to 30 to restore some of the vivid colors of this dish that have been lost in the bright lighting.

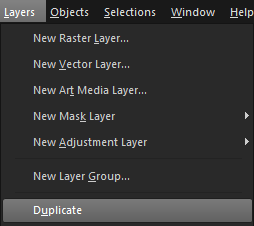
3. Next, from the Layers menu select Duplicate.
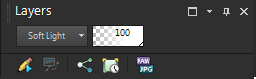
4. In the Layers palette, change the Blend Mode of the new layer to Soft Light. This will create a stunning effect of contrast and make the vegetables really stand out.
5. Lastly, since the subject of the image is round and the upper corners of the image are already shadowed, it makes this photo the perfect candidate for a vignette frame.
6. From the Layers menu, select Duplicate.
7. Change the blend mode of this layer to Normal.
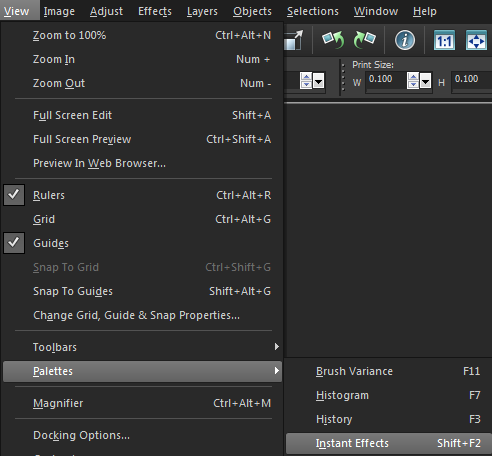
8. Next, select View, Palettes and then Instant Effects.
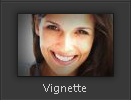
9. Apply the Instant Effectcalled Vignette. In this example, it has been applied twice to make a nice dark frame.
10. Select the Eraser tool.

11. Set the Hardness to 0 and a low Opacity so that it creates a nice soft edge. 12. Erase the center of the bowl so that the other layers will show through. In this example, a little of the upper corners were also erased so that they appear the same darkness as the bottom ones. 13. When this is complete, go to File > Save As and select PSPImage as the file type, this way, if you wish to make changes to the project at a later time, your layers will remain in tact. 14. Next, go back toFile > Save Asand choose JPEG.
You will get a warning message and this is because a JPEG file can only contain a single layer. Click YES to this message to continue.
If you have enjoyed this tutorial, be sure to check out the other tutorials that are available in the Discovery Center. If you have any ideas for tutorials or projects that you would like to see in the future, please leave us some Feedback.
Was this article helpful?
Tell us how we can improve it.