Changing eye colors using PaintShop Pro
This tutorial will teach you how to change eye color using PaintShop Pro.
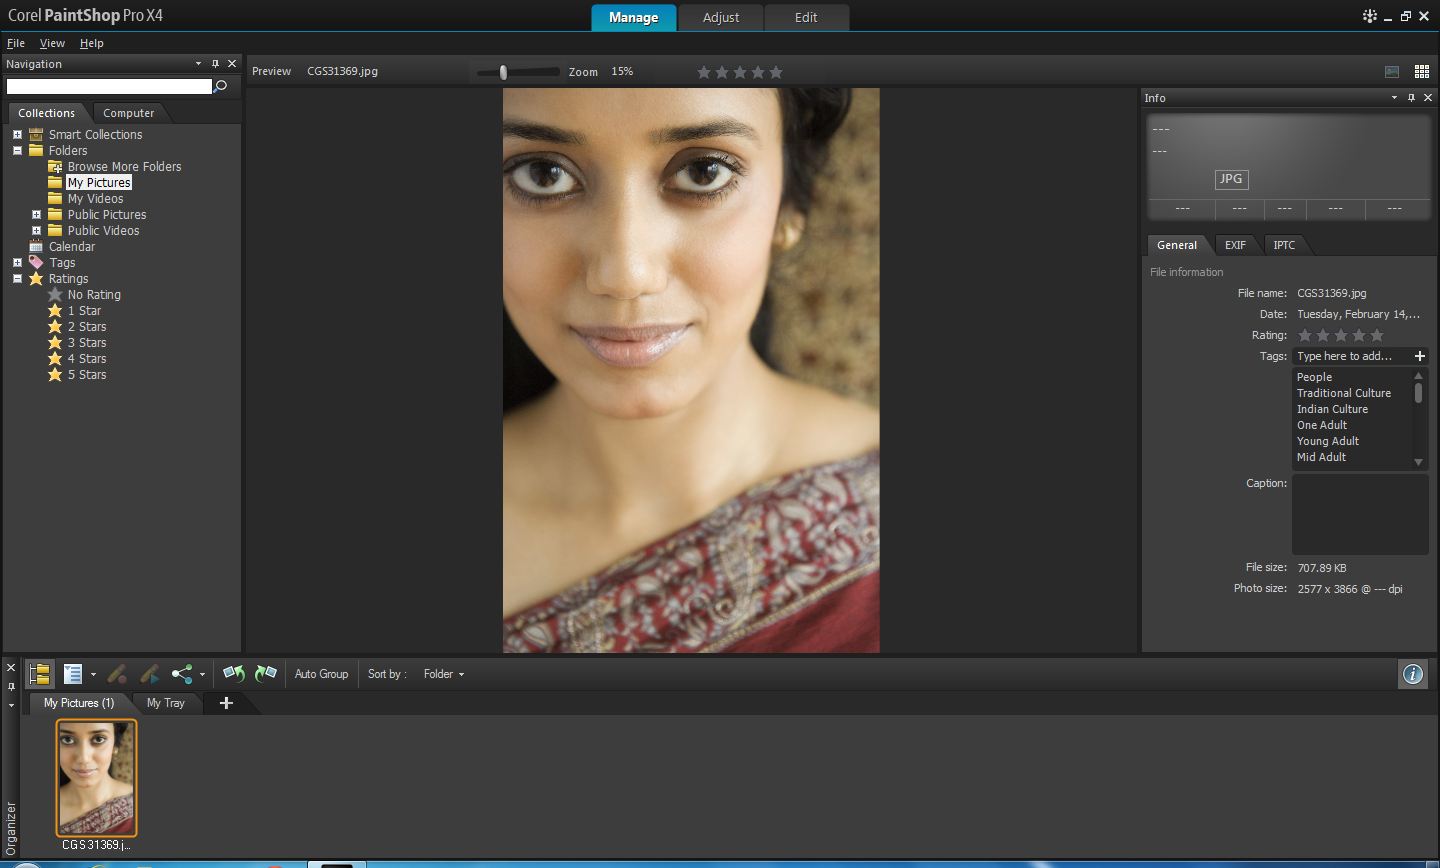
1. Open an image in PaintShop Pro.
---------------------------------------------------------------------------------------------------------------------------------------------------------
DID YOU KNOW THAT:
There are two ways of opening images in PaintShop Pro:
- You can open an image by clicking on File >> Open, select the folder where the image is stored, select the image you would like to use and then click on OK.
- You can also open an image by accessing the Organizer, Just select the folder where the image is stored, click on the image you would like to use and then click on the Edit Tab.
---------------------------------------------------------------------------------------------------------------------------------------------------------
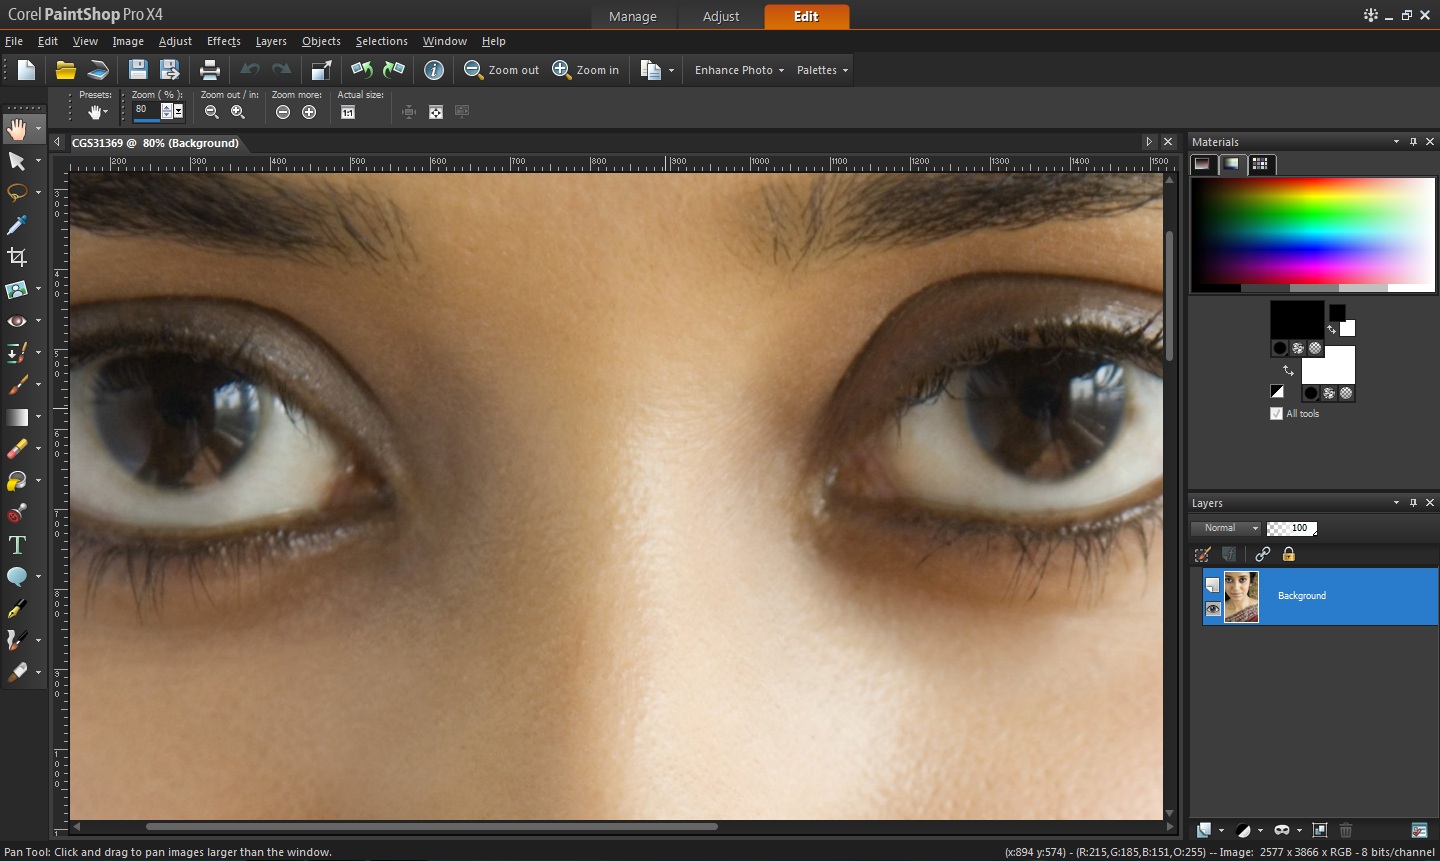
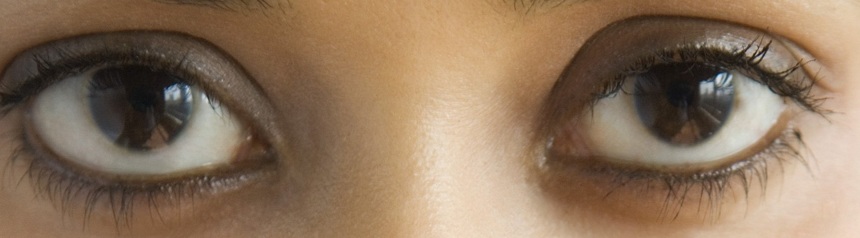
2. Using your mouse wheel, zoom into the subject's eyes. Make sure that the zoom factor covers both eyes.
3. Click on the Selection Tool in the Tools Toolbar.
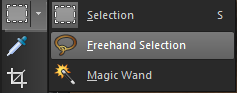
Use your favorite selection method. In this tutorial, I will be using the Smart Edge.

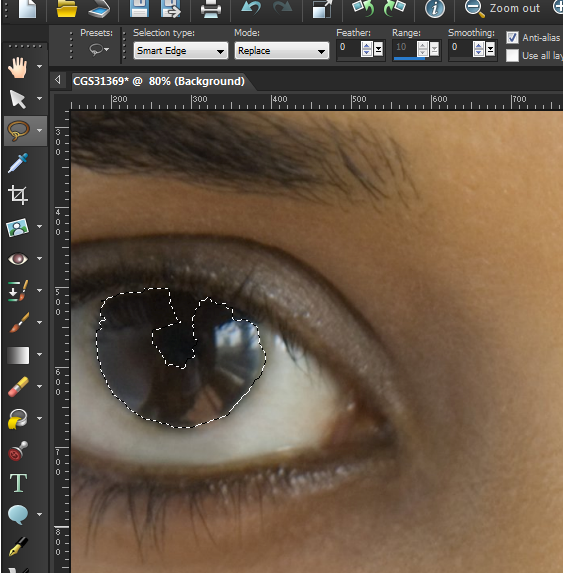
4. Using the Selection Tool, select the iris part of the subject's eyes.
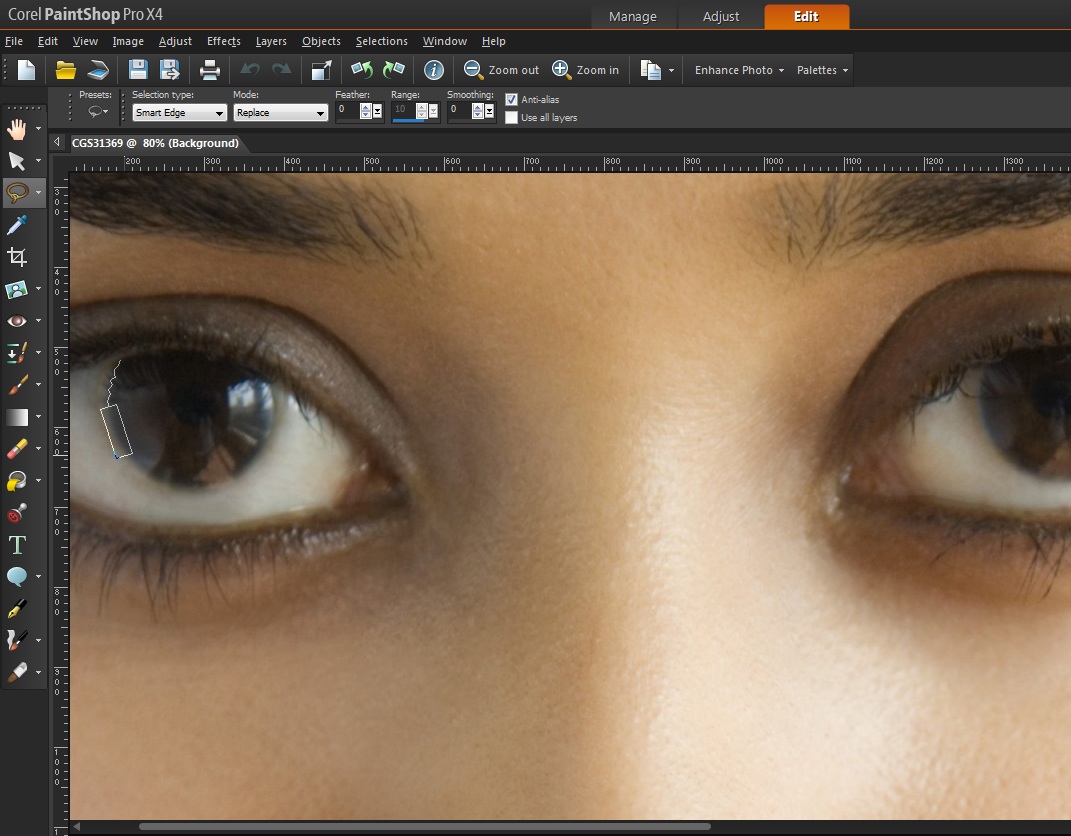
Select the entire part of the iris, leaving out the pupil area of the eyes.
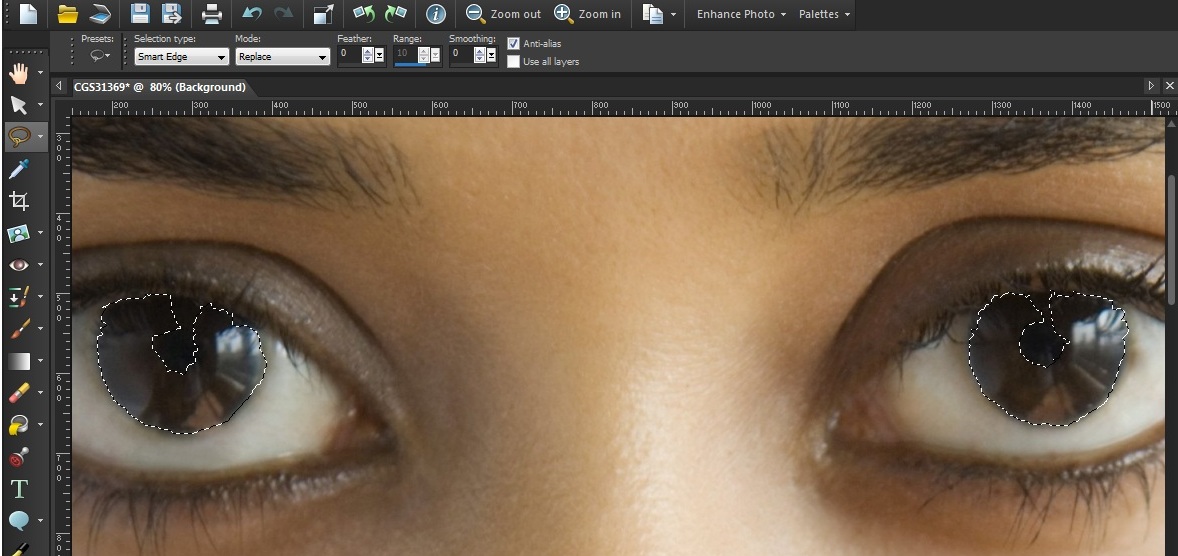
5. To be able to select the other iris of the subject's eyes without deselecting the previous selection, press the Shift key on your keyboard and apply the selection.
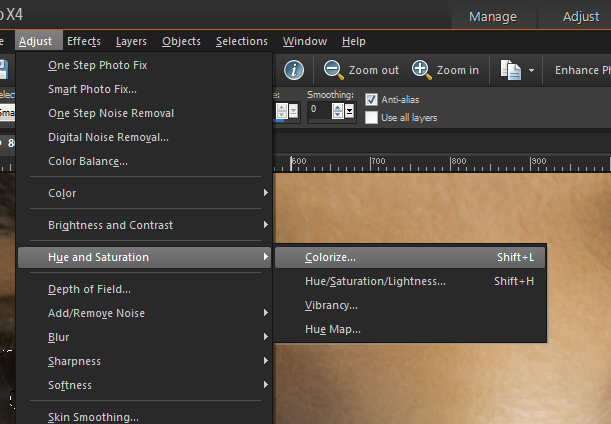
6. Now that both irises are selected, we will now apply a different color using Colorize. To access Colorize, go to Adjust >> Hue and Saturation >> Colorize.
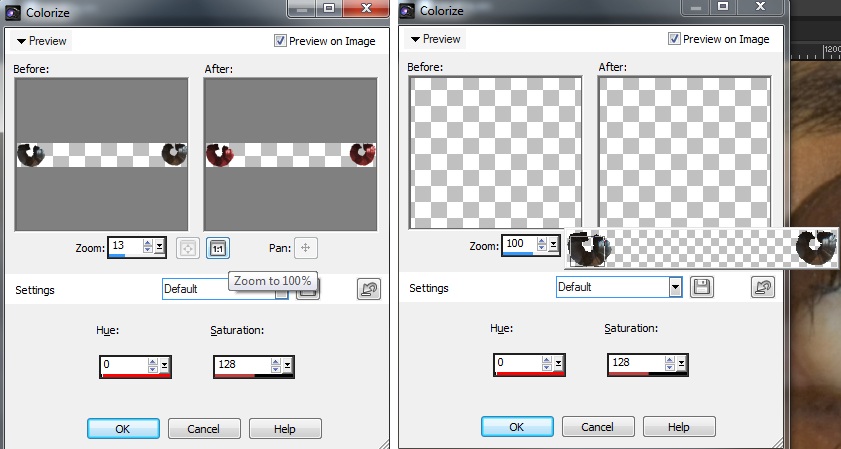
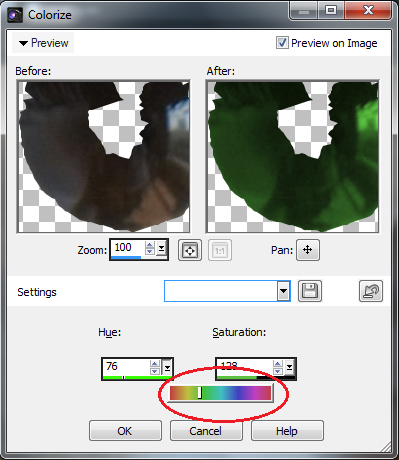
7. In the Colorize Window, you have the option to zoom into the area which you would like to change the color.
Click on the Zoom to 100% and pan to be able to view the selected area.
8. Here comes the fun part. You have two options in changing your subject's eyes.
You can use the presets provided from the drop-down menu.

You also set your own values
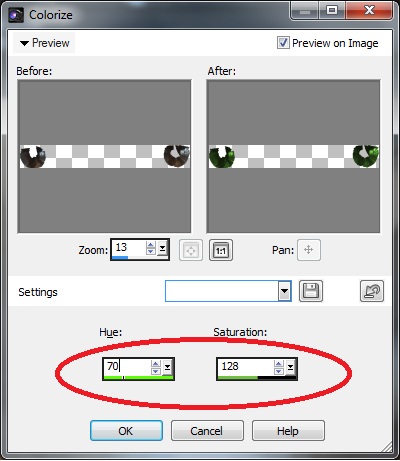
or use the slider to know which color you would like to use
and how intense the color should appear.
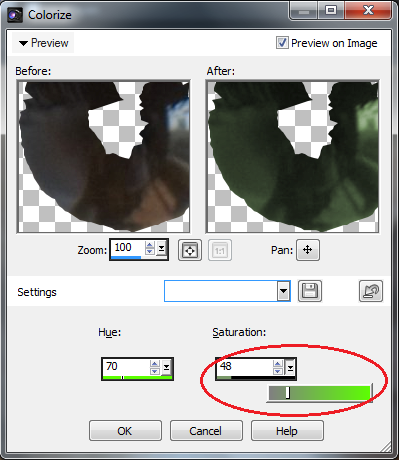
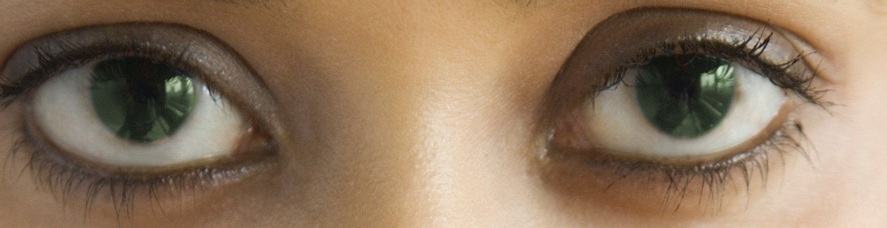
9. Set the value of Hue to 70 and Saturation to 38**
** For tutorial purposes, we would be changing the color of the eyes to green. However, you can set the color to your own preference.
10. Click on OK to apply the changes.
11. Go to Selection >> Select none.
12. Zoom out of the picture and you are done.
BEFORE:
AFTER:
Was this article helpful?
Tell us how we can improve it.