
Creating a feathered selection in Corel`s PaintShop Pro will show you how to give your image a faded border look. The following steps below will show you how to create that effect.

Here are the steps to achieve a feathered edge on images in Paint Shop Pro:
1. Open the image in Paint Shop Pro.
In Edit Mode, Click File > Open

2. Select your picture by searching through the Open box. When you find the image you want to work with, left click on it so that it is showing selected, and click on the Open button.

3. Choose the Selection Tool.
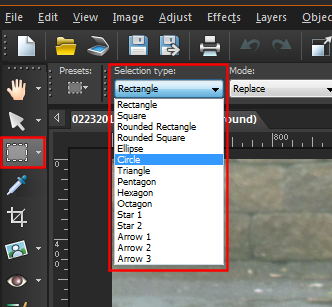
3. On the Tool Options palette choose the shape of the selection you would like use from the Selection type drop-down.
4. In the Feather field, enter a feathering value. The higher the value, the more the feathering is applied to the selection.

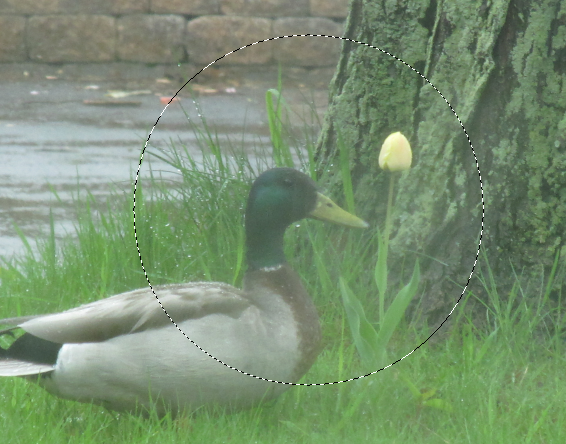
5. Select the area that you want to feather by clicking and dragging your mouse in the image. An increase in the selection is shown. What will be produced is a Selection Marquee (a line of dashes).
6. Choose Edit| Copy.
7. Choose Edit| Paste| As New Image.
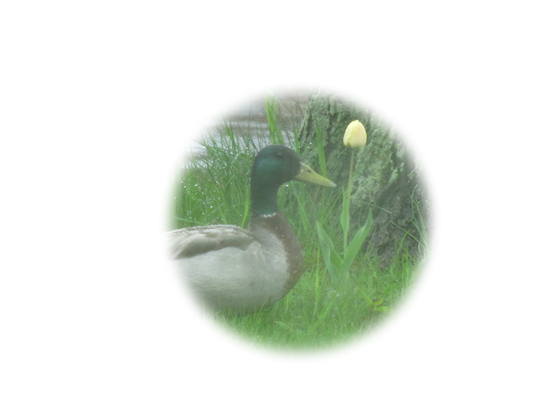
Now you'll see your image against a transparent background with the edges feathered. It may take a few times to achieve the degree of feathering you would like. This can be adjusted by changing the value entered in Feather on the Tool Options palette as well as changing the size of the selection drawn.
Keywords: how to, selection, feathering, paintshop pro, depth of field, psp
Was this article helpful?
Tell us how we can improve it.