In this tutorial, you will learn how to simulate the Dragan effect on your photos using Paintshop Pro.
Step 1: Choose an Image
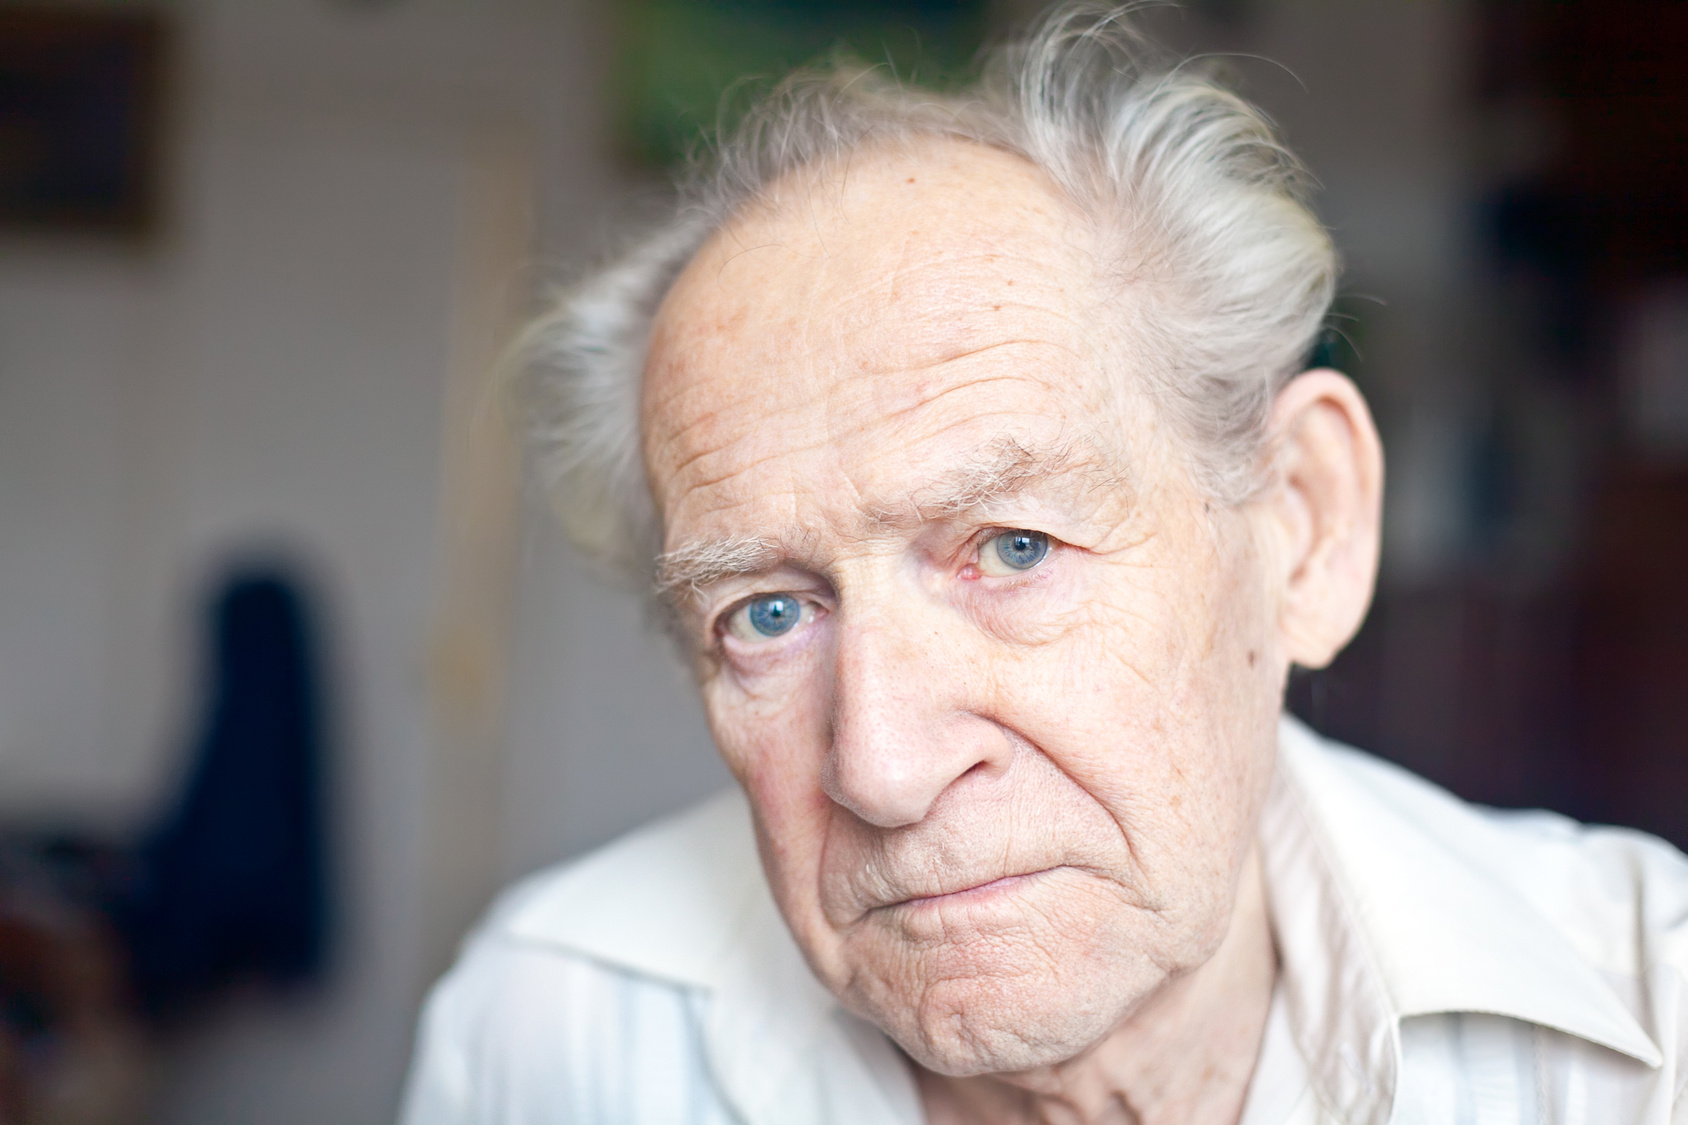
This effect can be applied to any photos you have, but for best effect, choose a well-lit portrait with the eyes fully visible. Once you have made your choice, open the image in Paintshop Pro.
Step 2: Prepare Your Workspace
- Make sure that the Layers palette is open. You can do this by pressing F8 on your keyboard or by going toPalettes > Layers.
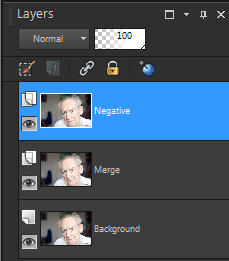
- In your Layers palette, duplicate the Background layer twice by clicking on your right-mouse button, and then select Duplicate. Rename as indicated below.
Step 3: Apply effects to layers
- Select your Negative layer then desaturate the image by going to Adjust > Hue and Saturation > Hue/Saturation/Lightness(Shift + H). Set the values as indicated below.
- Hue: 0
- Saturation: -100
- Lightness: 0
2. Invert the color of the image by going to Image > Negative Image.
3. Going back to your Layers palette, set the Blend Mode to Overlay. At this point, the image should look washed-out.
4. Now open the Gaussian Blur dialogue box by going to Adjust > Blur > Gaussian Blur. Depending on the image used, you can set the Radius between 0-100. In this particular tutorial, the radius is set to 20.
5. Combine the Negative and the Merge layer. To do this, right-click on the Negative layer then select Merge > Merge Down.
6. Open the Hue/Saturation/Lightness dialogue box again (Shift + H) then set values as indicated below.
- Hue: 7
- Saturation: -40
- Lightness: 0
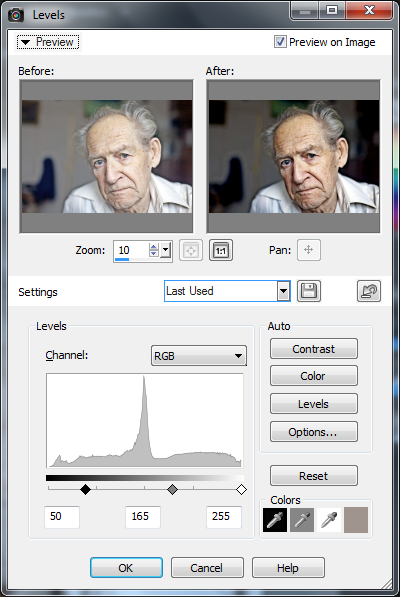
7. Add back the contrast. Open the Levels dialogue box by going to Adjust > Brightness and Contrast > Levels. Set the values as indicated below.
Step 4: Enhance the details
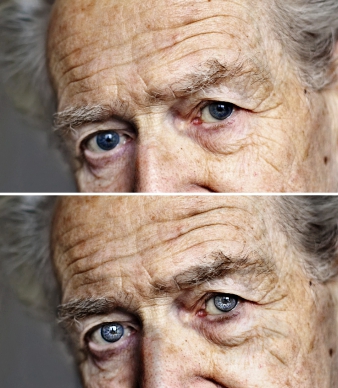
In this step we will be enhancing the details of the subject by further increasing the contrast of the eyes and creases of the skin.
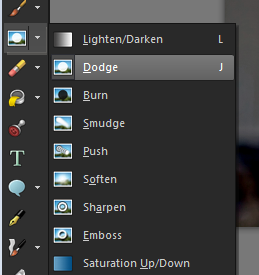
- Zoom into the eyes of your subject. Select the Dodge tool (J) from the tool box and adjust the brush size so that it would only be small enough to brush over the eyes. Set the opacity of the brush to 30. You can also use theSharpen Brush to add details to the eyes.
2. Using the Burn tool with the same settings as the Dodge tool, brush over the creases of the skin and dark areas, including the lips, hair and clothing.
3. Finally, apply High Pass Sharpen by going to Adjust> Sharpness> High Pass Sharpen. Set the Radius to 18, Strength to 40 and the Blend mode to Soft Light.
Step 5: Finishing touches
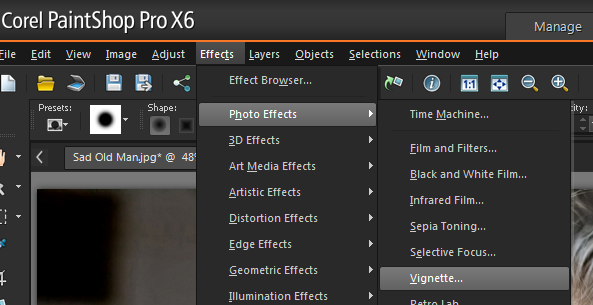
To completely set the mood for your photo, apply a vignette effect. To do this, go to Effects > Photo Effects > Vignette. Using the Circular selection tool and set a wide area of focus in your image. You can experiment with the parameter. In this tutorial, Dark is set at -60, Feather edge is set at 50 and the rest is 0.
Using Paintshop Pro's Black and White Film filter (Effects > Photo Effects > Black and White Film), would give your image an even more dramatic appeal.
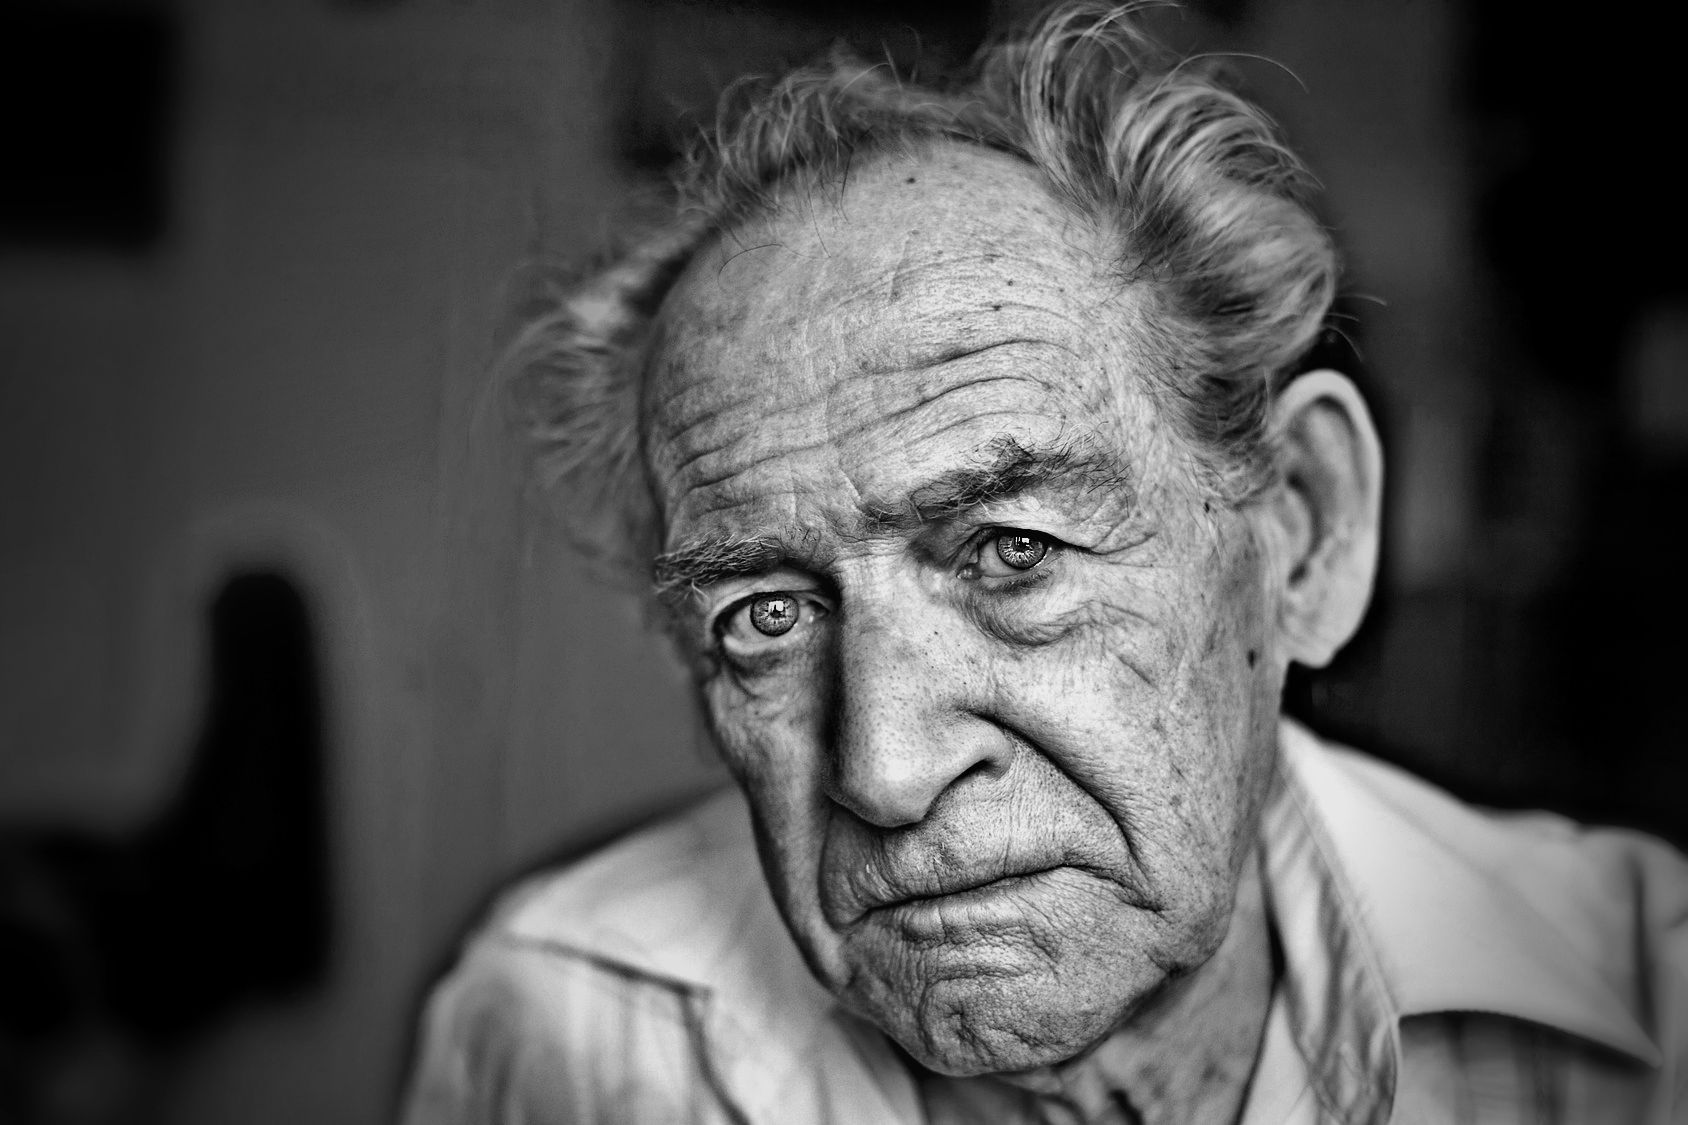
You now have a "Draganized" photo. You can enable/disable the visibility of the top layer to compare the before and after of the image. Save your project in JPEG format in theFile > Save As dialogue box.
If you have enjoyed this tutorial, be sure to check out the other tutorials that are available in the Discovery Center. If you have any ideas for tutorials or projects that you would like to see in the future, please leave us some Feedback.
Was this article helpful?
Tell us how we can improve it.