
Welcome to this tutorial on cropping and resizing images in Corel PaintShop Pro!

In this tutorial we will show you various options for resizing images and how to crop photographs to common print sizes.
How to Crop a Photo
1. First, launch PaintShop Pro and make sure that the Edit workspace is selected.

2. Next, open the image you’re going to be working with.
In this example, I would like to print a photograph to fit in an 8 x 10 inch frame. Since most cameras shoot images in a size ratio of 4 x 6, by cropping the photo in PaintShop Pro, I can ensure that I have the proper height-to-width ratio for an 8 x 10 inch print.
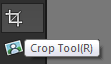
3. Select the Crop tool from the Tools toolbar and the cropping options will appear on the screen.
4. From the drop- list, select 8 x 10. Now drag the corner nodes of the cropping area and position it around the part of the image that you want to keep.

5. Click the green Apply check mark button to complete the crop and then go to File > Save_As and save a copy of your cropped image.
Now this photo can be printed to fit in an 8 x 10 inch frame, either at home, or through a printing service. The same method can be used for other common print sizes such as 4 x 6 inch, which is the standard size for photo albums, or 5 x 7 inch, which is the standard size for greeting cards.
How to Resize a Photo
Resizing your images can be important if you’re sending photos to family and friends. Many e-mail providers have limitations on the size of attachments, so sending large, high-resolution images can be a problem.
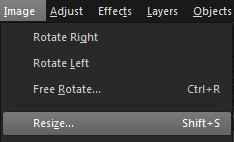
1. To resize a photo, go to the Image menu and select Resize.
2. In the Resize menu select Advanced Settings. Make sure that the Lock Aspect Ratio check box is selected; this ensures that when you choose to resize the photo, it will maintain the same height-to-width ratio.
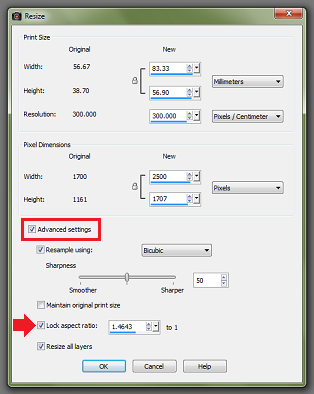
3. Next, change the unit dimensions to Pixels.
4. In this example I will resize the image to be viewed on a computer screen. Because Lock Aspect Ratio was selected, when I type 600 in the text box beside Width, the number for Height is automatically adjusted so that the size ratio remains intact and the image doesn’t get warped.
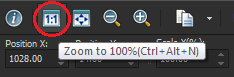
Now, if you select the 100% zoom button at the top of the screen you will be able to see what the image will look like when displayed in an e-mail.
5. From the File menu, select Save As and save a copy of the resized file. Now the photo will be easier to view and download from an e-mail attachment.
If you have enjoyed this tutorial, be sure to check out the other tutorials that are available in the Discovery Center. If you have any ideas for tutorials or projects that you would like to see in the future, please leave us some Feedback.
Was this article helpful?
Tell us how we can improve it.