

Welcome to this tutorial on Creating Valentines in Corel PaintShop Pro.

What you will Learn:
- How to create a new image with a custom size, resolution and background
- How to import a photo into a project
- How to use the Preset Shape Tool
- How to add text to a thought bubble
- How to use the Picture Tube Tool
- How to print a sheet of 9 wallet size images
Creating unique Valentine card sheets with original messages can be fun for the whole family and is sure to be a hit in the classroom. In this tutorial we will show you how easy this project can be.
1. Open PaintShop Pro and make sure that the Edit tab is active.

2. Click on File > New. In the New Image dialogue box you can choose the size for the cards. In this example we'll use the standard wallet size which is 2.5 by 3.5 inches and set the resolution to 300 DPI.

3. Click on the check mark to remove transparency and then click inside the color swatch. From the patterns section we can choose an appropriate background.
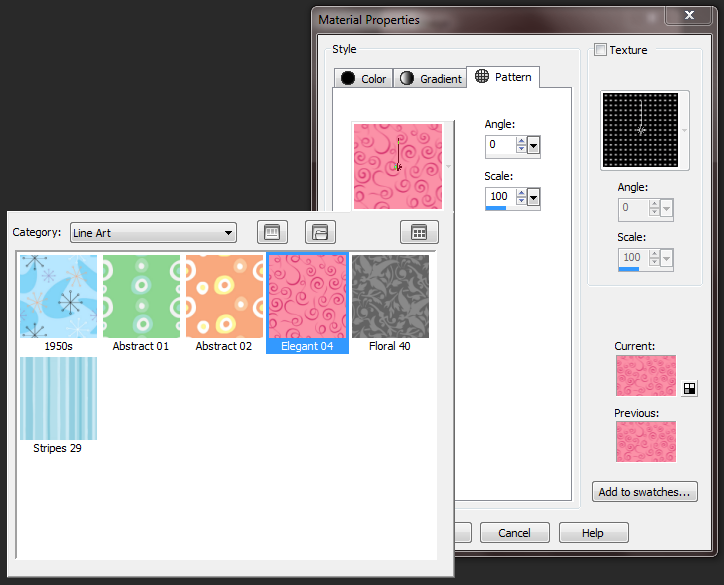
4. Click OK and then OK again to continue.
5. Now that the background is in place, let's bring in a photograph. Open the image and then go to Selections and choose Select All.

6. From the Edit menu choose Copy. Alternatively, you can use the key combination CTRL C on your keyboard.
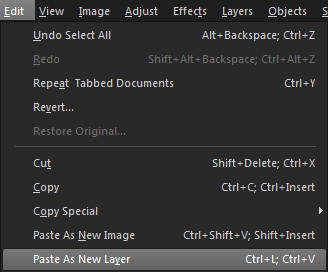
7. Select the tab containing the background and then, from the Edit menu select Paste As New Layer.
8. Zoom out and resize by dragging the nodes on the corners of the image.
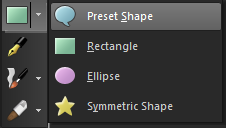
9. Common to Valentine cards is the mood or speech bubble. To insert a bubble, click on the Preset Shape Tool in the Standard toolbar.
10. On the Tool Options palette, click the arrow beside the shape list icon to select a shape.
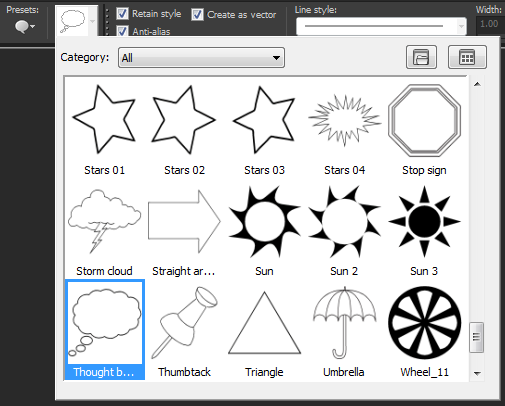
You can drag and position it over the image and it will appear as its own layer.
11. To add text, click on the Text tool. Make sure to click away from the mood bubble and then add the text.

12. Drag the text over top of the bubble.

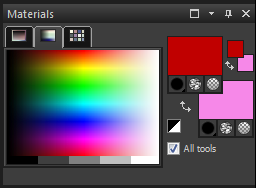
13. To change the color of the text, right click in the Color Mixer to select a fill color and left click to select an outline color.
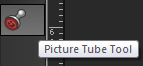
14. To dress this up a little more, there is a large selection of Picture Tubes that come with PaintShop Pro. Click on the layer containing the photo and then choose the Picture Tube tool from the Standard toolbar.
15. Click the arrow next to the Picture Tube list icon on the Tool Options Palette. In this example, we'll select one of the sets of hearts.
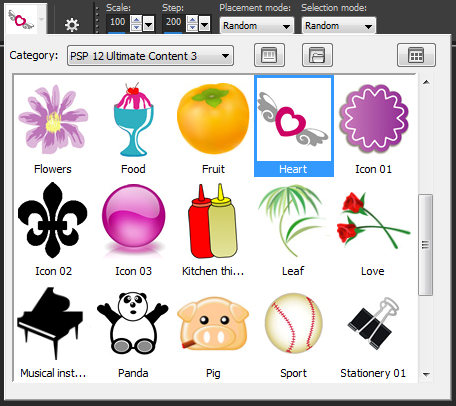
16. Next, place a few around the edges. If you don't like the style or size you can always change these settings in the Tool Options Palette. To remove a Picture Tube you've just placed, use the Undo option in the Edit menu or the keys Ctrl Z on your keyboard.

17. To print your own sheet of 9 valentines, go to File > Print.
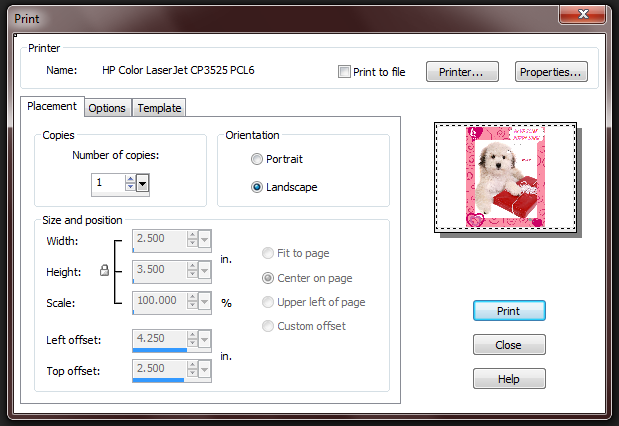
18. Click on the Template Tab and check Print to Template.
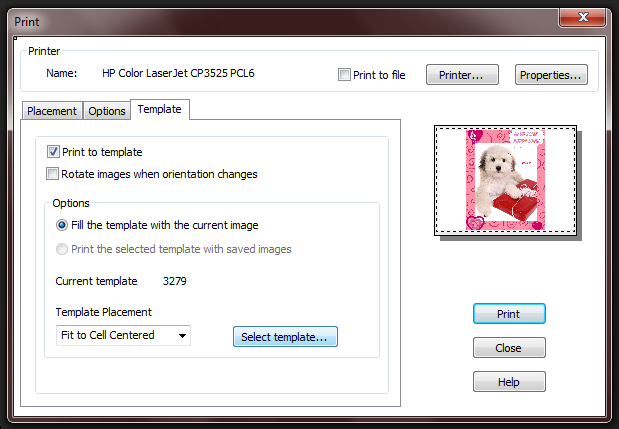
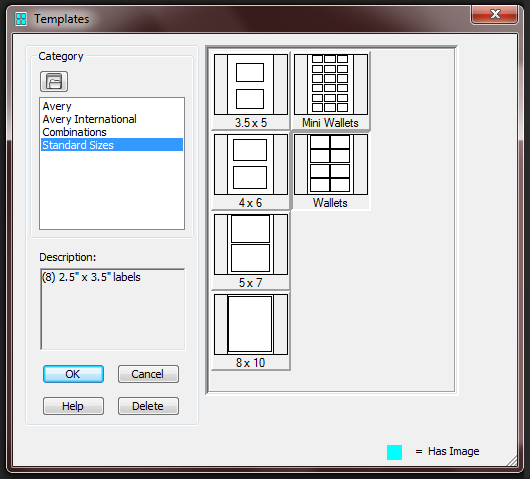
19. Click on Select Template. In this example we will be using the Wallets sheet from the Standard Sizes category.
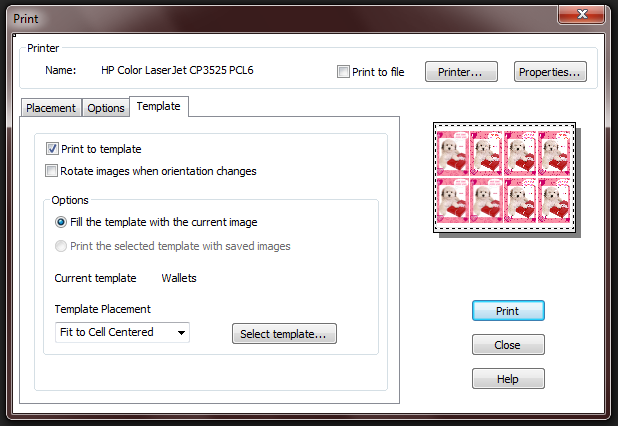
Now the preview will display how the sheet will look when it's printed.
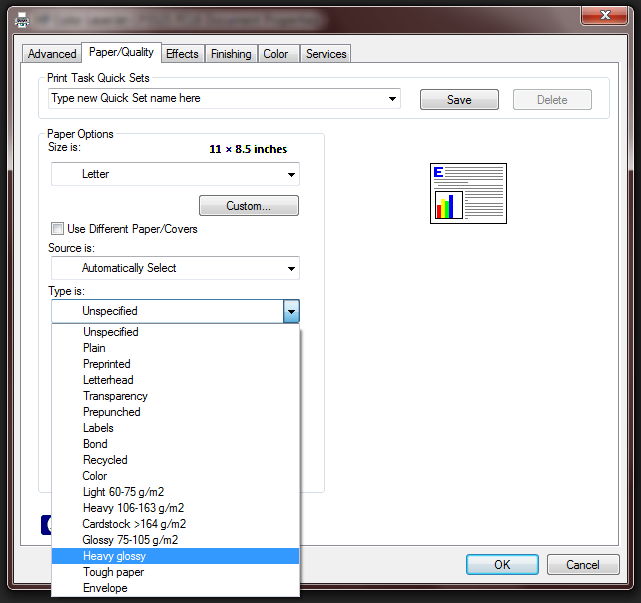
Depending on what brand of printer you're using, it may be recommended that you select the style of paper when printing to gloss or semi-gloss card stock. To check your printers settings, click the Properties button at the top of the Print window prior to printing.
To save a version of your project that can be altered at a later time, be sure to save a PSPIMAGE file; this way your layers will remain intact.
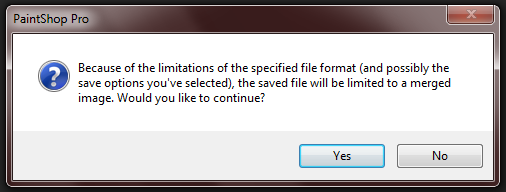
You can also save a JPEG version if you would like to e-mail this as an e-card greeting or save it to a drive to have printed at a print shop. Since JPEG images can only hold a single layer, you will get a warning message. Click Yes to this message to continue.
Thank you for reading this tutorial on Creating Valentines in Corel PaintShop Pro.

If you have enjoyed this tutorial, be sure to check out the other tutorials that are available in the 
Was this article helpful?
Tell us how we can improve it.