Selective coloring is a popular post-processing technique where most of a photo is converted to black and white, but some parts are left in color.
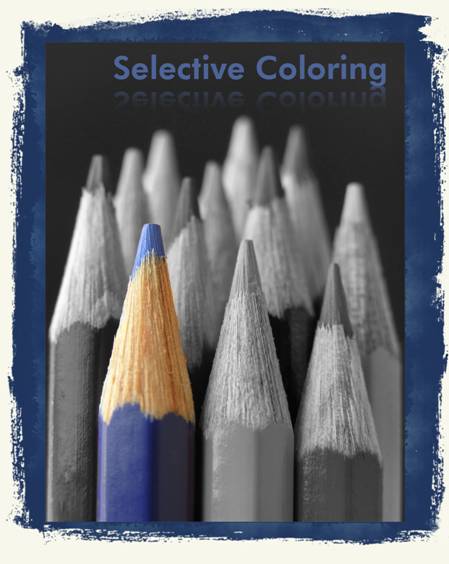
In this tutorial, youll learn the techniques on how to apply color on selected part(s) of the image using layers and masks in PaintShop Pro.
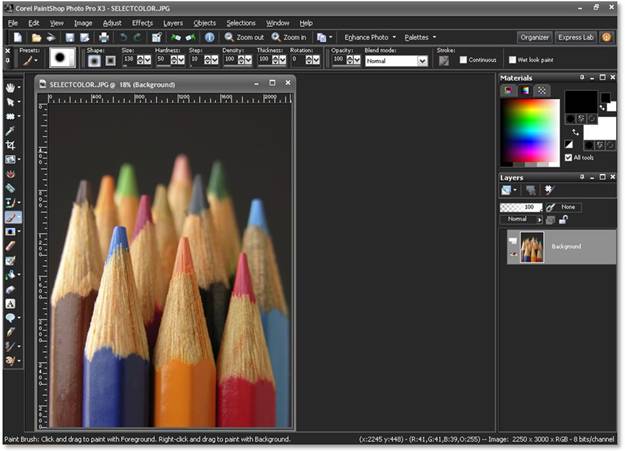
Step 1Setting up the file
Open an image file of your choice in PaintShop Pro by going to File > Open (Ctrl+O). In this tutorial were going to use SELECTCOLOR.JPG.
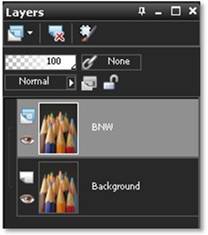
Step 2Duplicate the background layer
Create a copy of the background layer by Right clicking on it then choose Duplicate. Double click the duplicated layer then change the name to BNW as this will become the black and white part of the image.
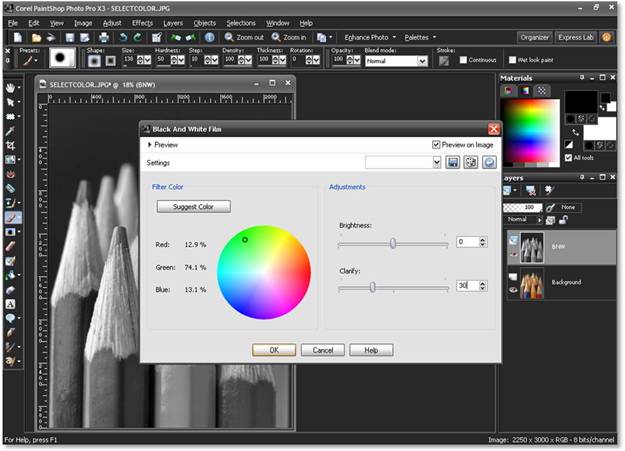
Step 3Black and White
Turn the BNW layer into a black and white effect, choose the Black and White film filter by going to Effects > Photo Effects > Black and White Film. The setting should depend on your preference or by the suggested setting of PSP.
Step 4Masking
Next step is to create a mask. Masks are used to hide part(s) of the image or the whole image. Masking is a very useful tool in image editing as it allows you to edit part of the image without having to worry that you will lose information, as masking can be done and undone just by using the paint brush.
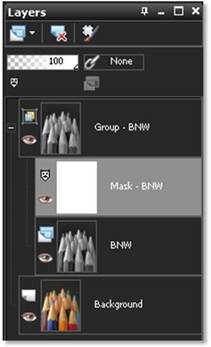
To create a mask, go to Layers > New Mask Layer > Show All. Your layer palette should now have the following:
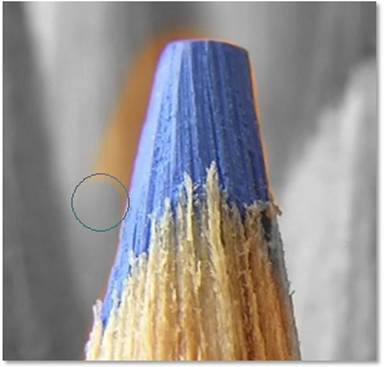
Using thePaint Brush tooland a black foreground color, brush over the pencil as shown below.

![]() In masking, a BLACK mask reveals the layer underneath while a WHITE mask reveals the mask itself.
In masking, a BLACK mask reveals the layer underneath while a WHITE mask reveals the mask itself.
You can easily clean up the edge of the pencil by zooming into the image press and hold down the right mouse button. This will then add a mask back to the "unmasked" area.
Step 5Merging and Saving
Merging the layers is an optional step. To merge the layers, right click on any layer then choose Merge > Merge All (Flatten) or go toLayers > Merge > Merge All. Now go to File > Save As Choose JPG then give it your desired file name. Save. If you wish to further edit the image in the future, do not merge the layers and save it as a .PSPIMAGE file.
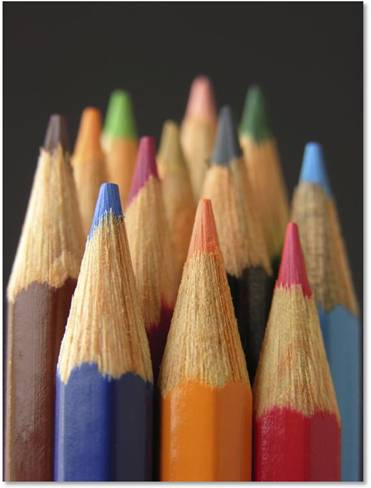
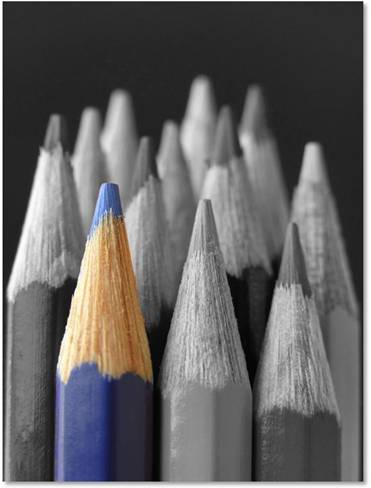
FINISHED PRODUCT
Before
After
Was this article helpful?
Tell us how we can improve it.