Welcome to this tutorial on how to blend photos in Corel PaintShop Pro. Blending photos can be a fun way to make a unique image using various components of different shots taken in the same location.
In this tutorial, you will learn how to:
- How to import a multiple photos into the Photo Blend wizard.
- How to use the Photo Blend basic tools.
- How to process your final image.
Welcome to this tutorial on how to blend photos in Corel PaintShop Pro. Blending photos can be a fun way to make a unique image using various components of different shots taken in the same location.
When using the Photo Blend tool, it is important that the images you will be blending were shot either using a tripod or in quick succession, so that the backgrounds behind your subjects are consistent.
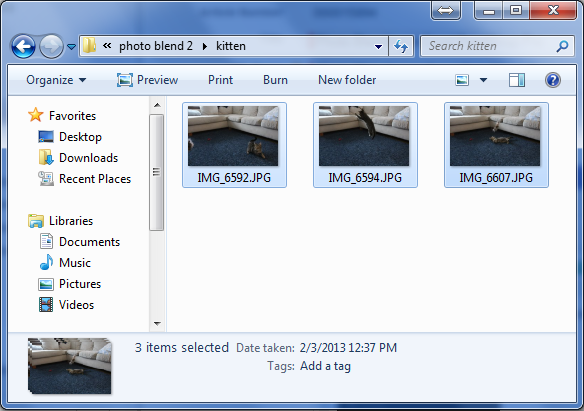
1. Organize the images you wish to blend in a single folder - this will make it easier to select them when you're using the wizard in the program.
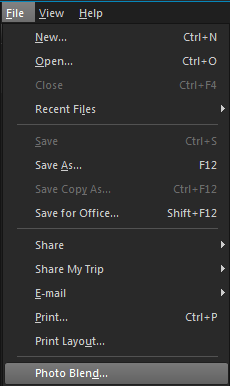
2. Next, Open PaintShop Pro and click on the File menu and choose Photo Blend.
Note: This wizard can be accessed from any of the three work spaces in PaintShop Pro.

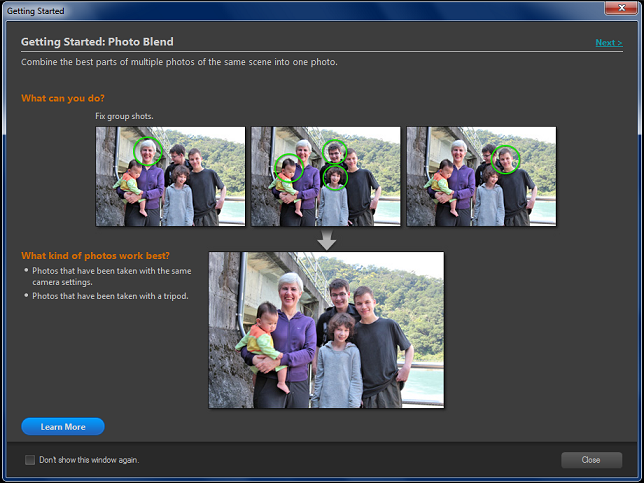
3. If this is the first time you have opened the Photo Blend wizard, the Learning Center window will pop up to provide some information on this feature and how it works. To prevent this window from popping up in the future, you can simply put a check mark in the lower left corner and then click Close.
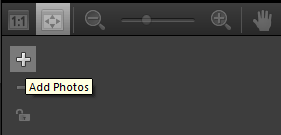
4. When the Photo Blend window opens, click on the Plus Sign ( ) icon toward the bottom of the screen to add photos to the project.
5. By holding down the Ctrl key on the keyboard, you can select multiple files from the same folder and then click Open.
6. These photos will then be loaded into the tray at the bottom of the screen.
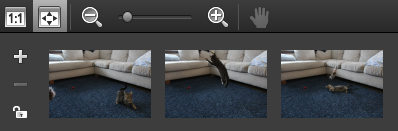
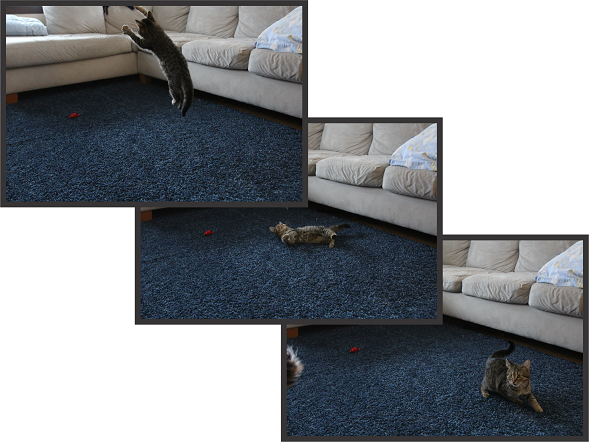
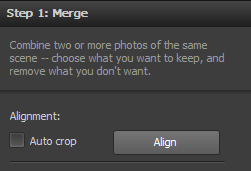
7. In this example, I have 3 photos of a kitten taken in the same spot but in different positions. Since a tripod was used, there is no need to use the Align option, however, if you have taken photos with a hand held camera it is recommended that you first use that feature, as it will automatically adjust the images so that the background matches.
8. Click on the first photo in the tray and then select Brush In.

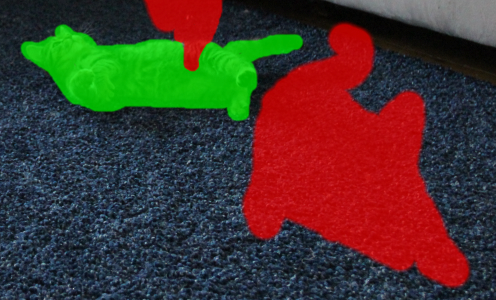
9. Brush over the subject you wish to keep in the shot.
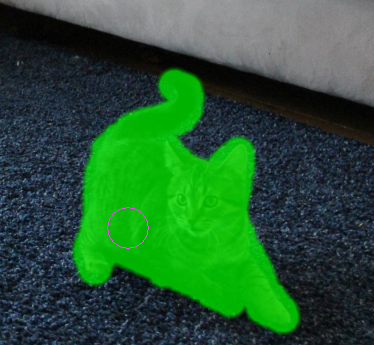
10. Next, click on Brush out. This time you will mark areas you want to remove from the final image.

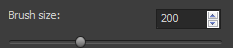
11. When this is complete, repeat the steps for the next two photos.You can increase the brush size to cover a larger area or reduce it to make detailed adjustments.
12. You will notice that any areas you have brushed in have automatically been brushed out of the other photos. This is normal, however in cases where the subjects of one shot overlap another, like in this example here with the tail, you will need to make sure to reduce the brush size to be more precise.
13. When you have completed the three images, click the Process button and the photos will be blended.

14. Save the PSPimage file - this can be reopened in Paintshop Pro afterwards to make any further adjustments such as cropping and resizing. 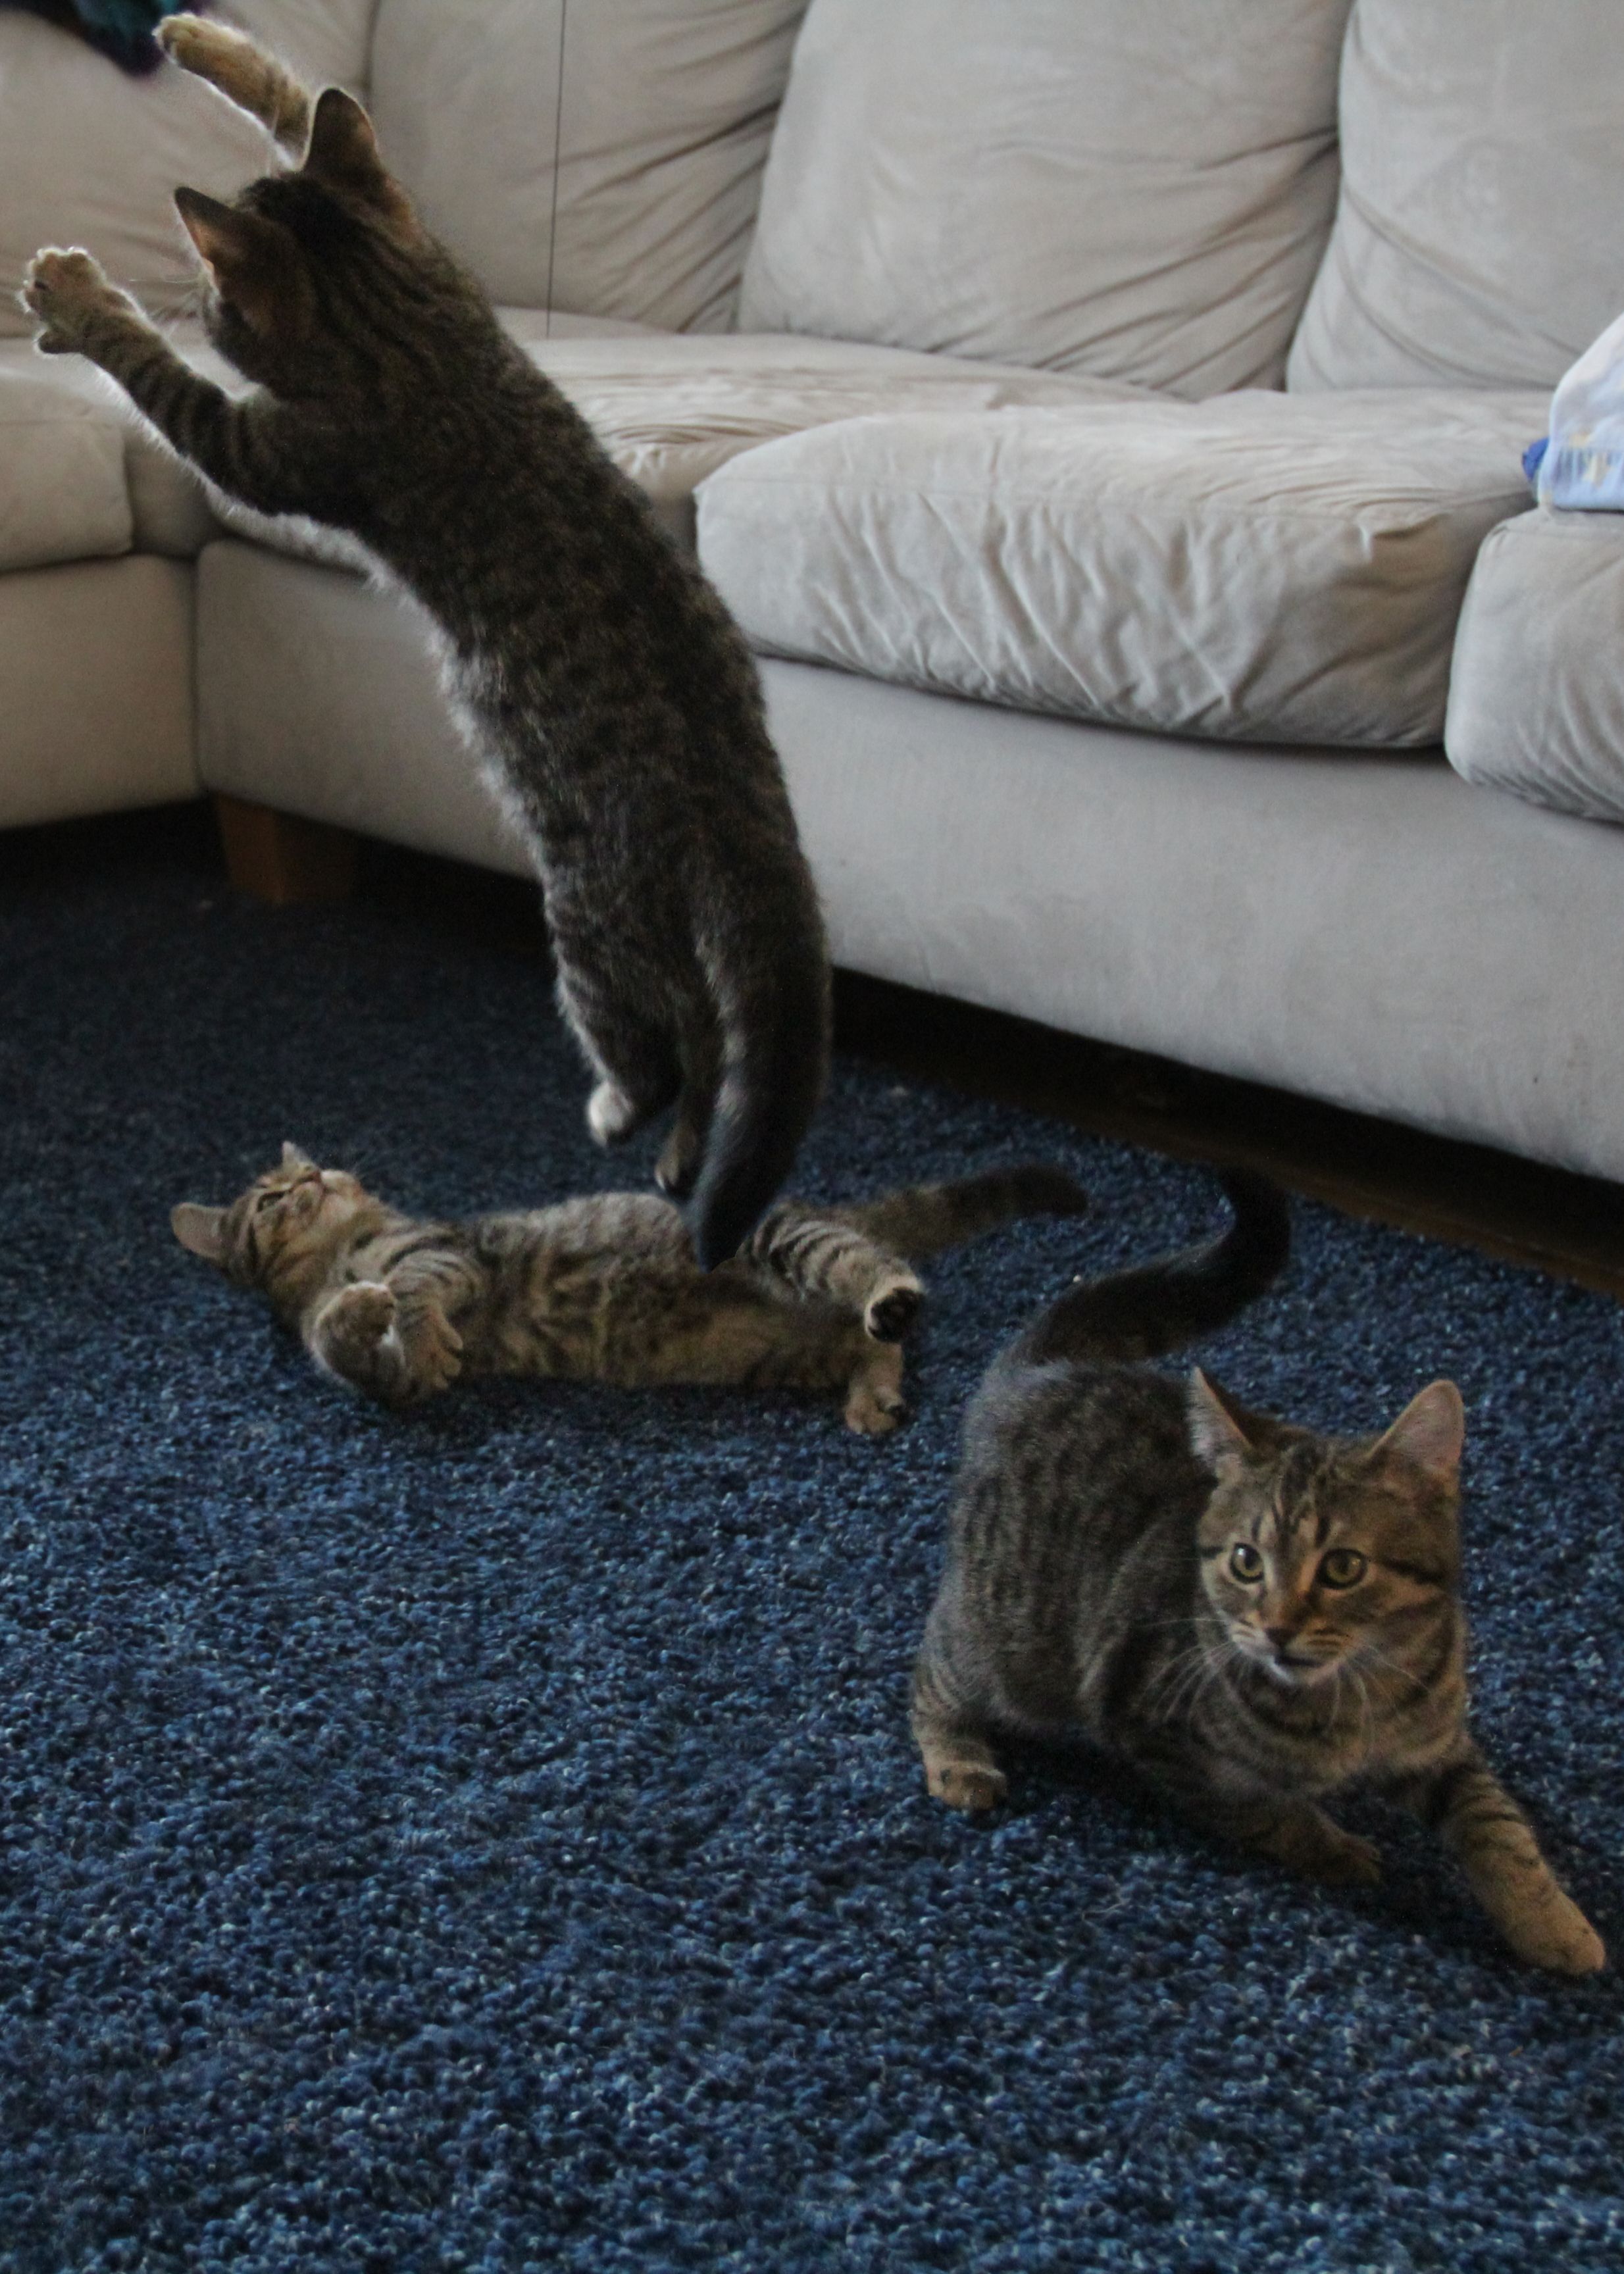
If you have enjoyed this tutorial, be sure to check out the other tutorials that are available in the Discovery Center. If you have any ideas for tutorials or projects that you would like to see in the future, please leave us some Feedback."
Was this article helpful?
Tell us how we can improve it.