Using Watermarks
In expensive bond paper, a watermark in the paper itself lends a distinctive look. Hold a piece up to the light, and you see an image perhaps along with words that helps identify the paper brand or content. WordPerfect watermarks also add a distinctive look by adding a lightly shaded graphic image behind the text of your document.
Watermarks are extremely easy to create:
Position the cursor at the beginning of the document.
Note
Watermarks function like headers in that they appear on every page, beginning at the page where you insert the watermark code, continuing until you turn off the watermark.
2. Choose Insert, Watermark. WordPerfect displays the Watermark dialog box (see Figure 12.27).
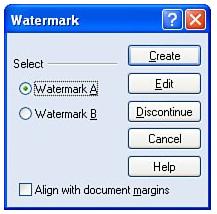
Figure 12.27. You can use the Watermark dialog box to create or edit background watermark graphics.
3. If this is a new watermark, and the first one you've created in this document, choose Watermark A, and click Create. WordPerfect next displays a blank, full page where you create or edit the watermark graphic. Figure 12.28 shows what the Watermark screen looks like after you have added a watermark.
Figure 12.28. A watermark image is text or a graphic image, displayed at 25% brightness.

4. You can use graphics from any source that you would use in the document itself. For example, you can click the Clipart button to access the Scrapbook and insert a clip art image.
Note that the graphics box, complete with sizing handles, fills the entire page. The image itself is shaded lightly so as not to interfere with the text that will appear on top of it. You can size and position the graphic image just as you do any other graphic image, using the mouse and the sizing handles.
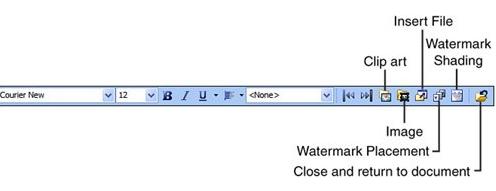
Click outside the graphics box area (in the margins, for example), and WordPerfect displays on the property bar the following options for modifying the watermark (see Figure 12.29):
You can add other images, and size and position them by clicking the Clipart, Image, or Insert File buttons.
You can choose whether to place the watermark on odd pages, even pages, or both, by clicking the Watermark Placement button.
You can change the shading of the watermark by clicking the Shading button. By default, both text and graphic watermarks are shaded only 25% of their full color (or darkness).
Figure 12.29. The Watermark property bar helps you modify a watermark graphic.
Caution
Rarely do you need or want to make a watermark darker. Doing so usually conflicts with document text in front of the watermark. More often, you need to lighten the watermark to make it less conspicuous.
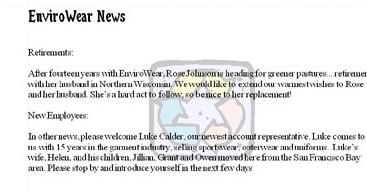
When you're satisfied with the look of the watermark, click the Close button on the property bar. If the watermark graphic is selected (that is, if you can see the sizing handles), you can close the Watermark editing screen by choosing File, Close. WordPerfect then returns you to the document-editing screen and displays the watermark in the background (see Figure 12.30).
Figure 12.30. Watermarks can add attractive, as well as useful, backgrounds to a text page.
Was this article helpful?
Tell us how we can improve it.