Using Perfect_Authority to Automatically Create a Table of Authorities
WordPerfect has long been the first choice for law firms – from the cozy two-person office to the enterprise level. Why? Because of the plethora of legal tools that are built into the software. From the beginning, WordPerfect users have been able to generate tables of authorities by marking the citations and generating the table. The laborious task of compiling accurate page numbers for each citation is done by WordPerfect, but the user still has to tell WordPerfect what to include in the table by marking each entry in the document.
Not any more! With the release of Corel’s newest product, Perfect_Authority, WordPerfect users now have a way to create a fully formatted table of authorities in just a few clicks.
Downloading Perfect_Authority
Corel’s e-store has downloadable copies of Perfect_Authority available for purchase, as well as a free 30-day trial version. If you like, download and install the trial so you can follow along with the steps you’ll see here.
Note: Corel’s Perfect_Authority requires WordPerfect X5. If you are running an earlier version of WordPerfect, or a recent version of Microsoft Word, you are eligible for upgrade pricing. See this page on Corel’s site for more information, or call 877-582-6735 ((Mon - Fri 9am - 7pm EST) for questions on upgrade eligibility and pricing. There is also a free 30-day trial available here if you want to try before you buy.
Starting Perfect_Authority
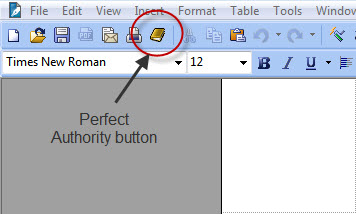
After you’ve installed Perfect_Authority, you’ll see a new button on the toolbar, next to the Print button (see Figure 1).
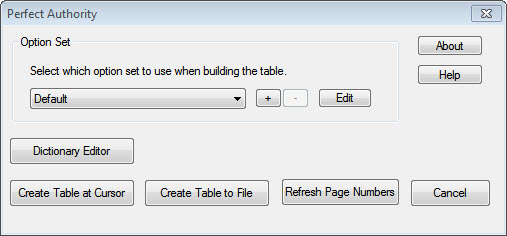
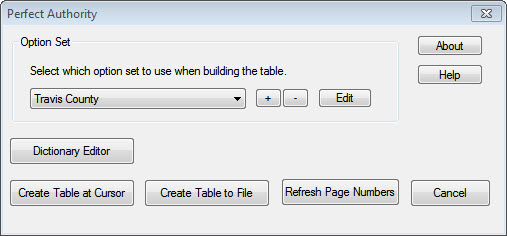
Before you start Perfect_Authority, open a brief and position the insertion point where you want to insert the Table of Authorities. Then, click the Perfect_Authority button to open the Perfect_Authority dialog box (see Figure 2). Click the Create Table at Cursorbutton to generate the table (see Figure 3).
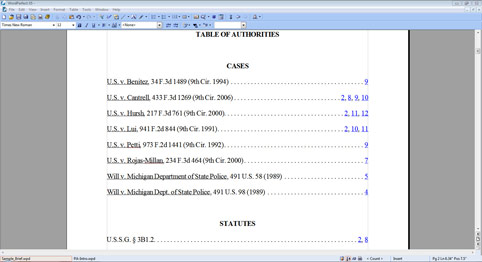
If you’ve ever painstakingly marked the citations in a lengthy brief for inclusion in a table of authorities, the results are magical. WordPerfect developers use the guidelines of two industry standard style guides: The Bluebook® and the California Manual of Style, to locate and mark citations in the text. Straight out of the box – it works great! That said, if your district or court uses short citations forms, it only takes a few seconds to add them to the Perfect_Authority dictionary. Once added, Perfect_Authority will always pick up those citations.
Editing the Perfect_Authority Dictionary
The Perfect_Authority dictionary defines the content that is compiled when creating a table of authorities. If you need to incorporate citations that do not conform to the default standards – you can add them to the dictionary. It only takes a few minutes and need not be repeated. Perfect_Authority will remember the changes and apply them to future tables of authorities.
You can add dictionary entries for the following citation types: Case Reporter, History Phrase, Service Reporter, Statute Constitution Reporter and Statute Reporter. You can also edit the abbreviations that the Perfect_Authority dictionary is designed to recognize.
To add an entry to the Perfect_Authority dictionary:
1. Click the Perfect_Authority icon on the toolbar.
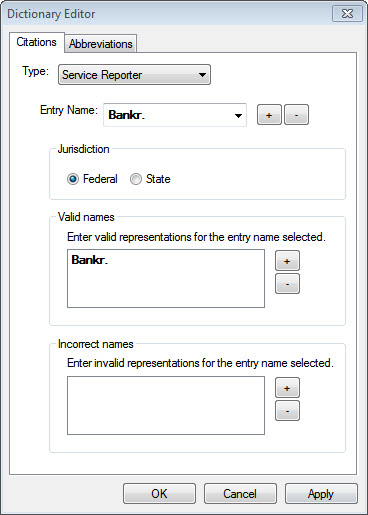
2. In the Perfect_Authority dialog box, click the Dictionary Editor button. The Dictionary Editor dialog box appears (see Figure 4).
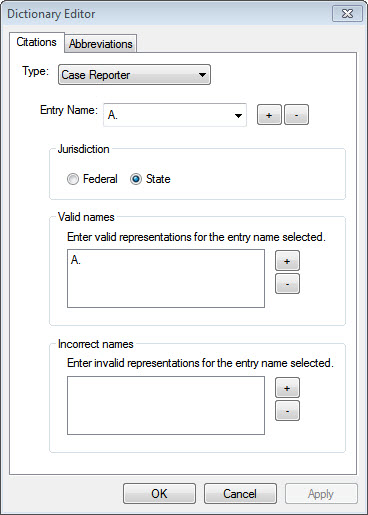
3. Click the Type drop-down list arrow to display a list of citation types.
4. Select a type, then open the Entry Name drop-down list and scroll down through the list to locate the specific citation that you want to add.
5. If you don’t see it in the list, click the Plus button (+), then type the entry in the Input box (see Figure 5).
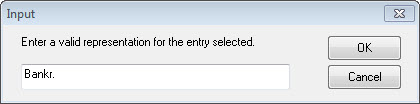
6. Click OK to add it to the dictionary. New entries appear in bold so you can distinguish them from the built-in entries (see Figure 6).
7. Continue adding entries, or click OK to close the Dictionary Editor. You should regenerate the Table of Authorities to pick up the entries for the citations you added.
To customize the abbreviations in the dictionary:
1. Click the Perfect_Authority icon on the toolbar.
2. In the Perfect_Authority dialog box, click the Dictionary Editor button. The Dictionary Editor dialog box appears (refer back to Figure 4).
3. Click the Abbreviations tab.
4. To add a new abbreviation, click the plus sign (+) next to the Abbreviation list box, then type a new abbreviation in the Input box. Likewise, you can delete an abbreviation by selecting it in the list and clicking the minus sign (-). Here again, your customized abbreviations appear in bold to distinguish them from the default abbreviations.
5. To add a long form for an abbreviation, select the abbreviation from the list box, click the click the plus sign (+), then type a new long form in the Input box. Likewise, you can delete a long form by selecting the long form and clicking the minus sign (-).
6. Click Apply to save your changes and continue working, or click OK to save your changes and to close the Dictionary Editor dialog box.
Creating a New Table of Authorities Option Set
Dealing with multiple districts and courts presents its own set of logistical challenges. Different districts and courts have specific sets of formatting requirements so you have to keep track of the requirements and make sure they are followed to the letter.
Perfect_Authority lets you create separate settings, called “option sets”, for each set of requirements. An option set defines three types of settings for a table of authorities: its content, formatting and sorting method. In just a few minutes, you can create an entire library of option sets for all of the different districts and courts that you support.
To create an option set:
1. Click the Perfect_Authority icon on the toolbar to open the Perfect_Authority dialog box (refer back to Figure 2).
2. Click the Plus sign (+) in the Option Set section. This opens the Input dialog box (refer back to Figure 5).
3. Type the name you want to assign to this option set (i.e. “Travis County”), then click OK. The name of the newly created option set is displayed in the drop-down list (see Figure 7).
4. Click the Edit button to display the Editing Option Set dialog box (see Figure 8).
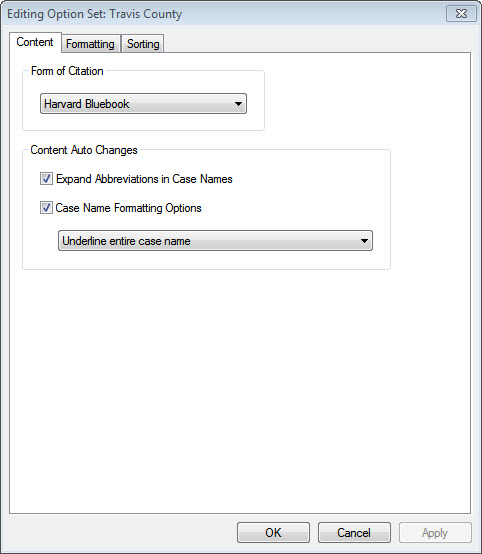
Figure 8
In the Content tab, you can make adjustments to the automatic settings for case names. In the Form of Citation area, you can select a citation standard. In the Content Auto Changes section, specific whether to expand the abbreviations in your case names and whether (and how) to change the formatting of case names.
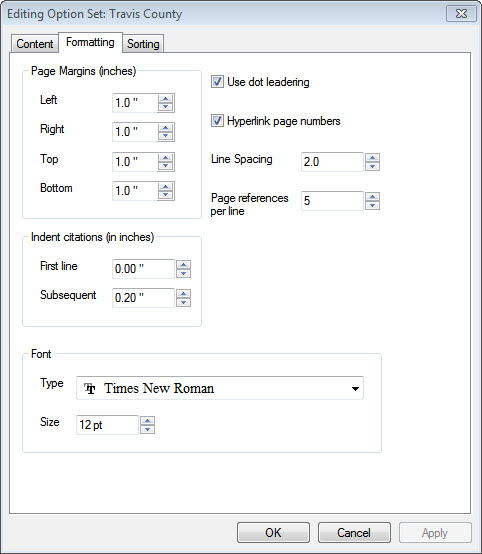
To make changes to the formatting settings, click the Formatting tab to display those options (see Figure 9). If, for example, you want to increase the number of page references per line in the table of authorities, you would open the Page References Per Line drop-down list and choose a different value. Other adjustments can be made to the page margins, fonts and font sizes, line spacing, etc.
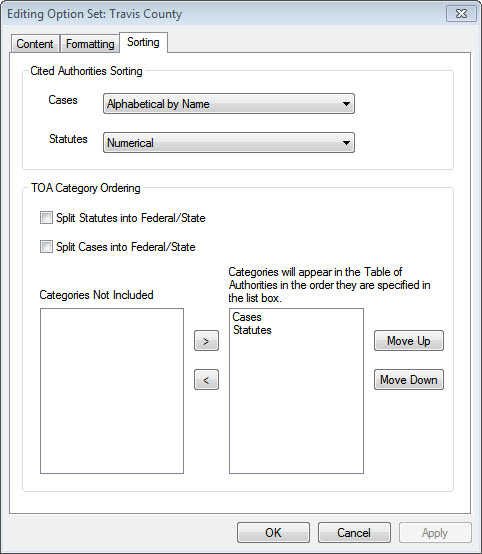
Finally, you can change the way the citations are sorted and you can set up Federal and State groupings. Click the Sorting tab to display those options (see Figure 10). In the Cited Authorities area, specify the sorting method used for cases and statutes. In theTOA Category Ordering section, specify whether to split statutes or cases into Federal and State categories, and select the sort order of these cases and statutes.
Sole practitioners will find that Perfect_Authority pays for itself after just a few briefs, while large organizations can realize significant cost savings in their litigation departments, increasing revenue and efficiency simultaneously.
Was this article helpful?
Tell us how we can improve it.