WordPerfect® Office applications include templates for creating a wide variety of creative projects. This holiday season, impress your family and friends by sending them a card with your own personal touch! With the PerfectExpert™ Greeting Card template, you can add a personal message, as well as a family photo, or holiday image, to give your cards that special sparkle.
The PerfectExpert Greeting Card template even makes printing and folding the cards a snap.
Once you've tried it, you'll be making your own greeting cards for every occasion!

To create a holiday card
- Click File > New From Project.
- In the PerfectExpert dialog box, click the Create New tab.
- In the categories list box, click Creative Projects.
- From the list of Creative Projects project templates, select Design a Greeting Card.
- Click Create.
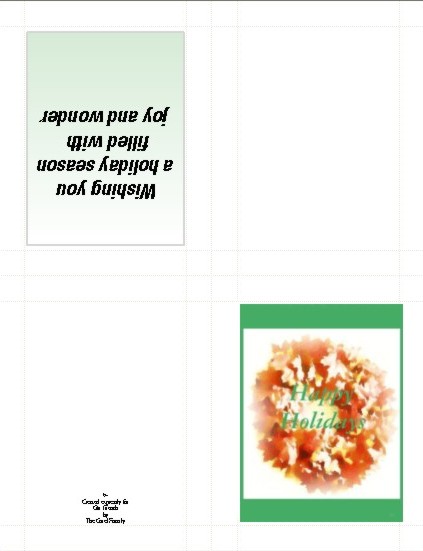
- Click in the upper left quadrant, to edit the card's interior message. You can change the font, font color, or font size. You can also add clipart.
For more information on working with clipart, see "Inserting graphics" in the Help. - When you have finished the interior message, close the window to return to the greeting card.
- To add a personalized image to the front of the card, first remove the existing image in the bottom, right corner of the template.
- Click Insert > Graphics/Pictures > From File and select the graphic file you want to use.
- If you need to resize the graphic to better fit the page, click Graphics > Size on the property bar, and adjust the width and height accordingly.
- Click File > Save.
 Now that the card has a message and image, it's ready to print.
 - Print your card, using the guidelines for ink and paper suggested by the printer's manufacturer. The Greeting Card template is designed to allow for easy printing on 8.5 x 11 inch paper
- Fold your printed card in half, top to bottom, and again in half, side to side. It should now have the holiday image on the front, along with your personalized message inside.
Was this article helpful?
Tell us how we can improve it.