How to import video clips from a DVD disc.
1. Open Corel® VideoStudio Pro X5
2. Insert a DVD disc into the DVD drive.
3. Click on the Capture Tab 
4. Click on the Import from Digital Media option 
5. Click on the Select Import Source Folders 
6. Add a check mark to the DVD drive with the disc in it and click OK button.
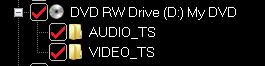
It should show any combination of the two folders Audio_TS and/ or Video_TS under the DVD drive.
7. In the Import from Digital media window, click on the Start button.
*If you get a message window that states "There is no valid content", then it will indicate that the media disc or DVD is copyright protected along with the content that it holds.
8. It will then bring up a new screen with previews of scenes from the DVD.
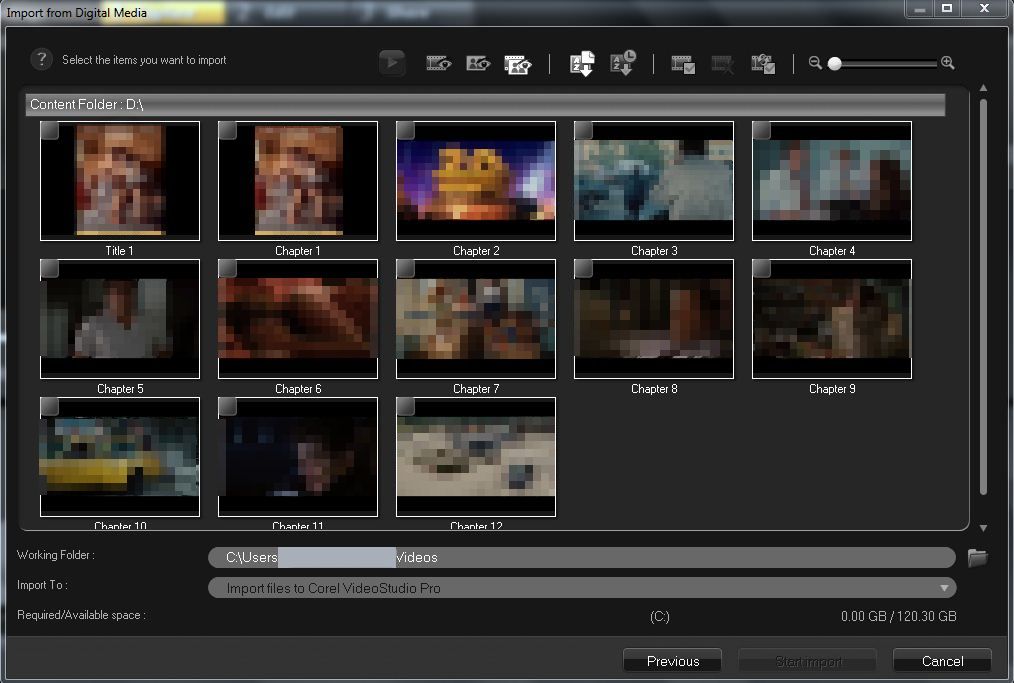
9. Select the media clips you want to import by adding a Check to the box in the upper-left portion of each video preview, then click the Start Import button.

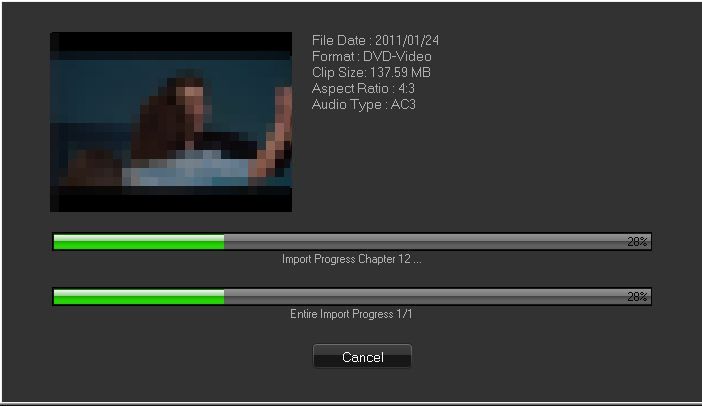
10. Wait until the import progress is finished.
After importing the video clips, the Import Settings window will appear. By default the Capture to library has already had a check mark included in the settings.
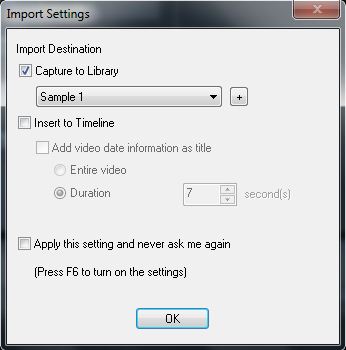
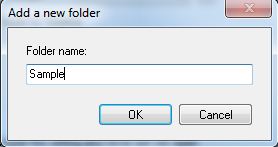
11. Click on the plus sign (+) to add a folder to your library in VideoStudio Pro.
12. Rename the folder and click the OK button.
13. To insert the imported video clip(s) directly to the timeline, simply add a check mark on theInsert to Timeline option.
14. Once finished with the import settings, click the Ok button.
Note: All the imported clips will be added to the thumbnail list in the Library.
Was this article helpful?
Tell us how we can improve it.