If this is your first time with VideoStudio, or you’re looking for a refresher, welcome to this basic introduction.
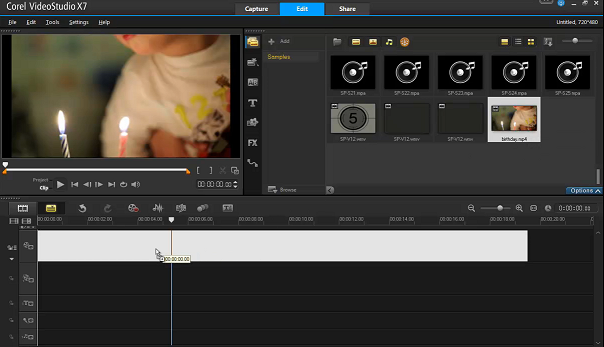
Once you start-up the program, you’ll see the main window of Video Studio. It’s separated into three main work spaces: Capture, Edit and Share.

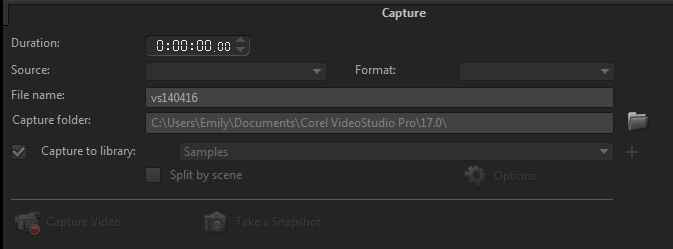
The Capture work space, as the name suggests, contains all the necessary tools to import video into the program.
Maybe you shot a video of your nephew’s 1st number of other devices, and you can capture it with Video Studio.
The first option in the Capture section is Capture Video.

You can capture those precious family moments directly from a device like a web cam, so long as it’s turned on, and
connected to the computer.
The DV Quick Scan option is dedicated specifically to devices that use Mini DV tapes.

Clicking the button, Import Digital Media, allows you to import footage from a DVD so long as it is not copy protected. So you probably can’t import your favorite Hollywood movie. But you can import from DVD that home movie of last year’s beautiful dance recital.

In addition, if you ever back up a copy of a DVD on your computer, which is done by copying theVideo TS folder to your computer, this option will be able to import from that folder.
Last but not least, the Capture section of Video Studio is the place to go to start creating a video that will use either Stop Motion or Screen Capture. We will go into more detail on these two features in later tutorials.
The Edit work space features three main tools.

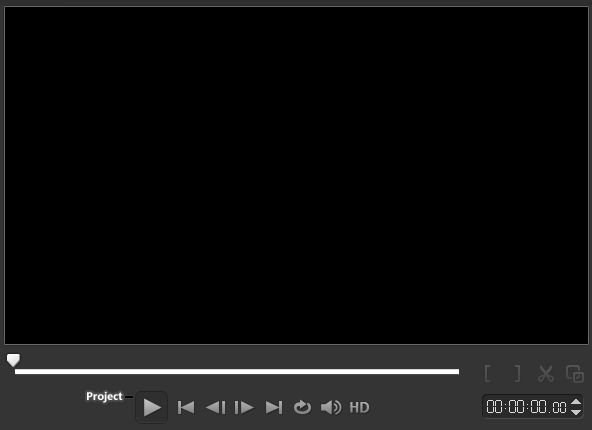
The upper left area of the screen is a preview area where you get the first look at your project.
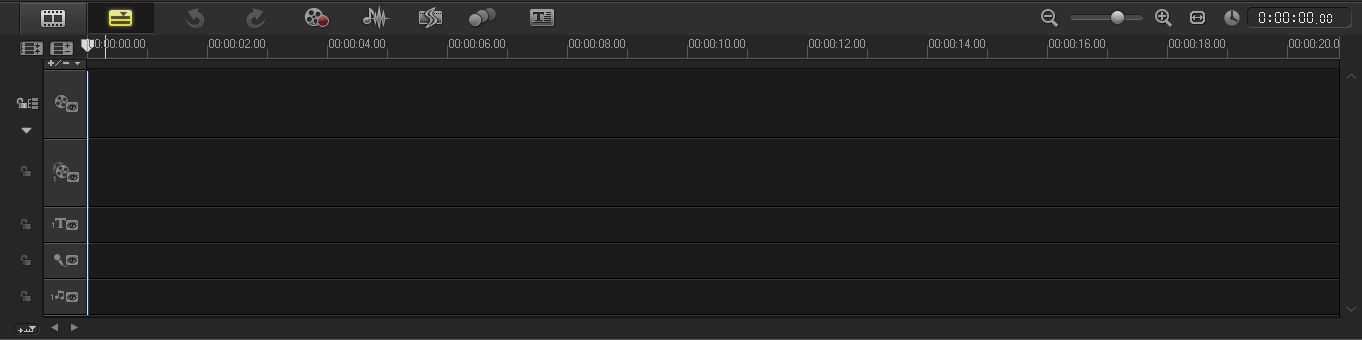
At the bottom of the screen is the Timeline - this is where the magic takes place. All your editing work in VideoStudio is done in this section of the screen.
To the right is a Clip Bin, which displays and organizes all the pieces that go into your project.
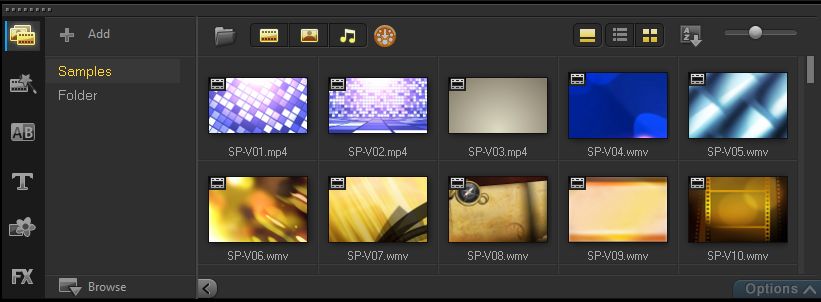
Let’s take a look at the clip bin. This is your storage bin for all the pieces that go into your project. So much can be thrown into the clip bin that it’s further sub-divided to make it easier to find what you need.
 First, is Media: Here you will see video files, photos and sounds.
Transition Effects, Titles and other effects can also be accessed and viewed in this area and those will be covered more in-depth in later videos. For now, we'll leave it set to the Media section.
Once we have our videos in our clip bin, let’s say we have footage from Jimmy’s first birthday, we can move the pieces we need to the Timeline.
The main tracks on the Timeline are the video track, overlay track, title track and two audio tracks (one with a microphone to indicate voice and the other with a note to indicate music). Although nothing stops you from putting music in the voice track or voice in the music track, it's simply arranged this way to make it simple and more organized.


Clips can be brought into the Timeline by dragging and dropping them from the clip bin or right clicking on them and selecting to move them into the tracks. Either way is acceptable and simply a matter of personal preference.
In this example, I will drag and drop a video and a music file into the timeline.

To take a look at what you have created so far, click the Play button in the Preview screen.
So your project is complete! You have a hilarious video in your editor of your nephew on his first birthday.
When a project is complete, first go to the File menu in the upper left corner of the screen and click Save. What this will do is create a project file. But be careful! The video studio project file is not an actual video; it won’t play anywhere but in the VideoStudio Timeline.
To share your video with friends and family, use the Share tab. The Share tab is a doorway to the rest of the world. With it, you can burn video to DVD or Blu-Ray, or share it online.
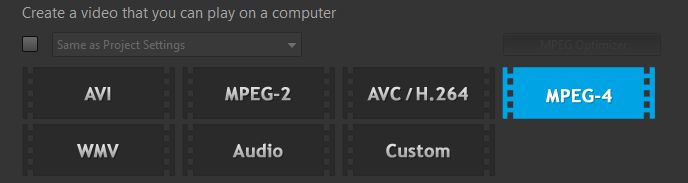
Click on Share and you see options for exporting your video from your editor, onto your computer.
Since MPEG-4 is the most commonly used video format, that file type is selected by default. After creating an MPEG 4 video file, you will be able to watch your film on your computer, share the file, or put it on the Web.
However you also have the option, right in this work space, to skip ahead to a device like a smartphone or upload your video straight to the Web and YouTube.

Finally, the Share work space has two formats for burning hard copies of your videos; DVD, which will allow you to create a menu, and then burn to a disc. This includes DVD, Blu Ray or even an SD Card.

The other format is 3D which is specific to creating various 3D movies in either Anaglyph orSide-by-Side formats.

More information on the various output options will be covered in later tutorials.
If you have enjoyed this tutorial, be sure to check out the other tutorials that are available in the Discovery Center. If you have any ideas for tutorials or projects that you would like to see in the future, please leave us some Feedback.
Was this article helpful?
Tell us how we can improve it.