

Exclusively in Corel® VideoStudio® Pro X5 Ultimate, the amazing proDAD RotoPen gives you the ability to draw on top of your media clips for illustration purposes. Trace a route on your maps or on any path and then add an impressive animated pen effect which will then follow the trace that you have drawn.
What You Will Learn
In this video tutorial, you will learn how to:
- Paint a route on a map using the RotoPen plug-in filter
- Add a traveler symbol that will follow the route
- Hide your route painting which will only show the movement of the symbol
Adding a map on to the Timeline
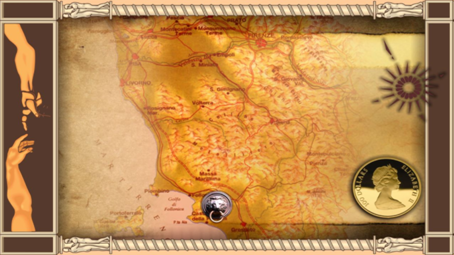
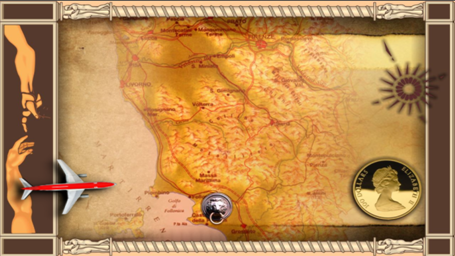
1. To begin, drag and drop a clip of a map from your Media Library onto the main video track in the Timeline. For this example, I'll be selecting this treasure map that I designed in CorelDRAW®.
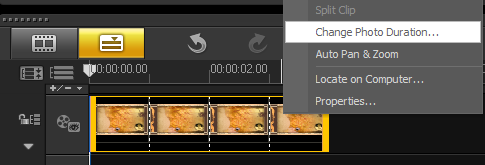
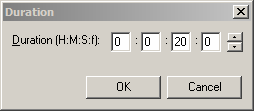
2. Next, right-click on it and select Change Photo Duration. In the Duration dialog box, set the value to 20 seconds (0:0:20:0) and click on OK.
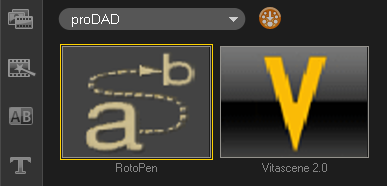
3. Then, go to the FX Library 4 ProDAD, and select the RotoPen filter; an airplane with a path will appear on your preview screen.
4. Drag and drop the RotoPen filter onto the clip in the Timeline; this filter effect will then be added on to your map.
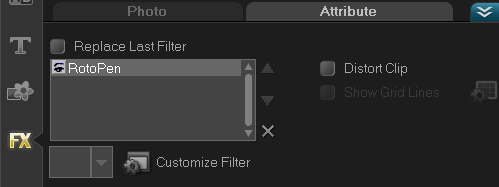
5. Now, double-click onto the map to launch the Attribute tab where you can customize the RotoPen filter.
6. In the Attribute tab, click on Customize Filter to launch the RotoPen's Edit Path window.
Creating A Route On Your Map
1. To draw a route, place your cursor to the desired location on your map. This will serve as the starting point.
2. Next, click and hold the left-click button on your mouse to start painting on the map and then release it once you reach your desired destination.
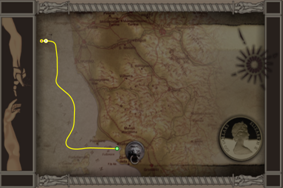
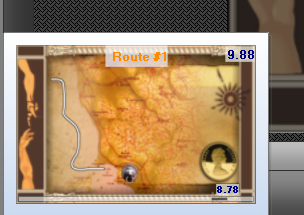
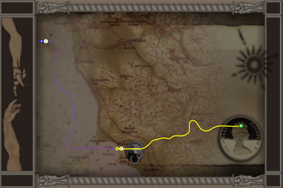
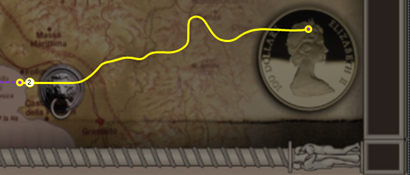
3. In this example, the travel starts from North to South. The Preview of your route will then be shown on the lower-left corner of the Edit Path window.
4. You can add another route on your existing painting. From the last destination, click and hold again the left-click button on your mouse and then draw the second route onto your map. The Preview will appear again on your screen and will show you the animation of the second route that you have just created.
5. Continue the travel as you create the third route. To delete the third route, make sure that it is still selected and then click on the Delete Path button located at the upper-left corner of the Edit Path window.

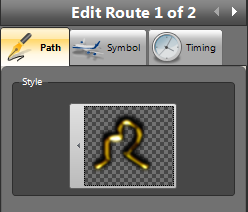
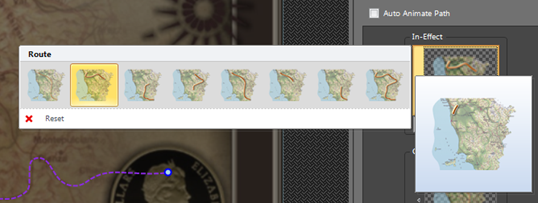
6. Select the first route and then click on the Next button to further customize its style and behavior.
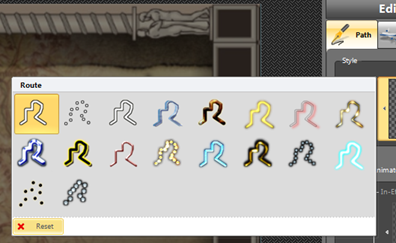
7. In the Path tab, click on the Style to expand the Route Style Selection; select your desired route style from the list of presets. For this example, I will choose this route style.
a. Every time you make a change to the route settings on your map, the small preview at the lower-left corner of the Edit Path window will automatically appear to show you the result of that change.
b. You may turn this off by clicking the Preview icon.
Animating The Route
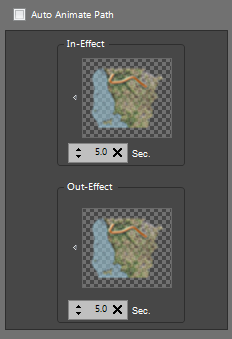
1. In the Auto Animate Path, this option is already enabled by default; manually configure the animation of your path by unchecking this option.
2. Now, you can manually select the In-Effect and Out-Effect of your route and their durations.
a. Click on the In-Effect and select the second route option from the left. Set its duration to5 seconds and then press Enter.
b. Next, click on the Out-Effect and select the second route option from the left. Set its duration to 5 seconds.
Adding A Traveler Symbol On The Route
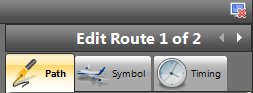
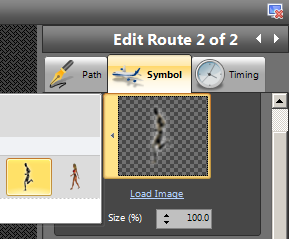
1. After selecting the In and Out effect route animation, click on the Symbol tab to see the Traveler Symbol option where you can add an object that will follow your route.
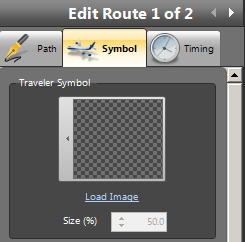
2. Next, click on the Traveler Symbol and select an object from the list of presets.
a. Alternatively, you can also load your own image and use it as a symbol on the route. To do this, click on the Load Image option and browse to the location of the image that you want to use as a traveler symbol. I will choose a pirate ship as my Traveler symbol. Click on Open. Your image will then be automatically applied on to the route as shown in your Preview screen.
b. I will change the size of this symbol to 30%.
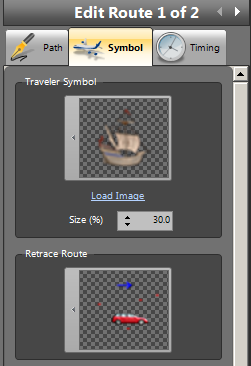
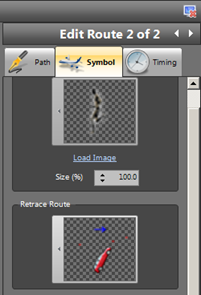
3. In the Retrace Route option, select the symbol orientation style that you want to apply to your object; choose the fourth option from the left.
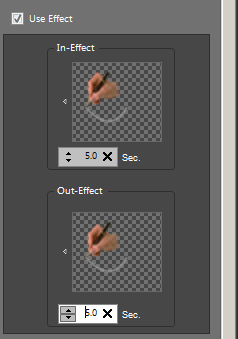
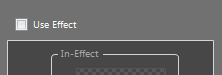
4. Check the Use Effect option to add an In and Out effect to your selected traveler symbol:
a. Click on the In-Effect and select the second object motion from the left. Set its duration to 5 seconds and then press enter.
b. Next, click on the Out-Effect and select the first object motion from the left. Set its duration to 5 seconds.
Setting The Start Time And Speed Of The Route
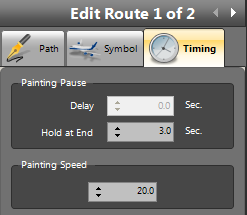
1. After customizing the traveler symbol, proceed to the Timing tab to see the options for adjusting the Painting Pause and Painting speed.
2. In the Painting Pause, the Delay field is disabled by default for the first route. You can set a value for the Delay in the next route that you created. This will instruct the program to delay the start of the painting of the next selected route.
3. Click on the first route and set the Hold at End to three seconds.
4. In the Painting Speed, set the percentage value to 20% and press Enter.
Hiding The Second Route
1. Now, Select the second route from the Edit path window and then proceed to the Path tab.
2. In the Style, click on the Route Style Selection and this time, choose Reset. This will hide the second route on the preview screen however it will be used as a guide of the traveler symbol for this route.
3. Next, keep the Auto Animate Path checkbox checked below the Style option.

4. In the Symbol tab, click on the Traveler Symbol and choose the running man as your Traveler symbol. Set the size to 100%.
5. In the Retrace Route selection, choose the sixth option from the left.
6. Keep the Use Effect uncheck.
7. Then, go to the Timing tab 4 Painting Pause, set both Delay and Hold at End fields to 2 seconds.
8. In the Painting Speed, set the value to 100% and press Enter.

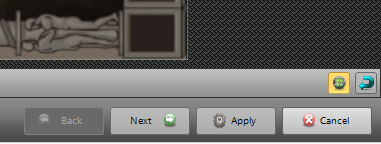
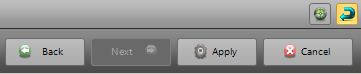
9. On the Lower-right corner of the window, click on Apply; this will close the RotoPen window and will bring you back to the VideoStudio Timeline editor.
Click on the Play button below the Preview window to view your created routes using RotoPen Filter.
Rendering Your RotoPen Project As Video
Now that you have created your RotoPen project, go to the Share step and choose the format that you would like to export your project as.
1. For this example, go to Create Video File and select WMV 4 WMV HD 720 30p.
2. Give a name to your video and then click on the Save button. Corel® VideoStudio® Pro X5 Ultimate will start the rendering process of your project.
3. Once your project has been rendered, the video will be placed in your library and will start playing in the Preview panel.
And there you have it. You have now created an animated route on a map using the RotoPen filter in Corel® VideoStudio® Pro X5 Ultimate.
Was this article helpful?
Tell us how we can improve it.