

1. Open Corel® VideoStudio Pro X5/X6 Ultimate.
2. Place two video clips to the timeline, Arrange the two clips so that they overlap.
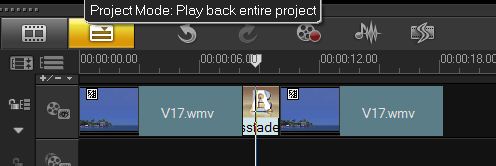
3. Click the Transition tab 
4. Locate proDAD® Vitascene transition 
5. Drag the Vitascene transition between the two clips in the timeline.
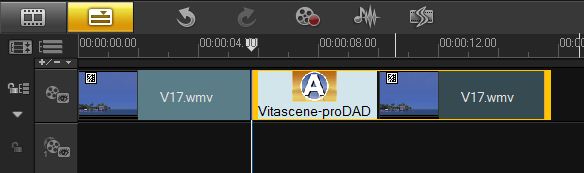
6. Select the Options tab to open options panel. 
7. On the transition window, click on the Customize Button. The Vitascene interface window will open.
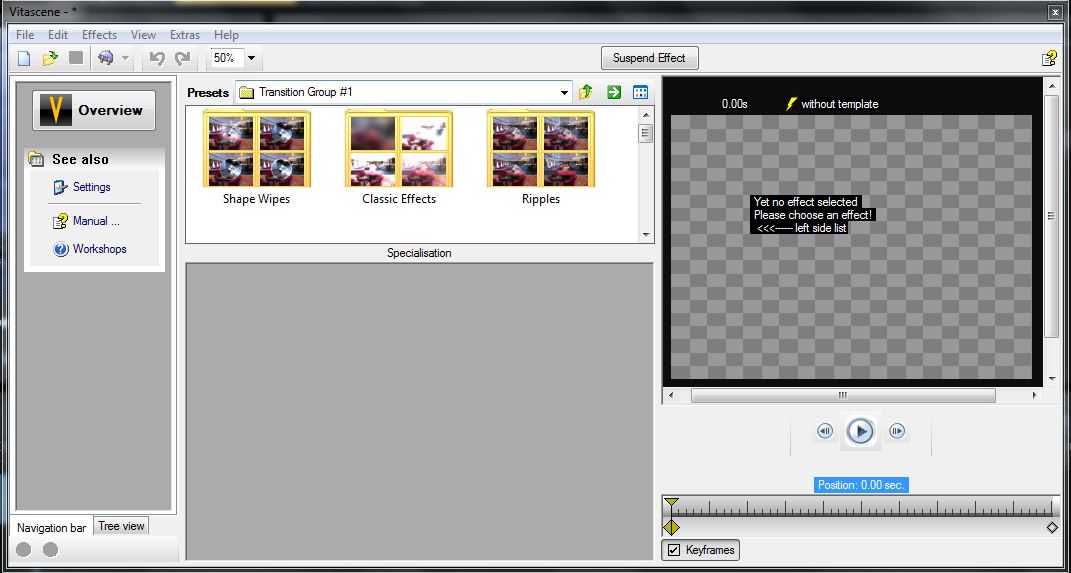
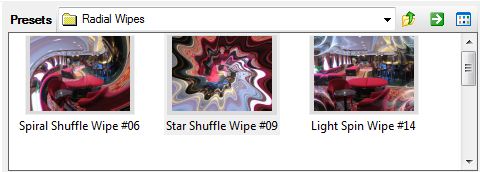
8, Choose a suitable transition from the Presets.
A sample playback with the selected transition will appear in the Vitascene preview window.
9. Modify the selected transition.
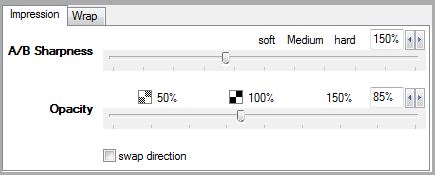
On the Impression tab:
a. Set the A/B Sharpness
b. Set the Opacity
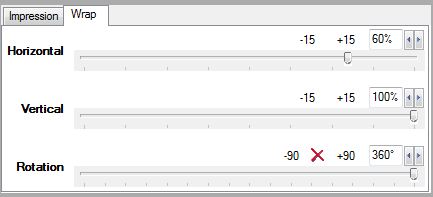
On the Wrap tab:
a. Set the Horizontal
b. Set the Vertical
c. Set the Rotation
10. Once the video clip or transition has been edited in Vitascene, press the F12 key or click on the icon  to return to Corel®VideoStudio Pro. This will automatically save the Vitascene project.
Note: In order to start Vitascene again, double-click on the transition area in the timeline, then go to Transition (A/B) ▸ proDAD ▸Vitascene and then click on the Customize button.
To delete Vitascene as a transition, right-click on the transition in the timeline and select Deletefrom the menu list.
Was this article helpful?
Tell us how we can improve it.