

Introduction
Create interactive DVD or Blu-ray menus for your videos that will allow your viewers to choose which scenes they want to watch.
What You Will Learn
In this tutorial, we will cover creating DVD menus and burning a project on to a DVD disc. You will learn how to:
- Add media in the Create Disc window
- Add chapters to your DVD
- Create a DVD Menu
- Burn your project on to a DVD disc
Preparing Your Project
1. Open the project that you would like to burn to DVD in Corel VideoStudio Pro X5.
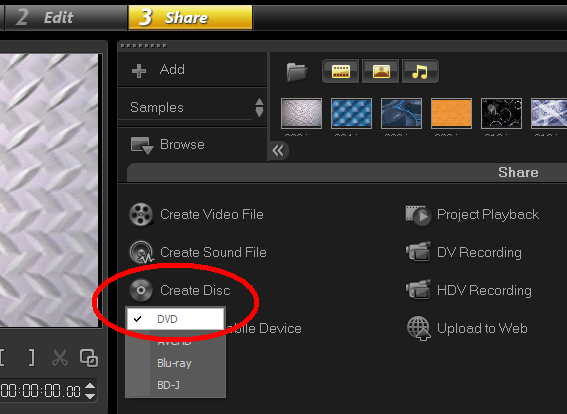
2. Proceed to the Share step and click on Create Disc in the Share tab.
3. Select DVD under the Create Disc option list.
A new window for creating a disc will appear on the screen where you can customize the output for your project.
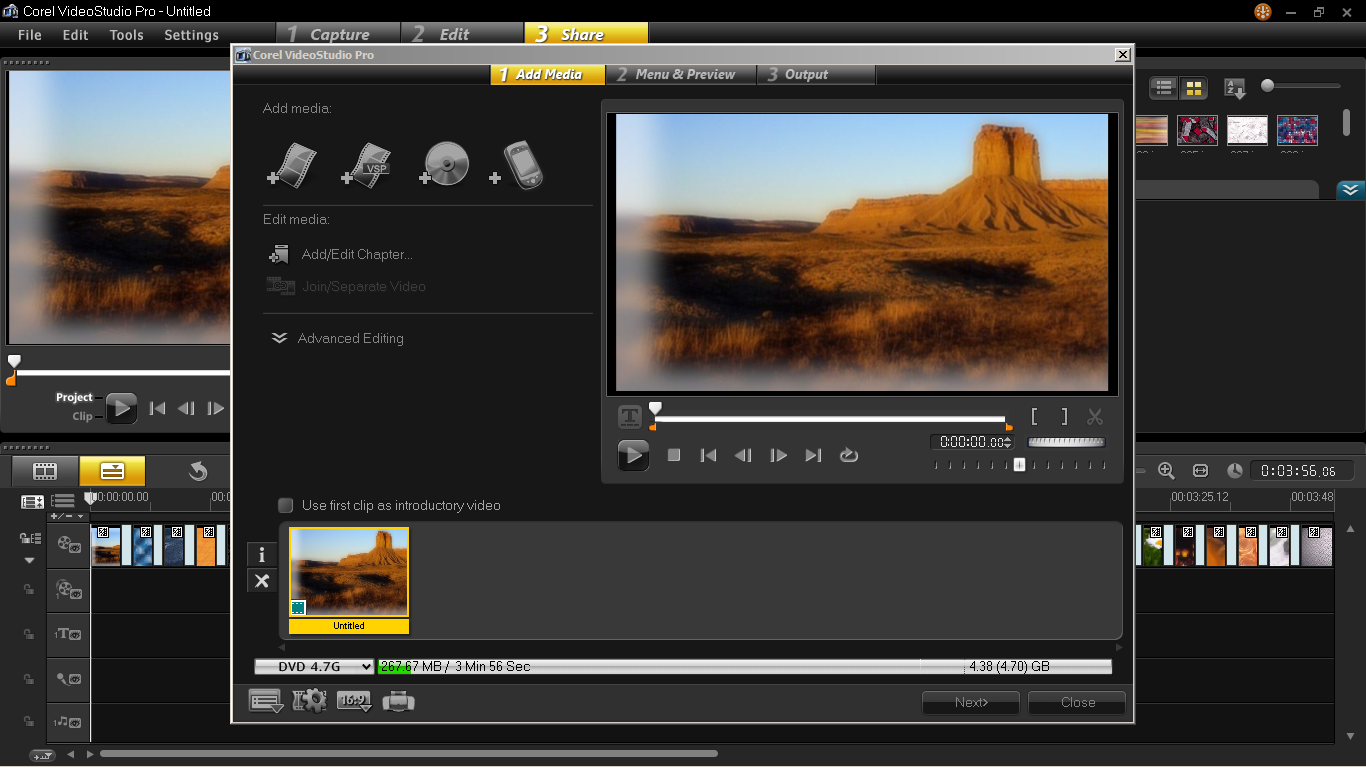
Your existing project title will be the default title of your DVD.
Adding More Media To Your Disc
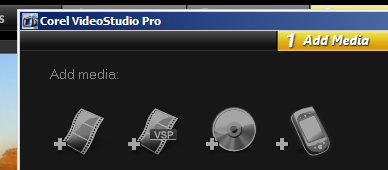
1. The first step is to add media. If you ever need to add another video file, you can use these import options to import content directly from a DVD disc or a mobile device.
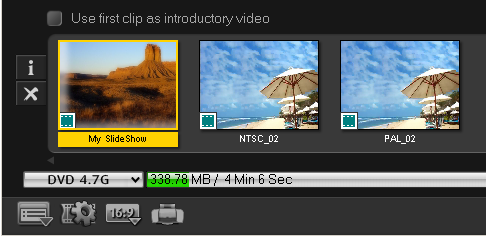
2. The added media will be placed in the Media clip list next to your first project.

3. Double-click on the title below the thumbnail image and then type the title that best describes the video. Press the Enter key once done.
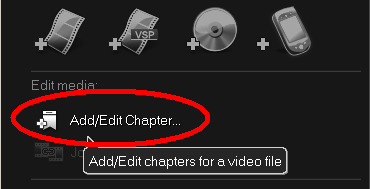
4. While the first thumbnail image is still selected in the Media Clip list, click on the Add/Edit Chapter to add chapters to your DVD. This will bring up another window on your screen.
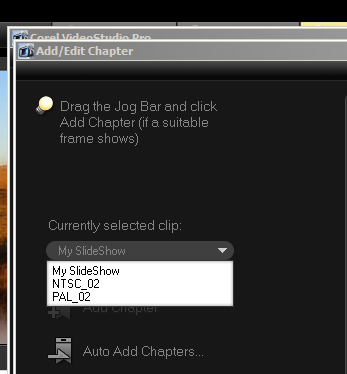
5. Under the Currently selected clip,you should see the title of your project which in my case I renamed into My SlideShow, followed by other clips that I previously added.
6. Click on Auto Add Chapters and choose Insert scenes as chapters
7. Once you click on OK, VideoStudio will search your project for scenes and add each one as a separate chapter. The chapters will appear in a tray at the bottom of the screen.
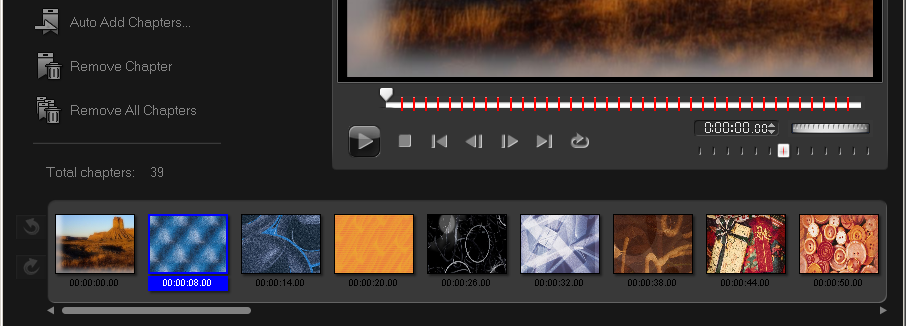
8. You can remove a chapter by selecting the thumbnail image that you would like to remove and then clicking on Remove Chapter,or pressing the Delete key on your keyboard.
9. Click on OK when done to go back to the Create Disc window.
10. Click on the Next button to proceed in creating the DVD menu.
Creating Your DVD Menu
1. The next screen shows you different menus that you can use and an option to customize the menus for your DVD.
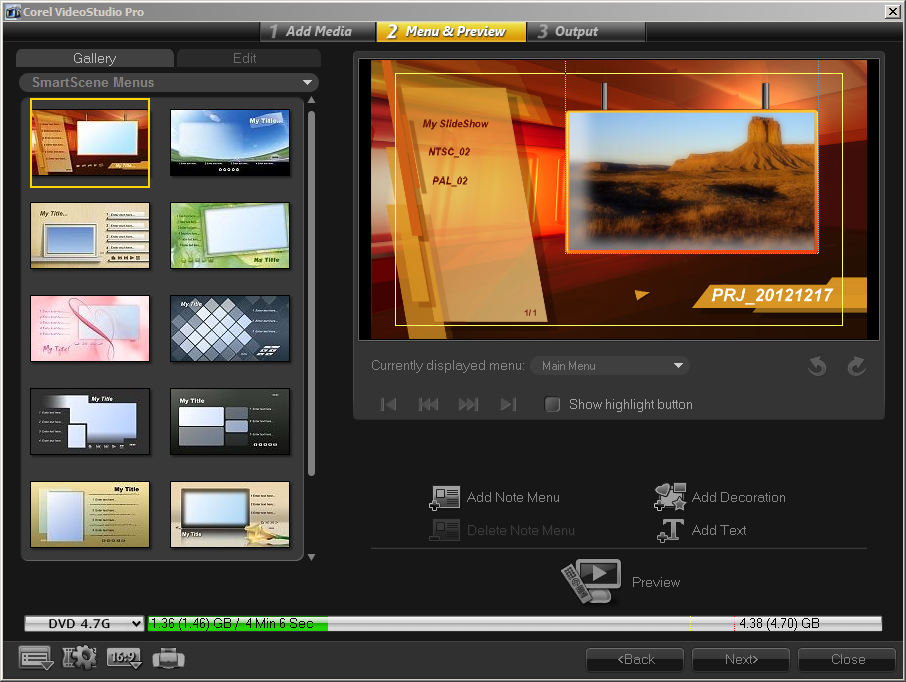
2. In the Gallery tab, you will see the drop-down list of menu templates and their categories. Choose your desired menu template and it will appear in the preview window on the right-hand side.
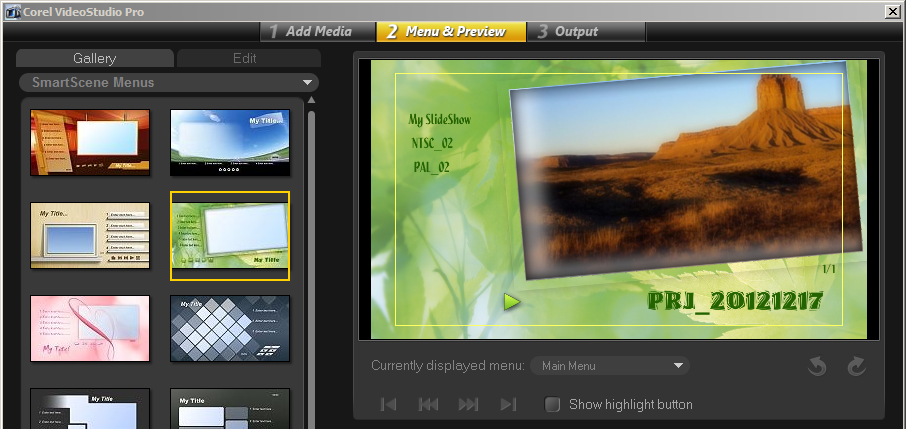
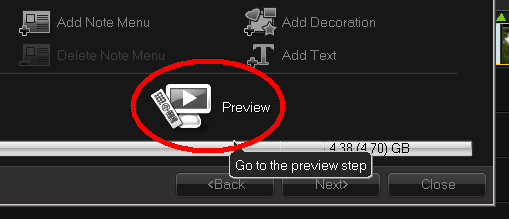
3. To see how the menu works, click on the Preview button and it will show a preview of the DVD menu. Click on the title and the chapters to make sure that they appear correctly.
4. Click on the Back button to return to the previous menu.
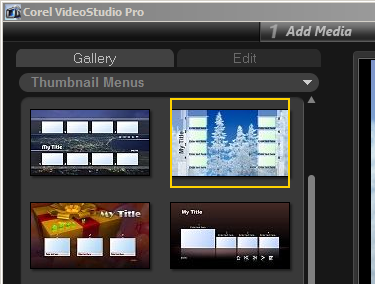
5. In this example, select Thumbnail Menus in the drop-down list and choose the Christmas Holiday menu template.
6. In the Preview screen, double-click the Titles and rename them according to the content of your DVD disc.

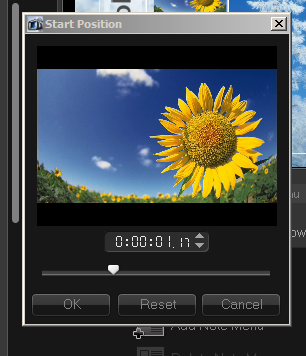
7. Next, double-click on a thumbnail image and change its starting position by moving the slider to a specific position. Click on OK when done.
8. Click on the Preview button again to view the changes in your selected menu.
9. Click on the Back button to return to the previous menu.
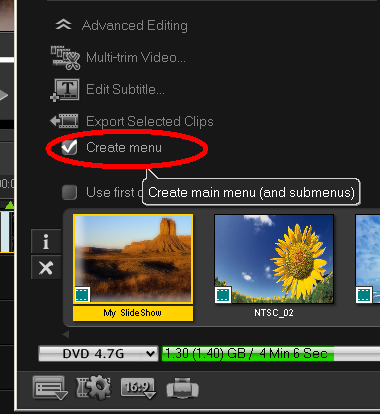
If you decide not to add a DVD menu, go back to the Add media step and collapse Advanced Editing to see the option to uncheck the DVD menu creation; by default, the Create menu option for your disc is enabled. Uncheck Create menu if you don't wish to add a menu for your DVD disc.
In this example, keep the Create Menu checked and go back to the Menu & Preview step.
Burning Your Project On To A DVD Disc
1. Click on Next to go to the final step which is burning your project on to a DVD disc.
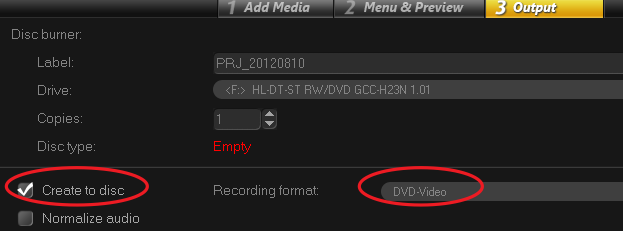
2. Check the Create to Disc option for direct-to-disc burning. Use the default DVD-Video format as the Recording format.
3. Load a blank DVD disc into your DVD drive.
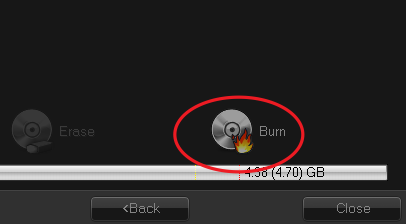
4. Click on Burn to begin the burning process.
5. Click on OK when prompted that the task is done.
6. Click on Close to save your work automatically and return to the main application.
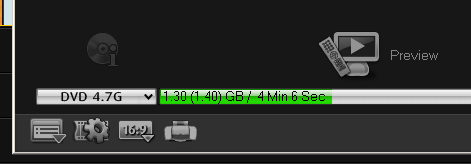
Make sure your project does not exceed 4.37 gigabytes when burning onto a 4.7-Gigabyte DVD disc or it will not allow you to continue the burning process.
And that's how you create a DVD with menus in Corel VideoStudio Pro X5.
If you have enjoyed this tutorial, be sure to check out the other tutorials that are available in the Discovery Center. If you have any ideas for tutorials or projects that you would like to see in the future, please leave us some Feedback.
Was this article helpful?
Tell us how we can improve it.