Welcome to this tutorial on Screen Capture in Corel Video Studio.
Do you ever wish you could share what your eyes seen on your computer screen with friends or family out of town or over seas? Maybe you have an adorable cat video or a serious computer problem you can't explain in words. It just has to be seen.
Well Aladdin, your wish has come true. That's why we have screen capture.
Really quickly, screen capture is a super useful technique in Corel VideoStudio for showing your viewers how to do something on your computer.
To start using this feature in your project, open Corel video studio and launch the CaptureWorkspace.

You'll see a lot of options, but go to capture options and click on Screen Capture.
When the screen capture window appears, you will be able to select various options to suit your project.
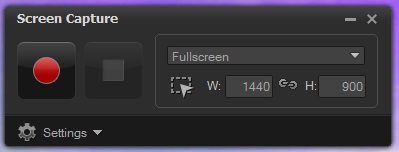
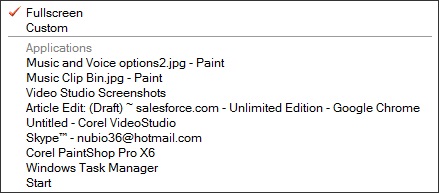
Take a look at the drop down list. You have options. You can opt to capture the entire screen, or only record the application you currently have open. You can create a special, custom area of the screen to record.
Expand the Settings and you will be able to specify the file name for your capture, where it will be saved and what format. You can even specify the frame rate. This is helpful if you're incorporating the footage into a project that contains video shot from a camcorder or other device because you'll want to make sure the frame rates are all the same so that the video runs smoothly.
Your head may be spinning with all these settings, but let me mention one last thing. Audiosettings are also available if you wish to record audio while capturing video. But that's for another tutorial.
So finish adjusting the settings, return to the red record button, and all it takes is one click. You've started capturing footage.

You can pause the recording at any time by clicking on that red button or by using the F11 key on your keyboard.
When you've finished recording, find the F10 key on your keyboard or click the stop button.

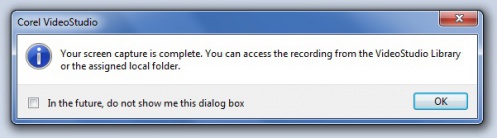
That's it! Just as easy as that, you've completed a screen capture.
Take a moment to read the message that appears. When you're done, click OK to continue.
Automatically, your video will load into the video Studio timeline. You've done it! You can edit your recording in your timeline or find the recording on your computer to share with family and friends.
If you have enjoyed this tutorial, be sure to check out the other tutorials that are available in the Discovery Center. If you have any ideas for tutorials or projects that you would like to see in the future, please leave us some Feedback.
Was this article helpful?
Tell us how we can improve it.