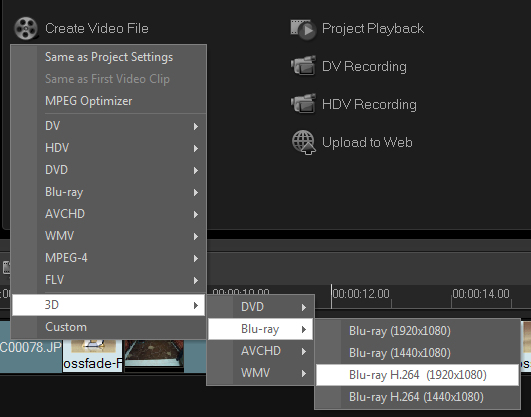
1. After you are done with the editing, you can click on the SHARE tab, then click on CREATE VIDEO FILE then select 3D and select any format you would like to create.
2. In Create Video File dialog screen, click the Options button. Place a checkmark on 3D Simulator, you can then select Anaglyph or Side-by-side.

NOTE: Anaglyph — Requires only the red and blue generic anaglyph 3D glasses to view 3D video without the need for special display monitors. Side-by-side — Requires polarized 3D glasses and a compatible polarized display monitor to view 3D video.
3. Depth is set at 70 by default. The higher the value, the more depth in the 3D effect.
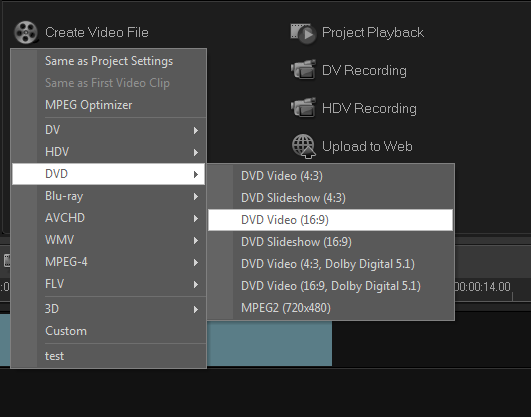
4. You can also create 3D videos by going to SHARE TAB then CREATE VIDEO FILE and selecting the any format of the video that you would like to create, then on Create Video File dialog screen, just place a checkmark on 3D Simulator, to enable the option Anaglyph or Side-by-side.
5. The present 3D technology around the world is not yet able to burn a 3D DVD or 3D AVCHD. 3D BD is the only 3D-support storage media with 3D properties (VideoStudio Pro X4 does not support 3D BD burning yet). However, 3D videos can be burnt into a disc (data burn). It can be played on computers with 3D-support playback software or 3D TV.
Was this article helpful?
Tell us how we can improve it.